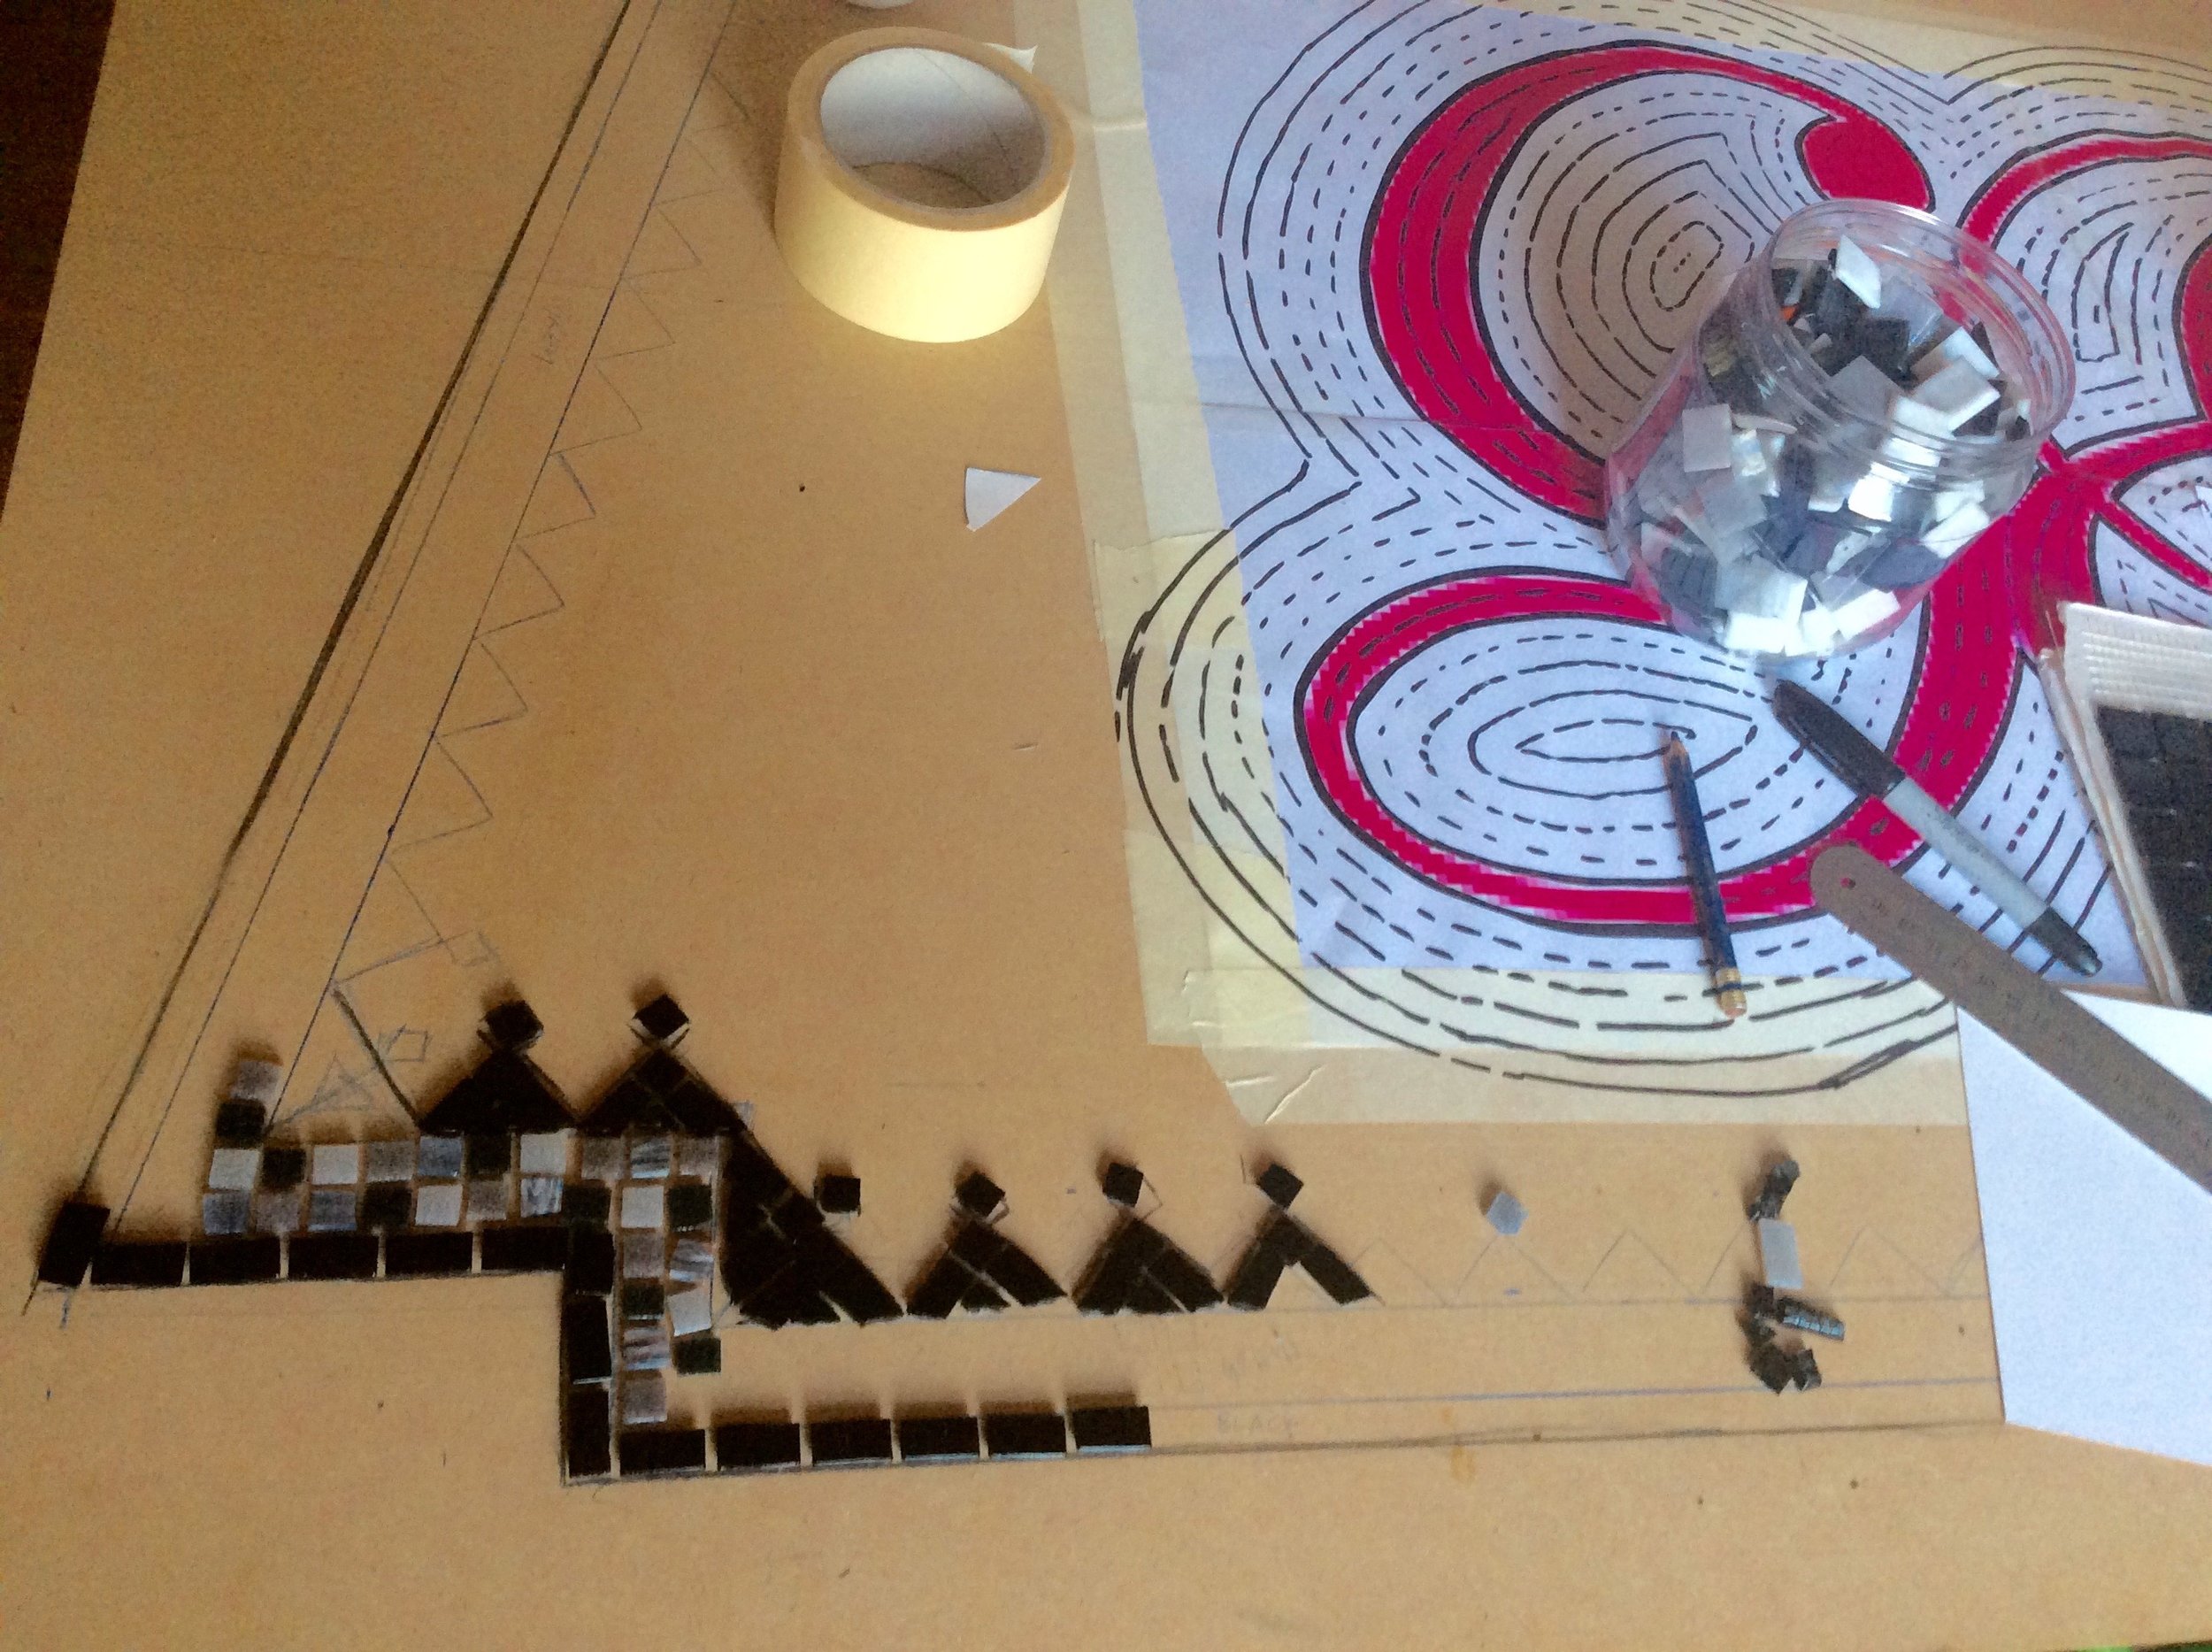
Mosaics that are destined to be outdoors or are too large to work in situ can be worked onto a fibreglass mesh. This allows it to be easily transported and can be worked in sections that fit together on site.
Fibreglass mesh is widely available and I get mine from The Mosaic Shop in Bath.
Here are the steps you need to follow in order to create a mosaic onto mesh.
1. Draw your design clearly using a thick marker. You need to be able to see it through the mesh. This mosaic is for the home interiors shop Graham and Green and is worked using their logo as the central theme.
2. Tape your design onto the backing board that you will be using to support your mosaic whilst it is being made. If you work directly onto a tabletop you won't be able to move it until it is completed, hence the board!
3. As you can see I part drew my design directly onto the board and before I went any further I planned in detail how the boarder was going to work.
Once you are completely happy with your design you will need to cover the entire piece with cling film and secure the ends with tape.
The plastic film is what protects the design and board from sticking to the underside of the mesh......we don't want that to happen!
Place the fibreglass mesh over the design that is already covered in plastic cling film and just as you did with the previous layer, secure it with tape.
Now you are ready to begin.
Essentially mosaic onto mesh is no different to working onto a wooden surface. You cut and glue the tesserae exactly as you would normally do when working the direct method.
I used a good quality waterproof PVA glue and diluted it ever so slightly.
Notice the big black line running through the middle from top to bottom? I did this to allow for the possibility of cutting the mosaic in half should we have needed to when laying it in position. If this had been a wall mosaic then I would certainly have made it in sections. The line is there to guide me when laying the tiles to make sure I leave a wide enough gap create a clear cutting line should I need it. The trick is to make it subtle so that when the mosaic is finished and grouted the line isn't visible to the eye.
Working at an angle makes such a difference to my posture, lessening the aches and pains that are inevitable when working for long periods. Notice how I work the middle then the boarder and then the background to meet the boarder. This ensures an harmonious, balanced background.
Once the mosaic is complete you need to flip it over and peel off the cling film and trim the mesh back to the tiles. Now in all the excitement of this project I forgot to take a photo of this stage...silly me......but hopefully you get the idea. Before flipping this piece over I laid another board on top of it to give it stability as I (we...my lovely friend AD helped) turned it over. I removed the cling film and allowed 24hours for the glue to dry before lifting the mosaic on the mesh in one piece (like a giant tile!).
The area that the mosaic is destined for needs to be prepped properly. Mike (the man in the picture) washed a pva solution onto the surface, allowed it to dry and then placed an even coat of a fast acting cement based tile adhesive.
Then we very carefully placed the mosaic and gently pressed it into the adhesive.
At this point I took over from Mike and very gently pressed the mosaic evenly all over to embed it into the adhesive making certain that none of the adhesive rose up between the tiles. Using a sponge I carefully removed any adhesive and then waited for it to completely set before grouting it.
No one was allowed to walk on it until the next day!


