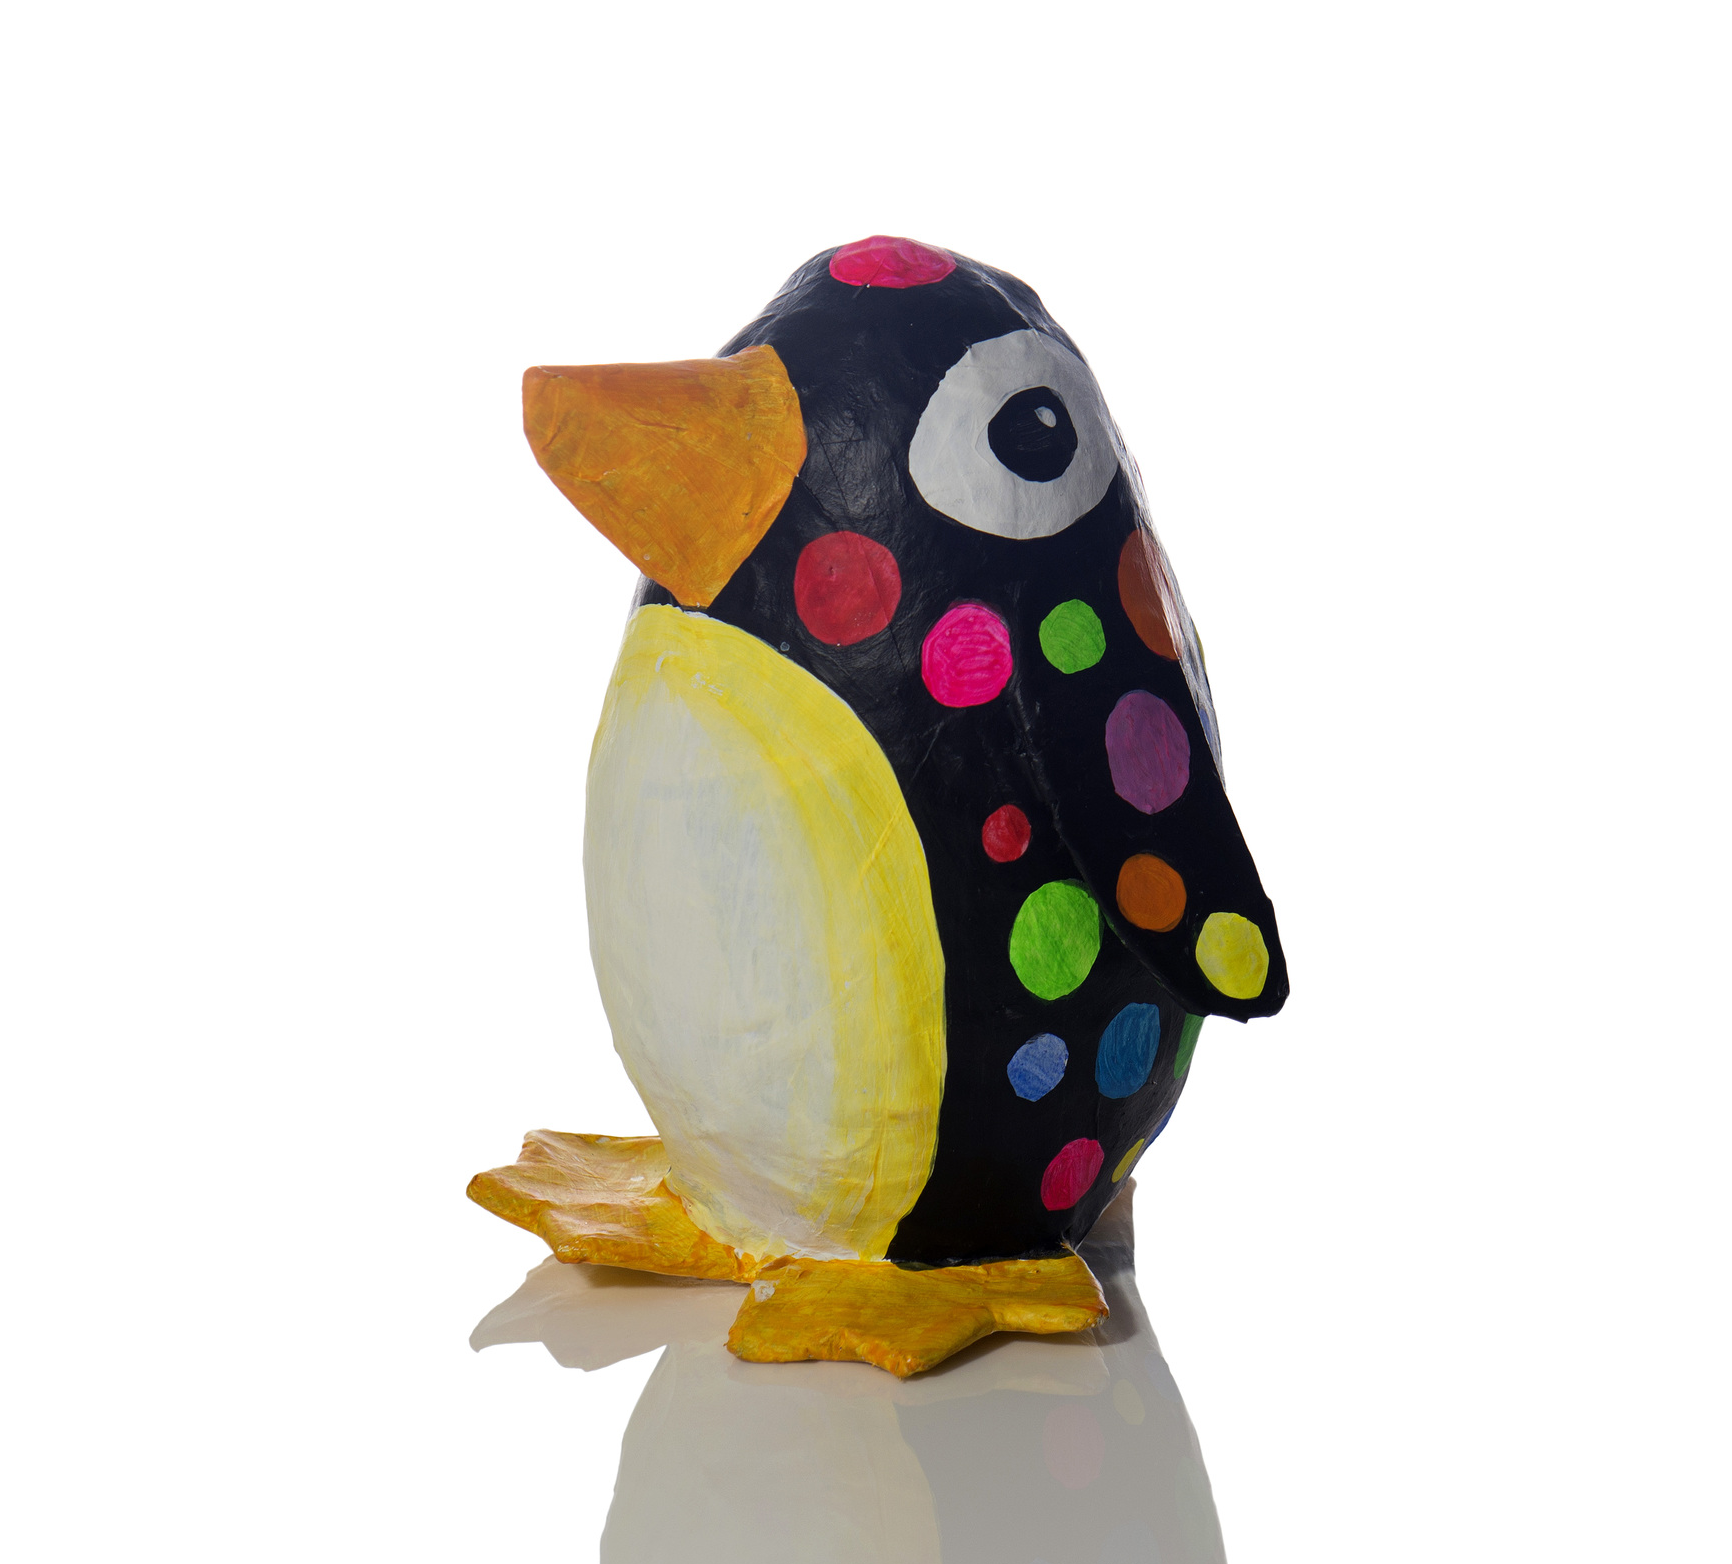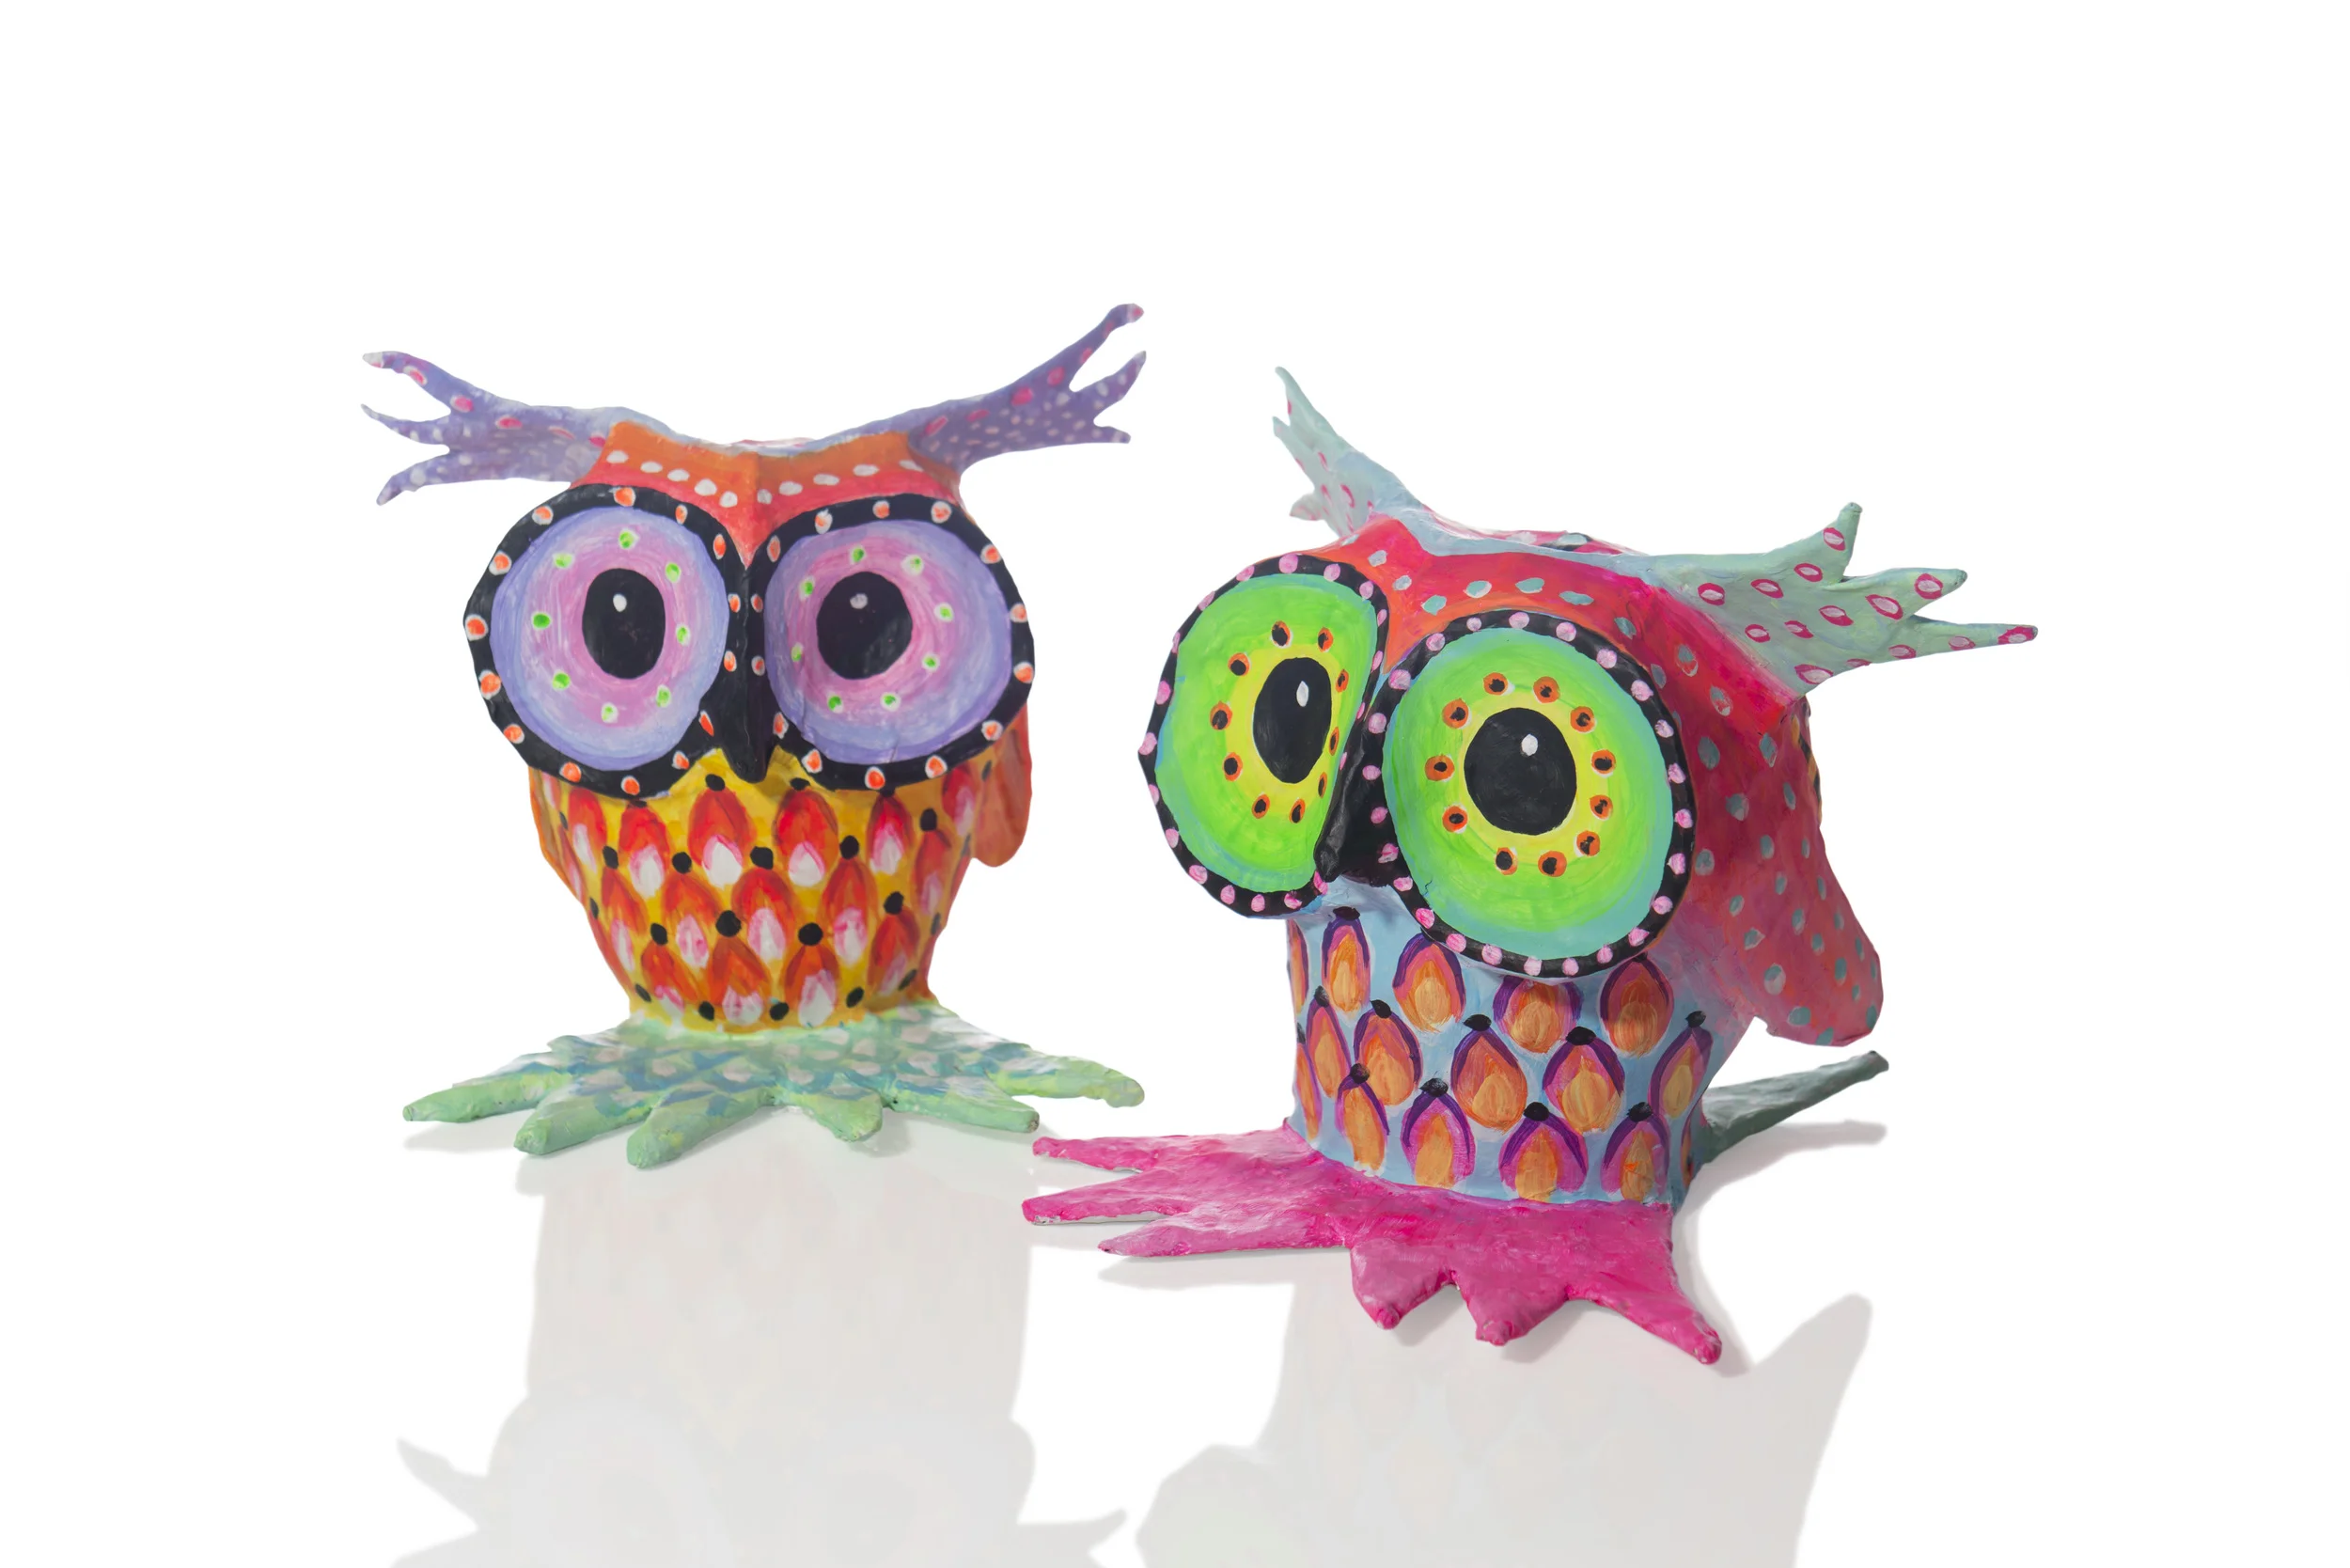
The Owl Paper Pets are by far the most challenging to make but are also the most popular! This tutorial is here to encourage and guide you through the fiddly process of assembling them ....it's worth it in the end I promise!
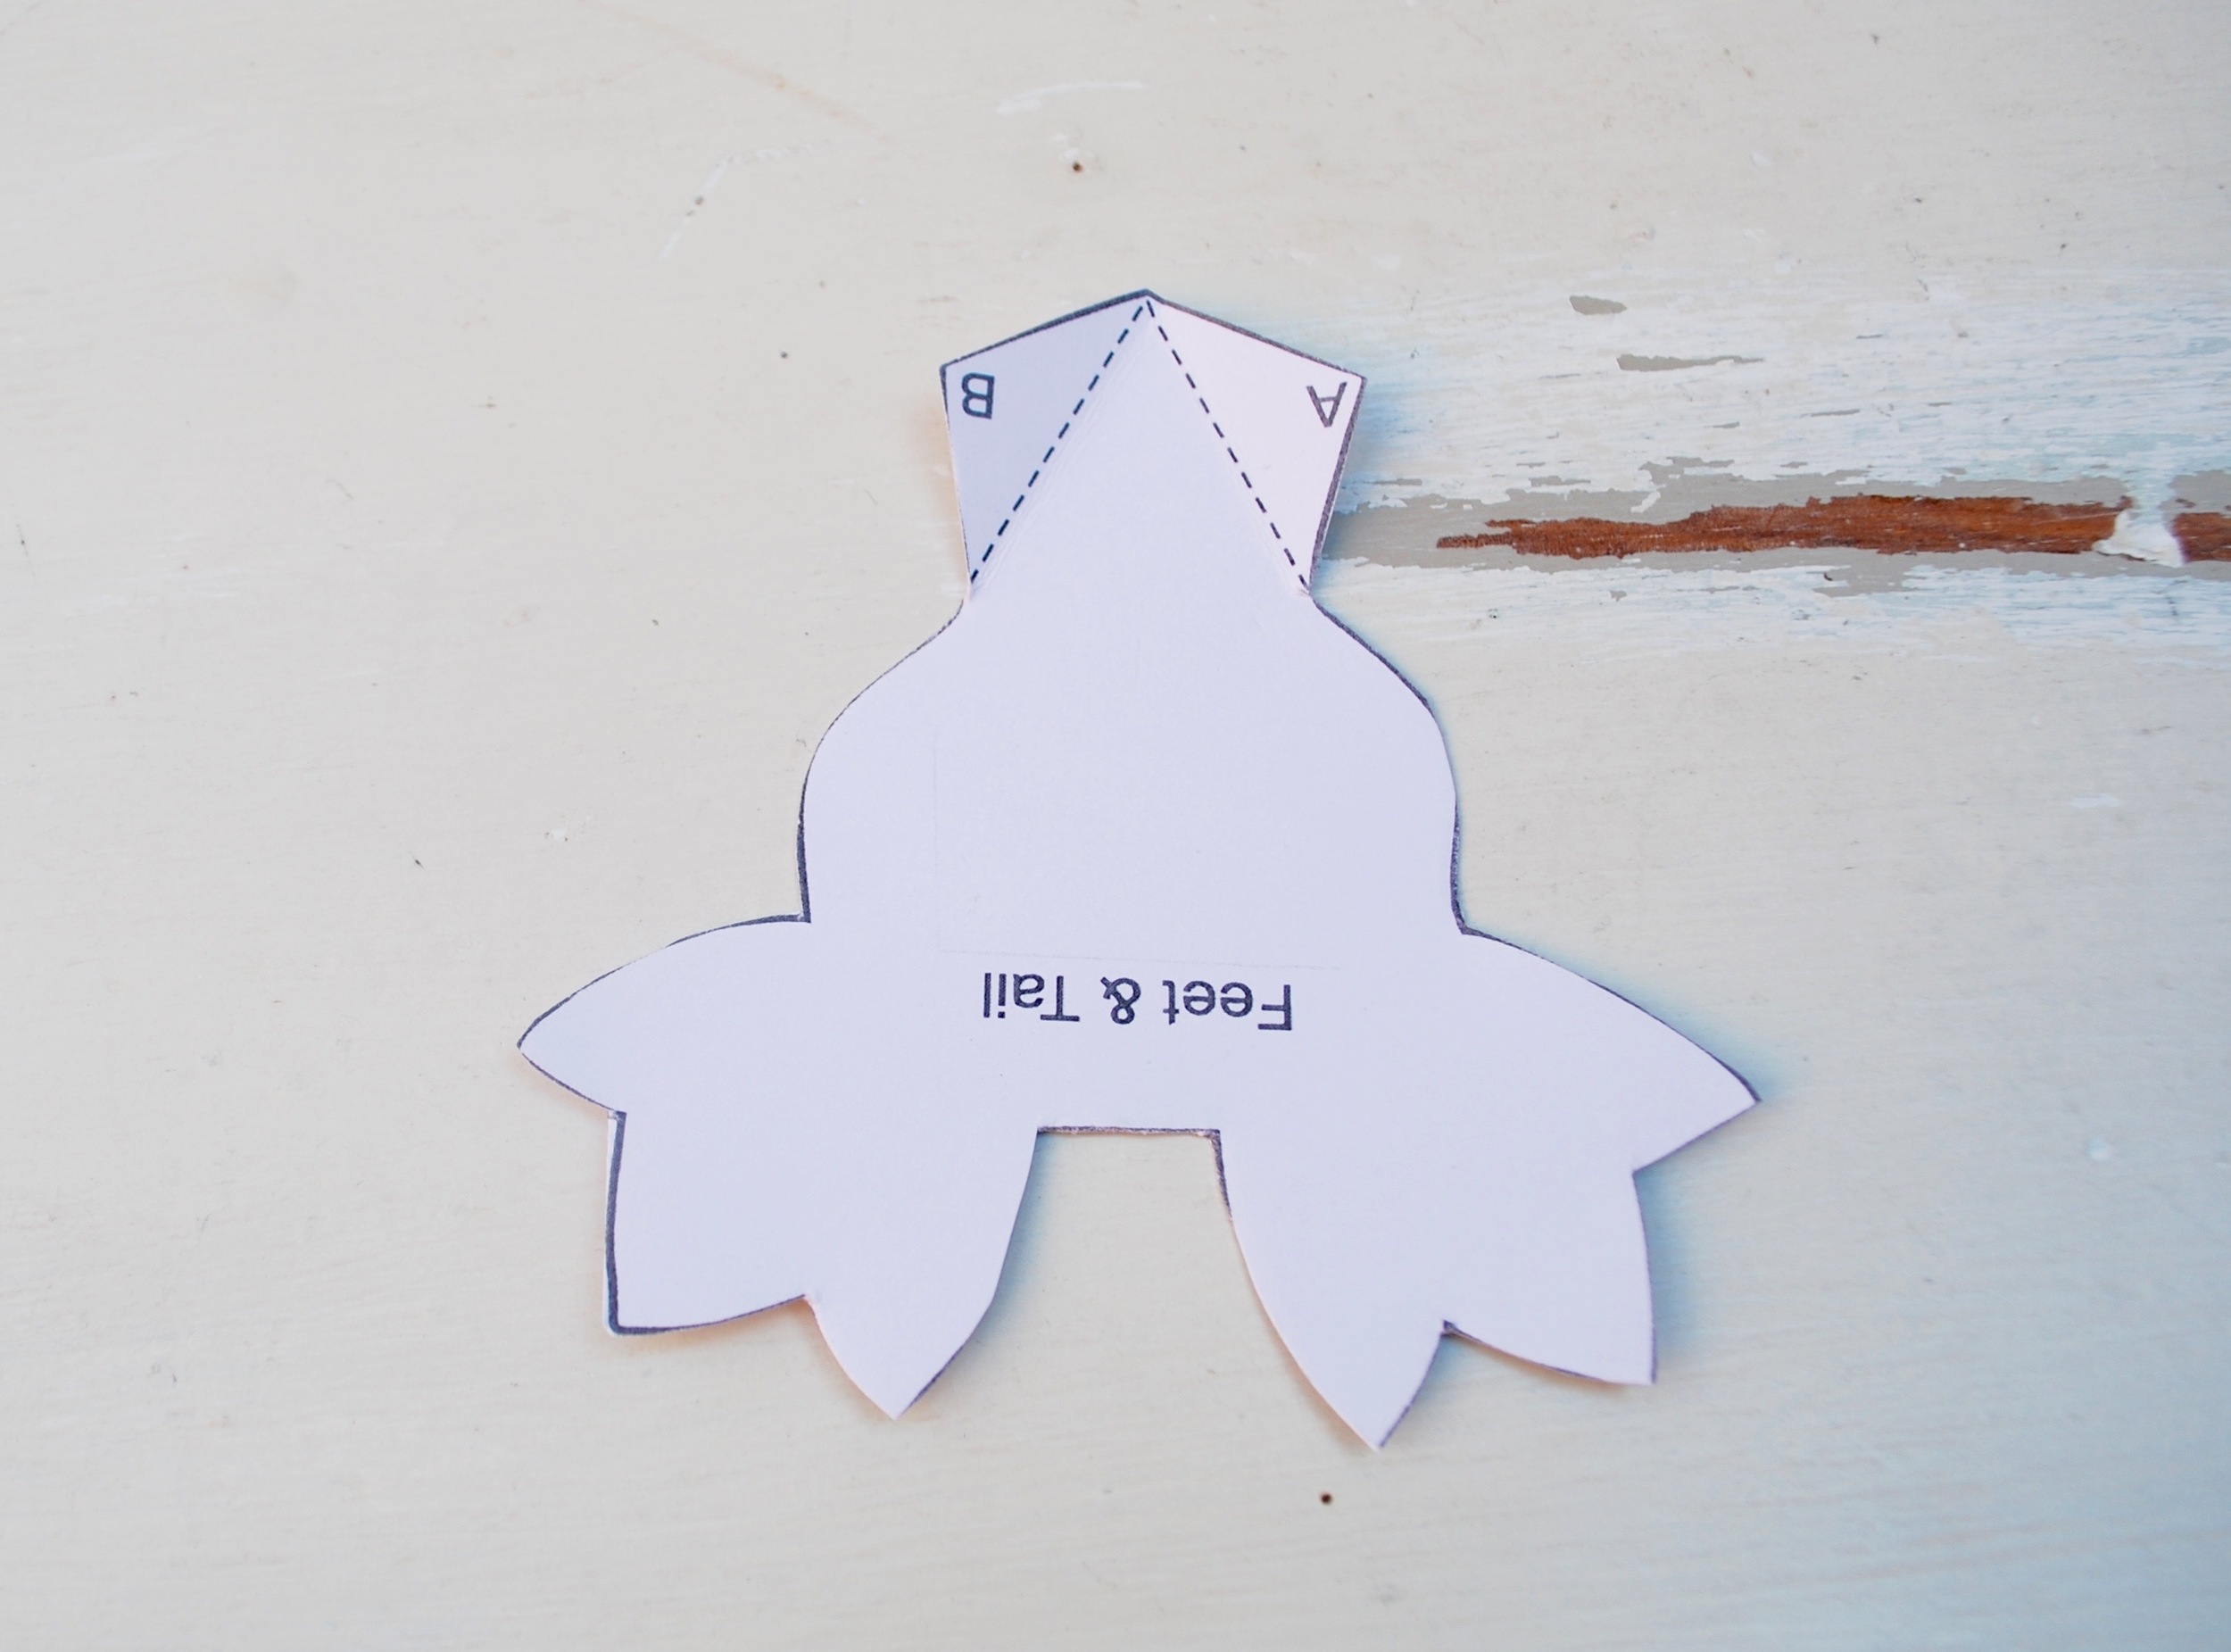
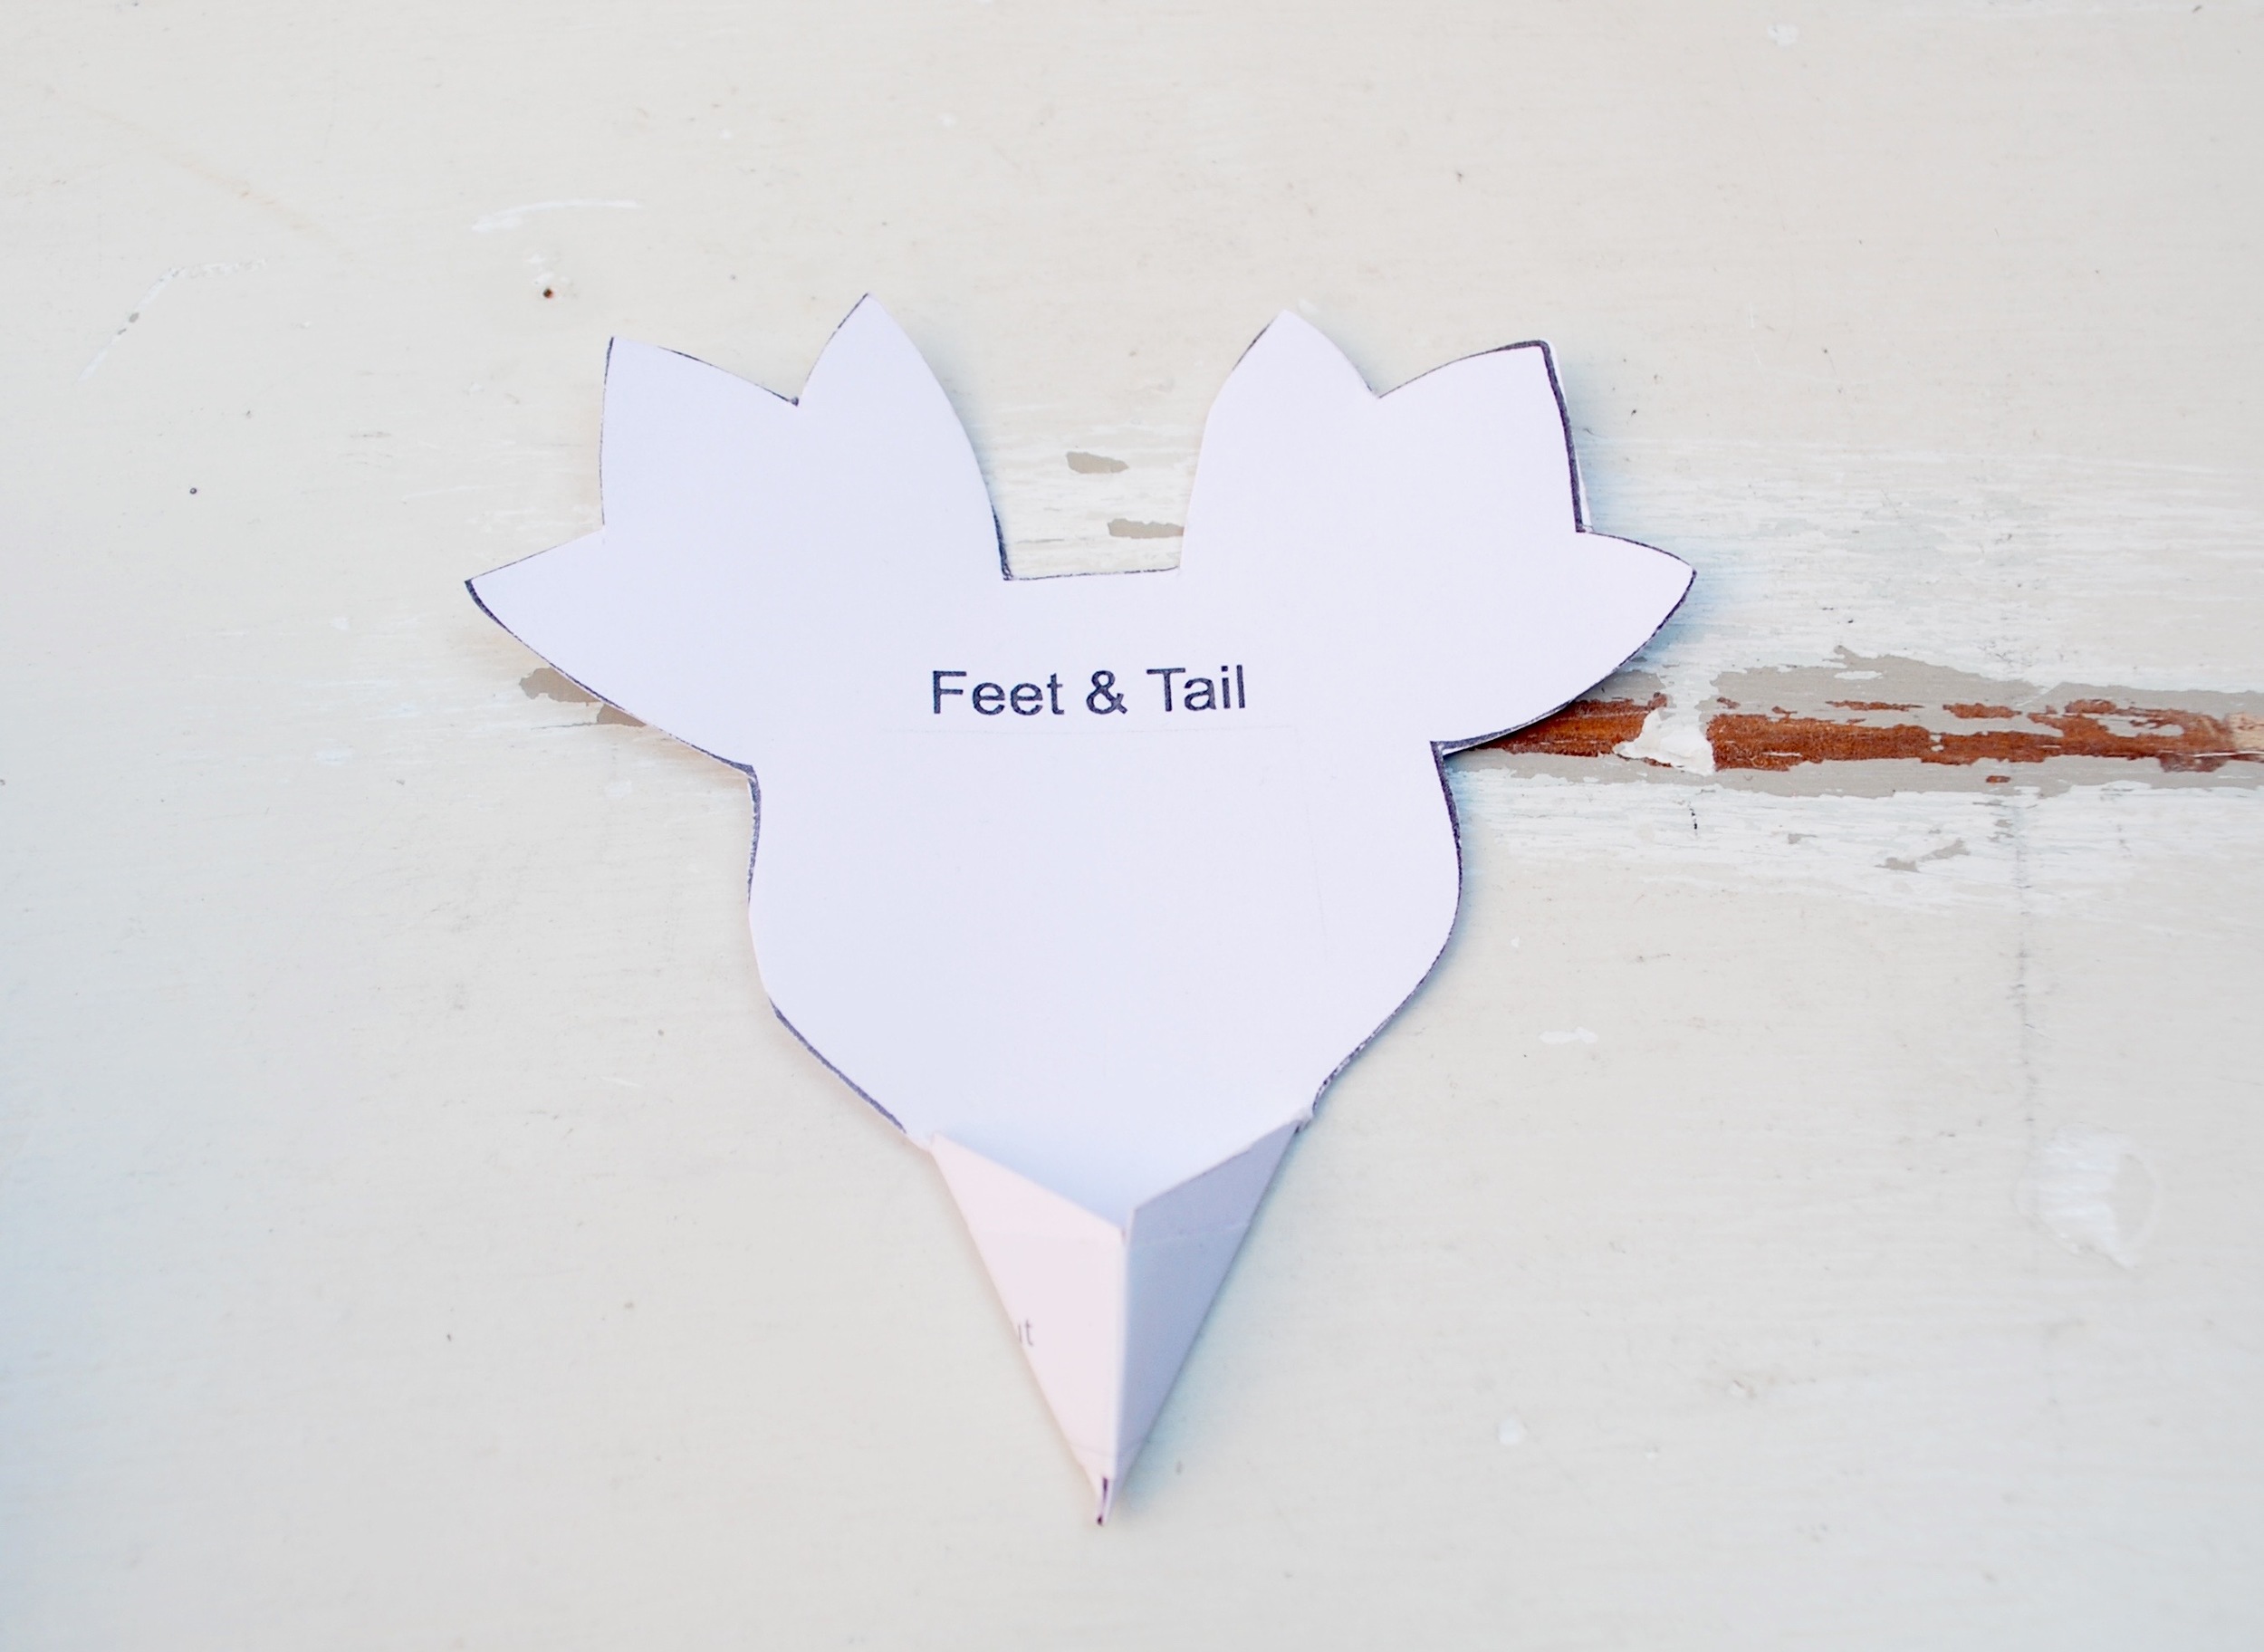
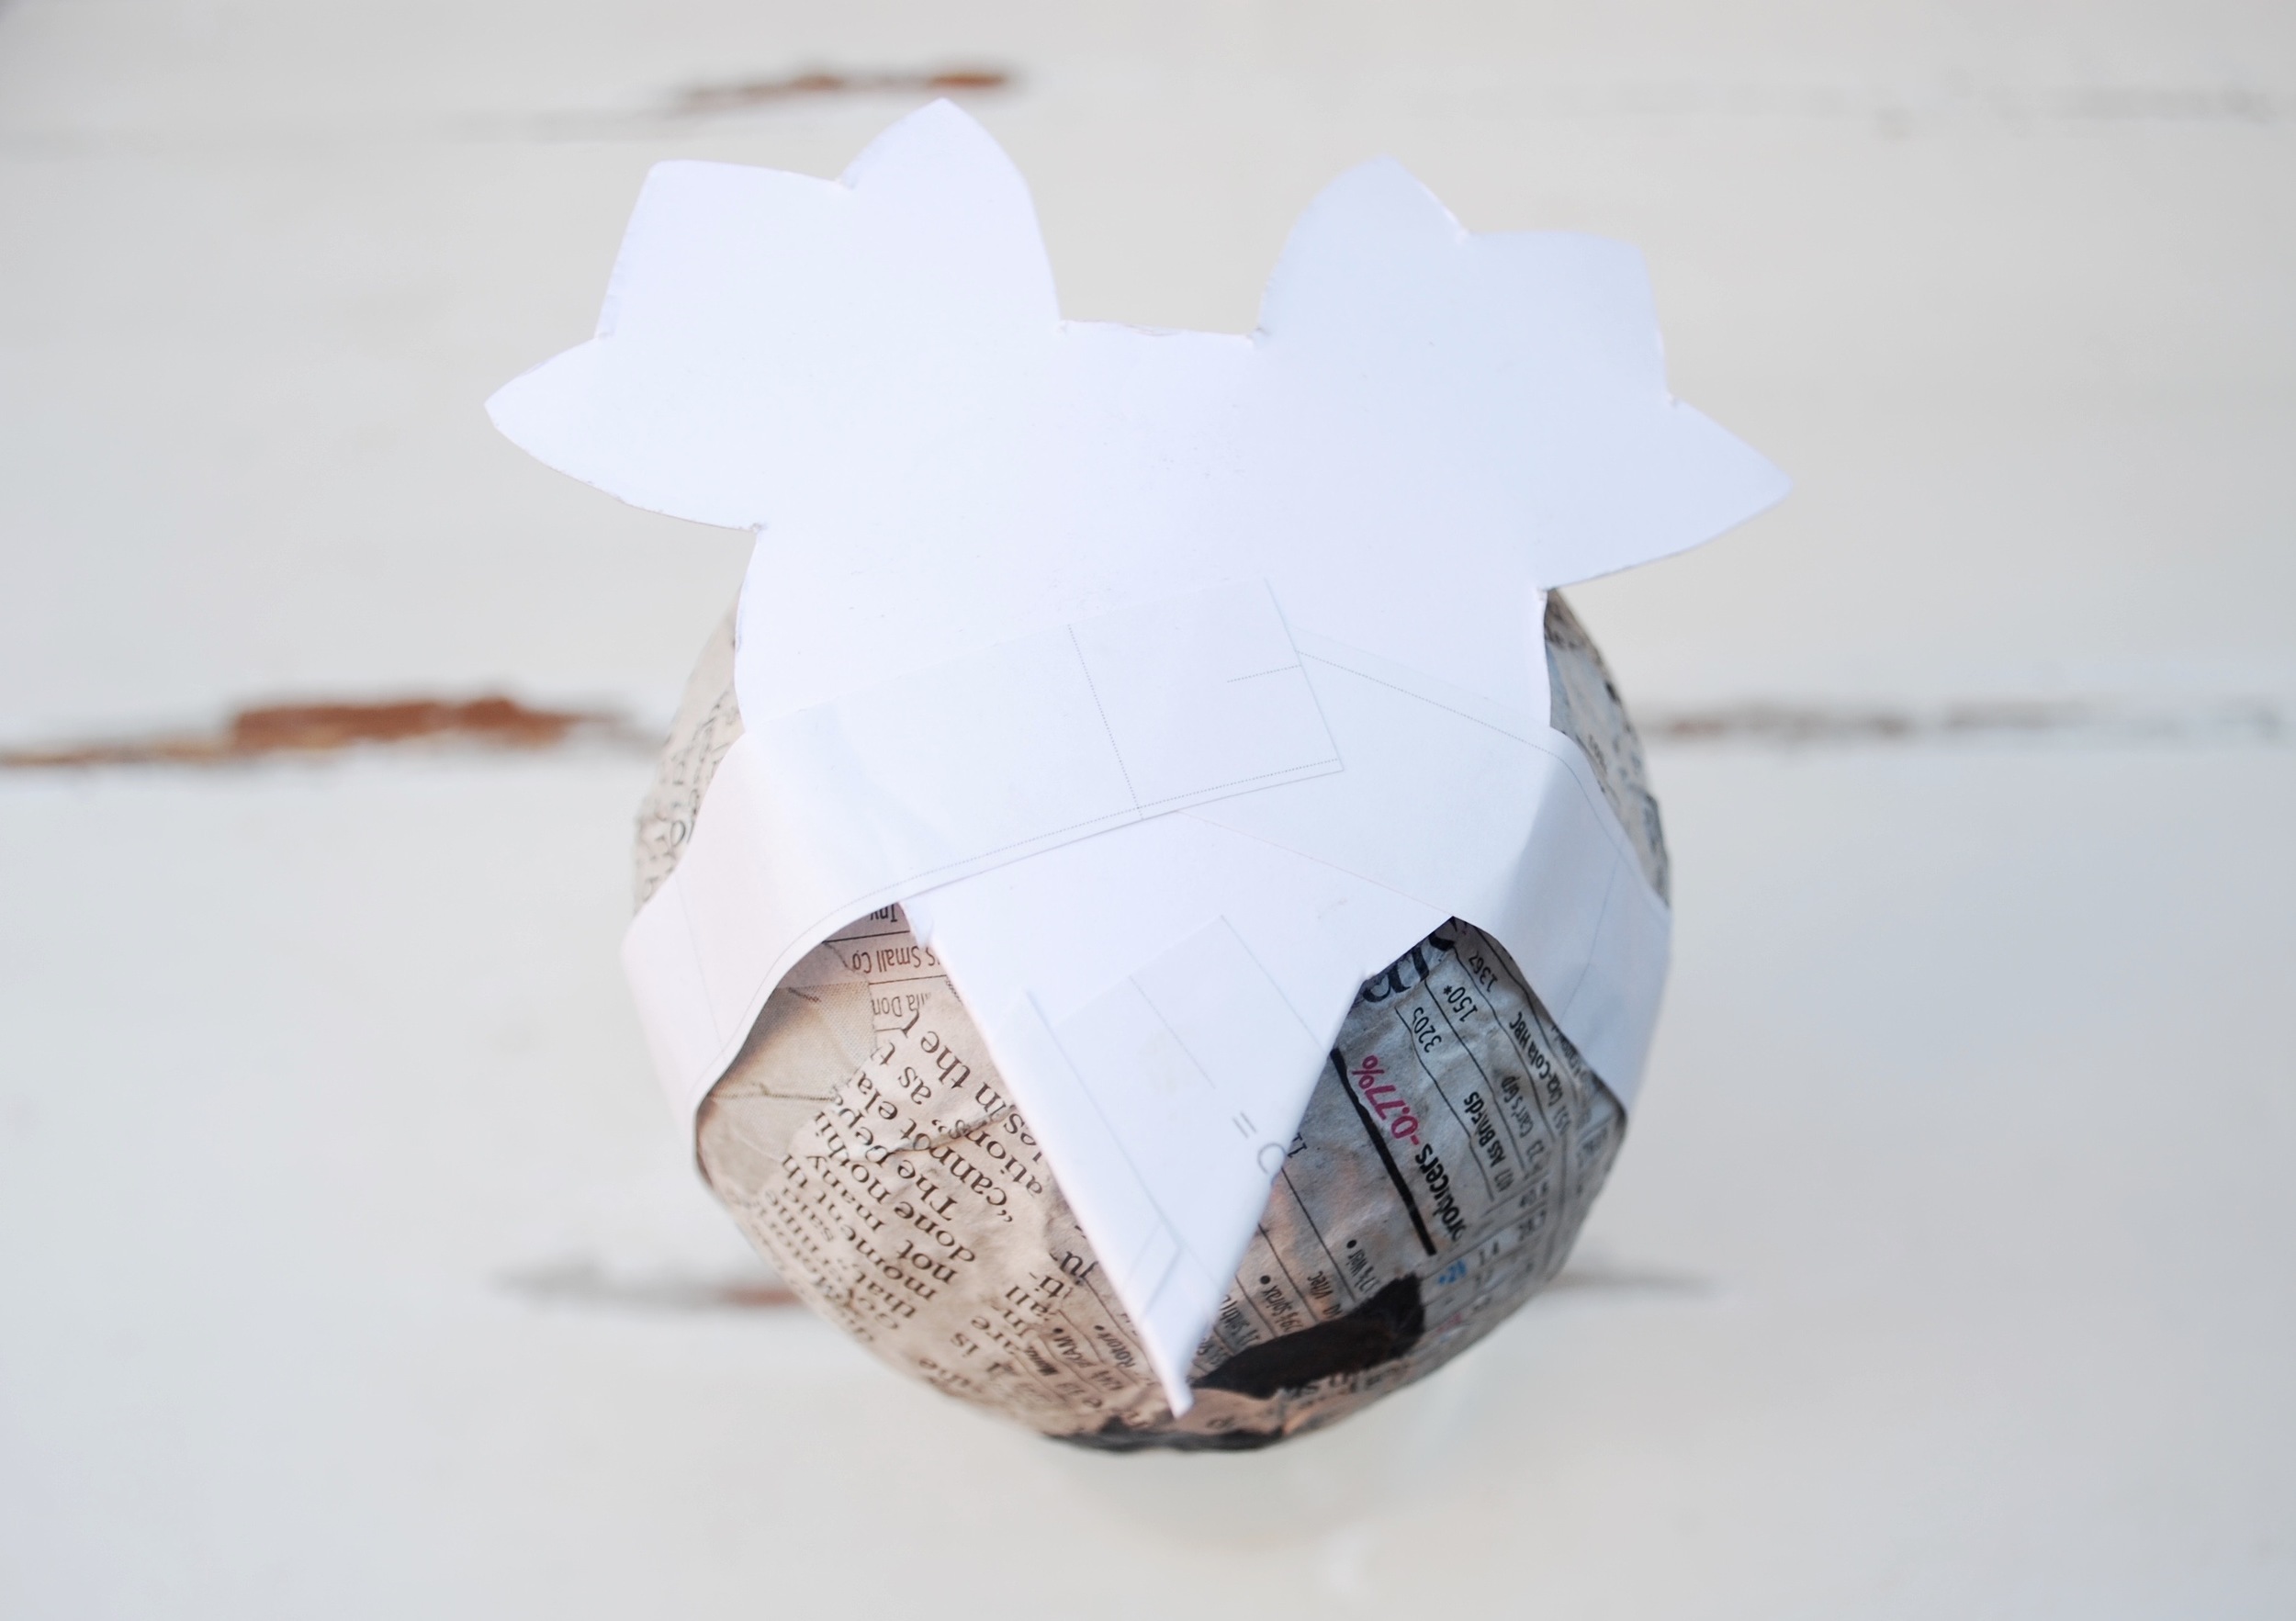
Having made the body and attached the feet in exactly the same way as for the penguin we next need to cut out and attach the eyes.
Notice how 'eye 2 is face down. This is because I made a dreadful error when printing the templates. A thousand apologies to everyone out there who may have been confused. The pointy bits need to be facing each other as shown ....think of them as the eyebrows as this will help you when positioning them onto the body.
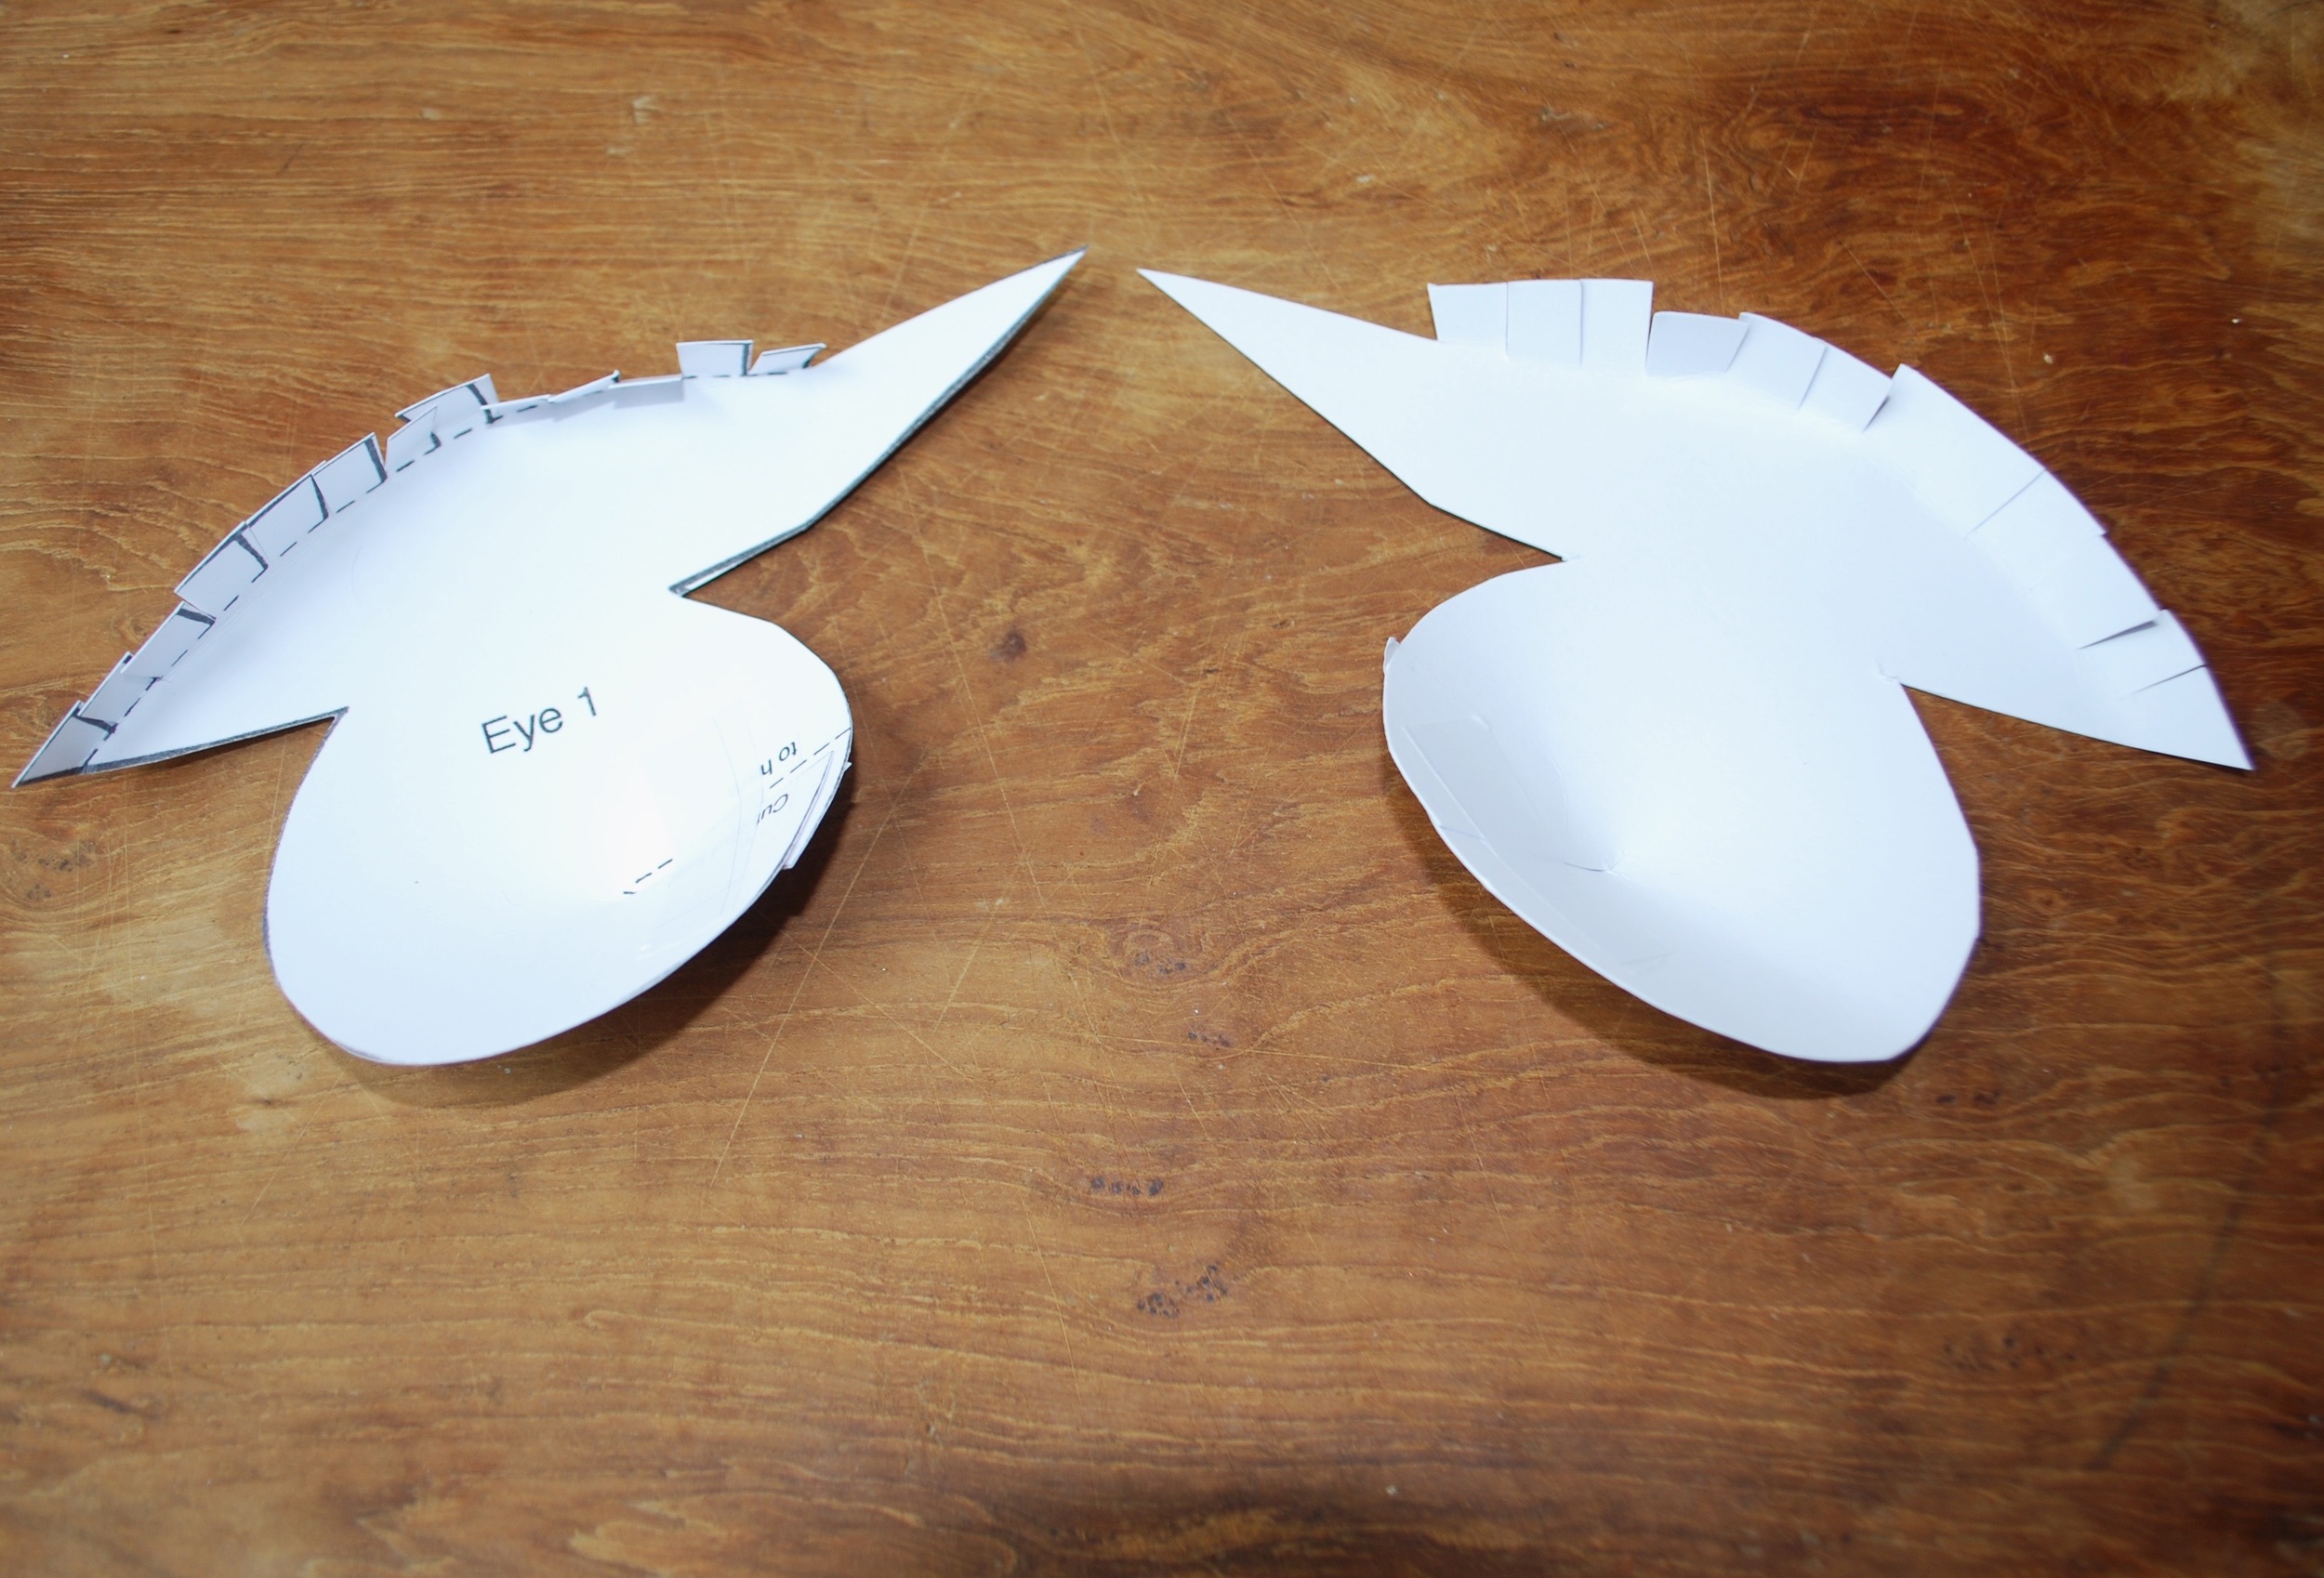
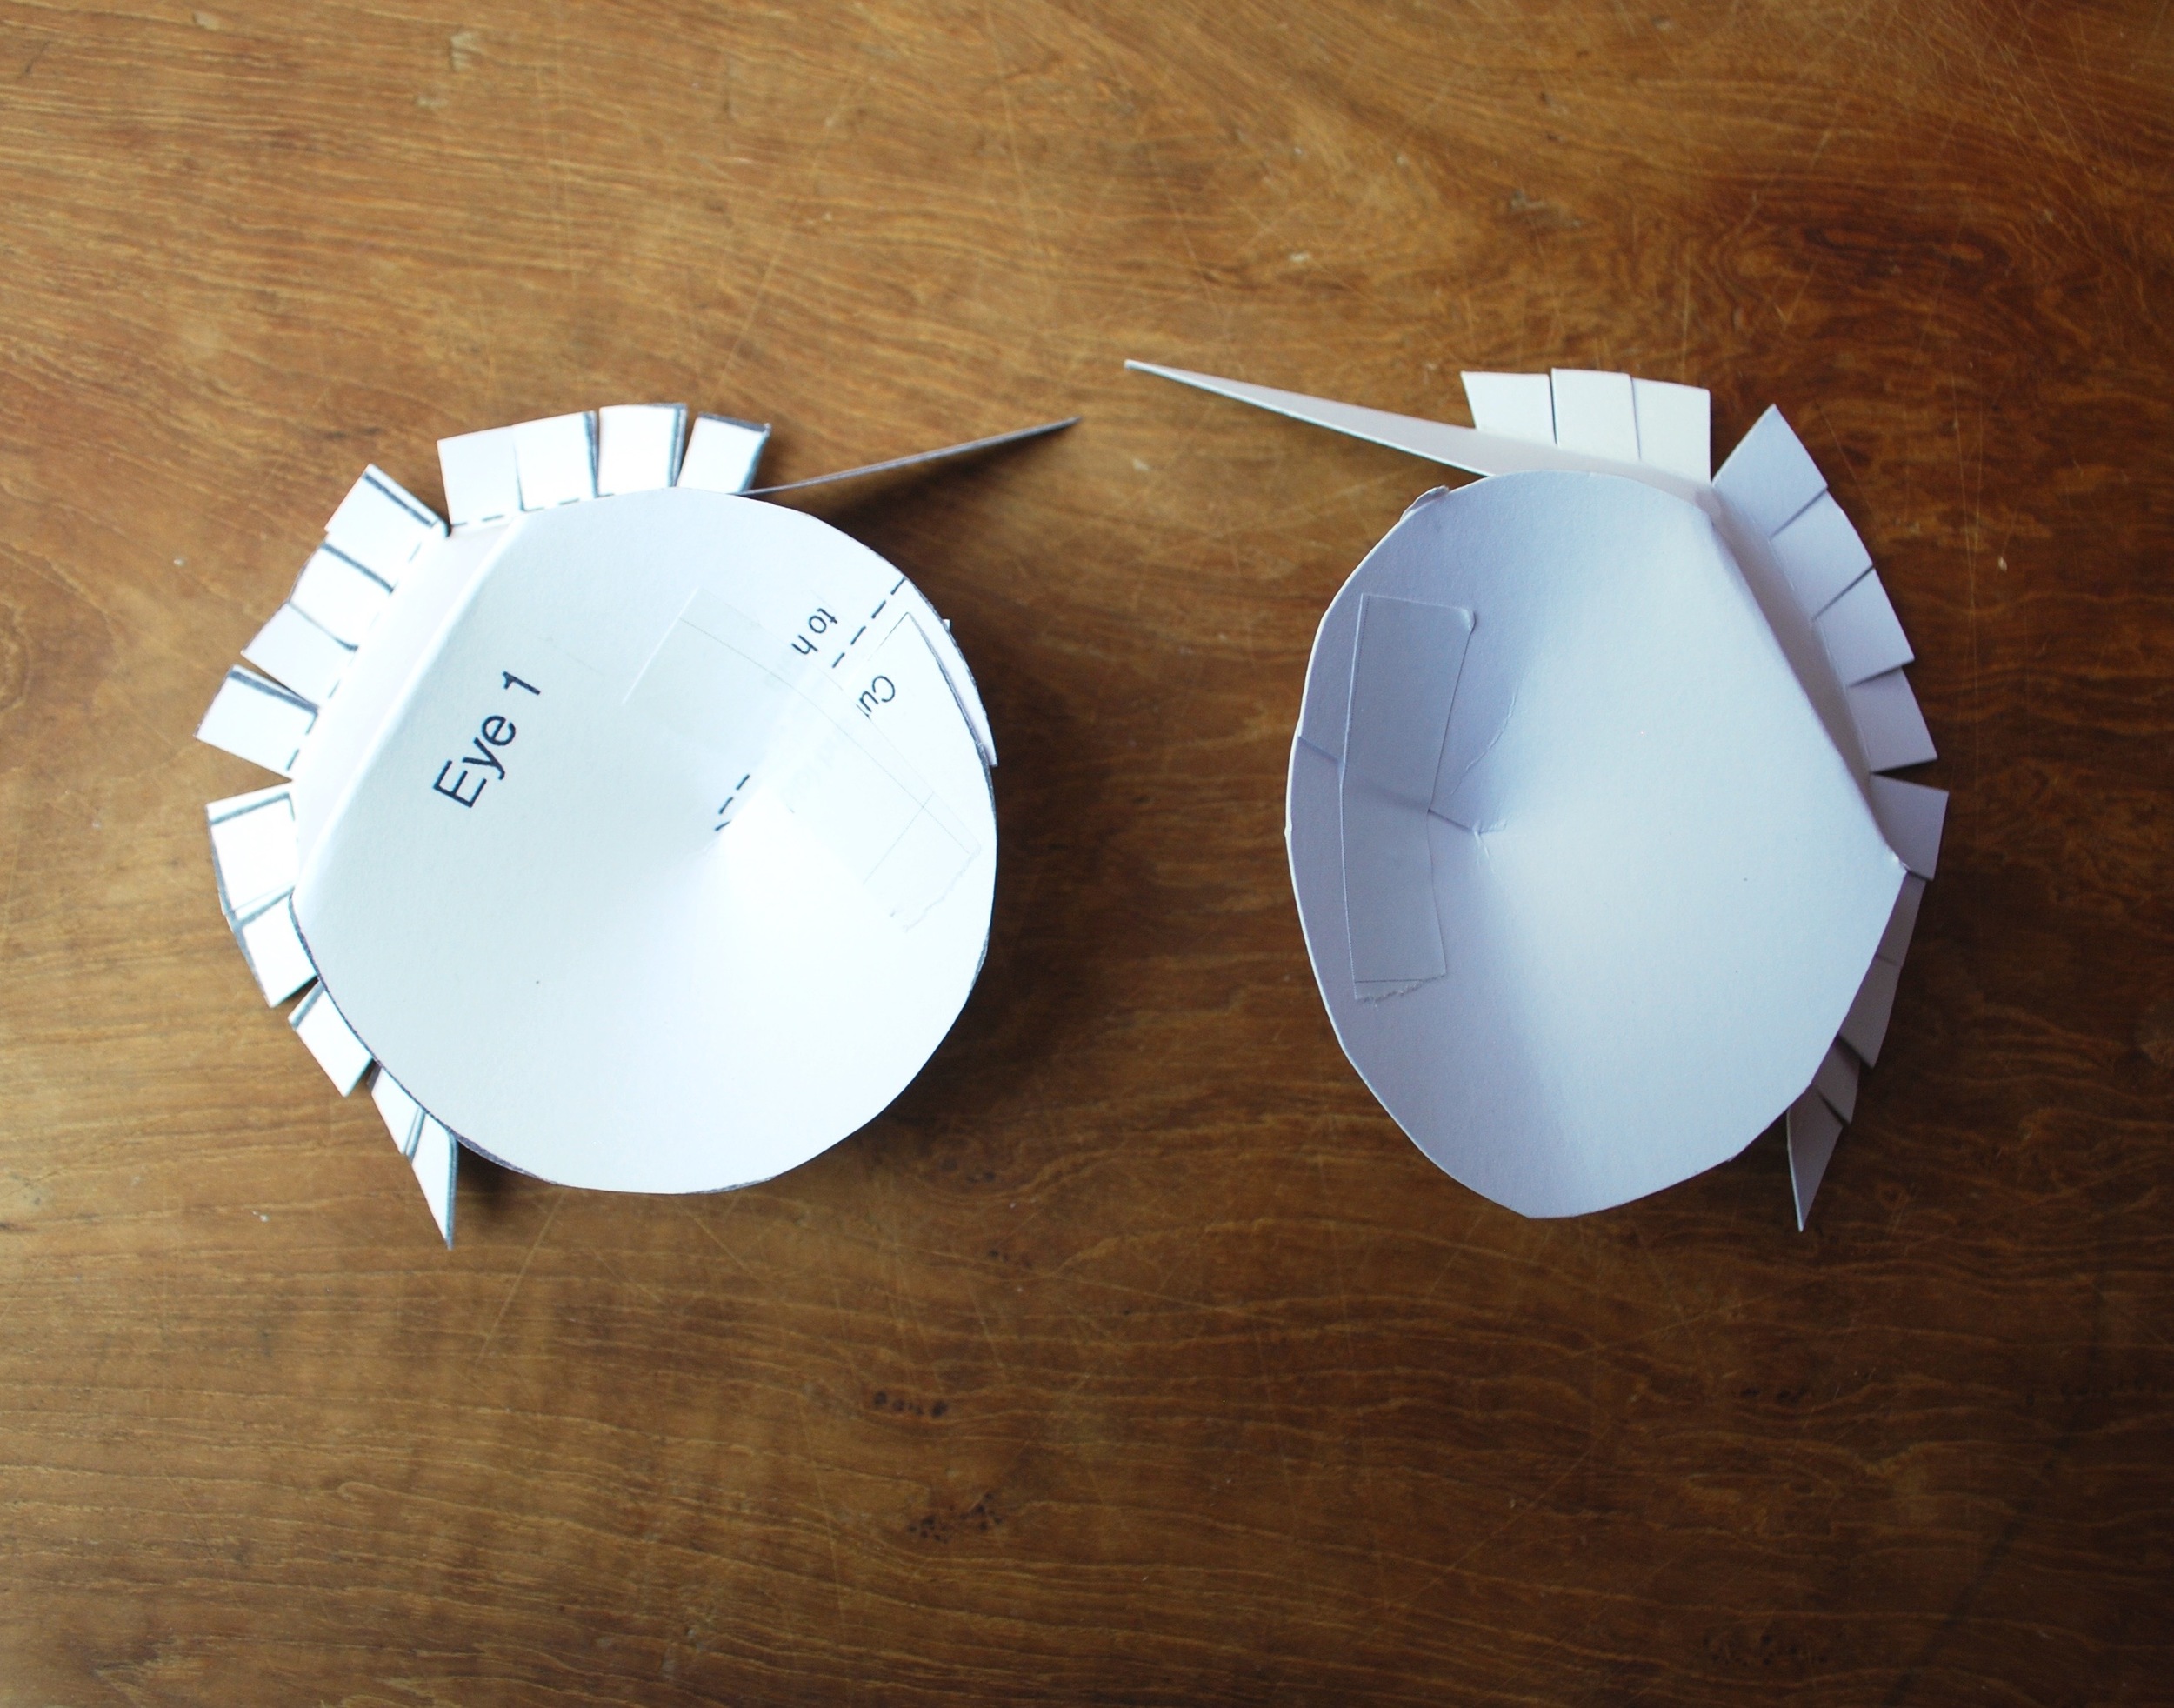
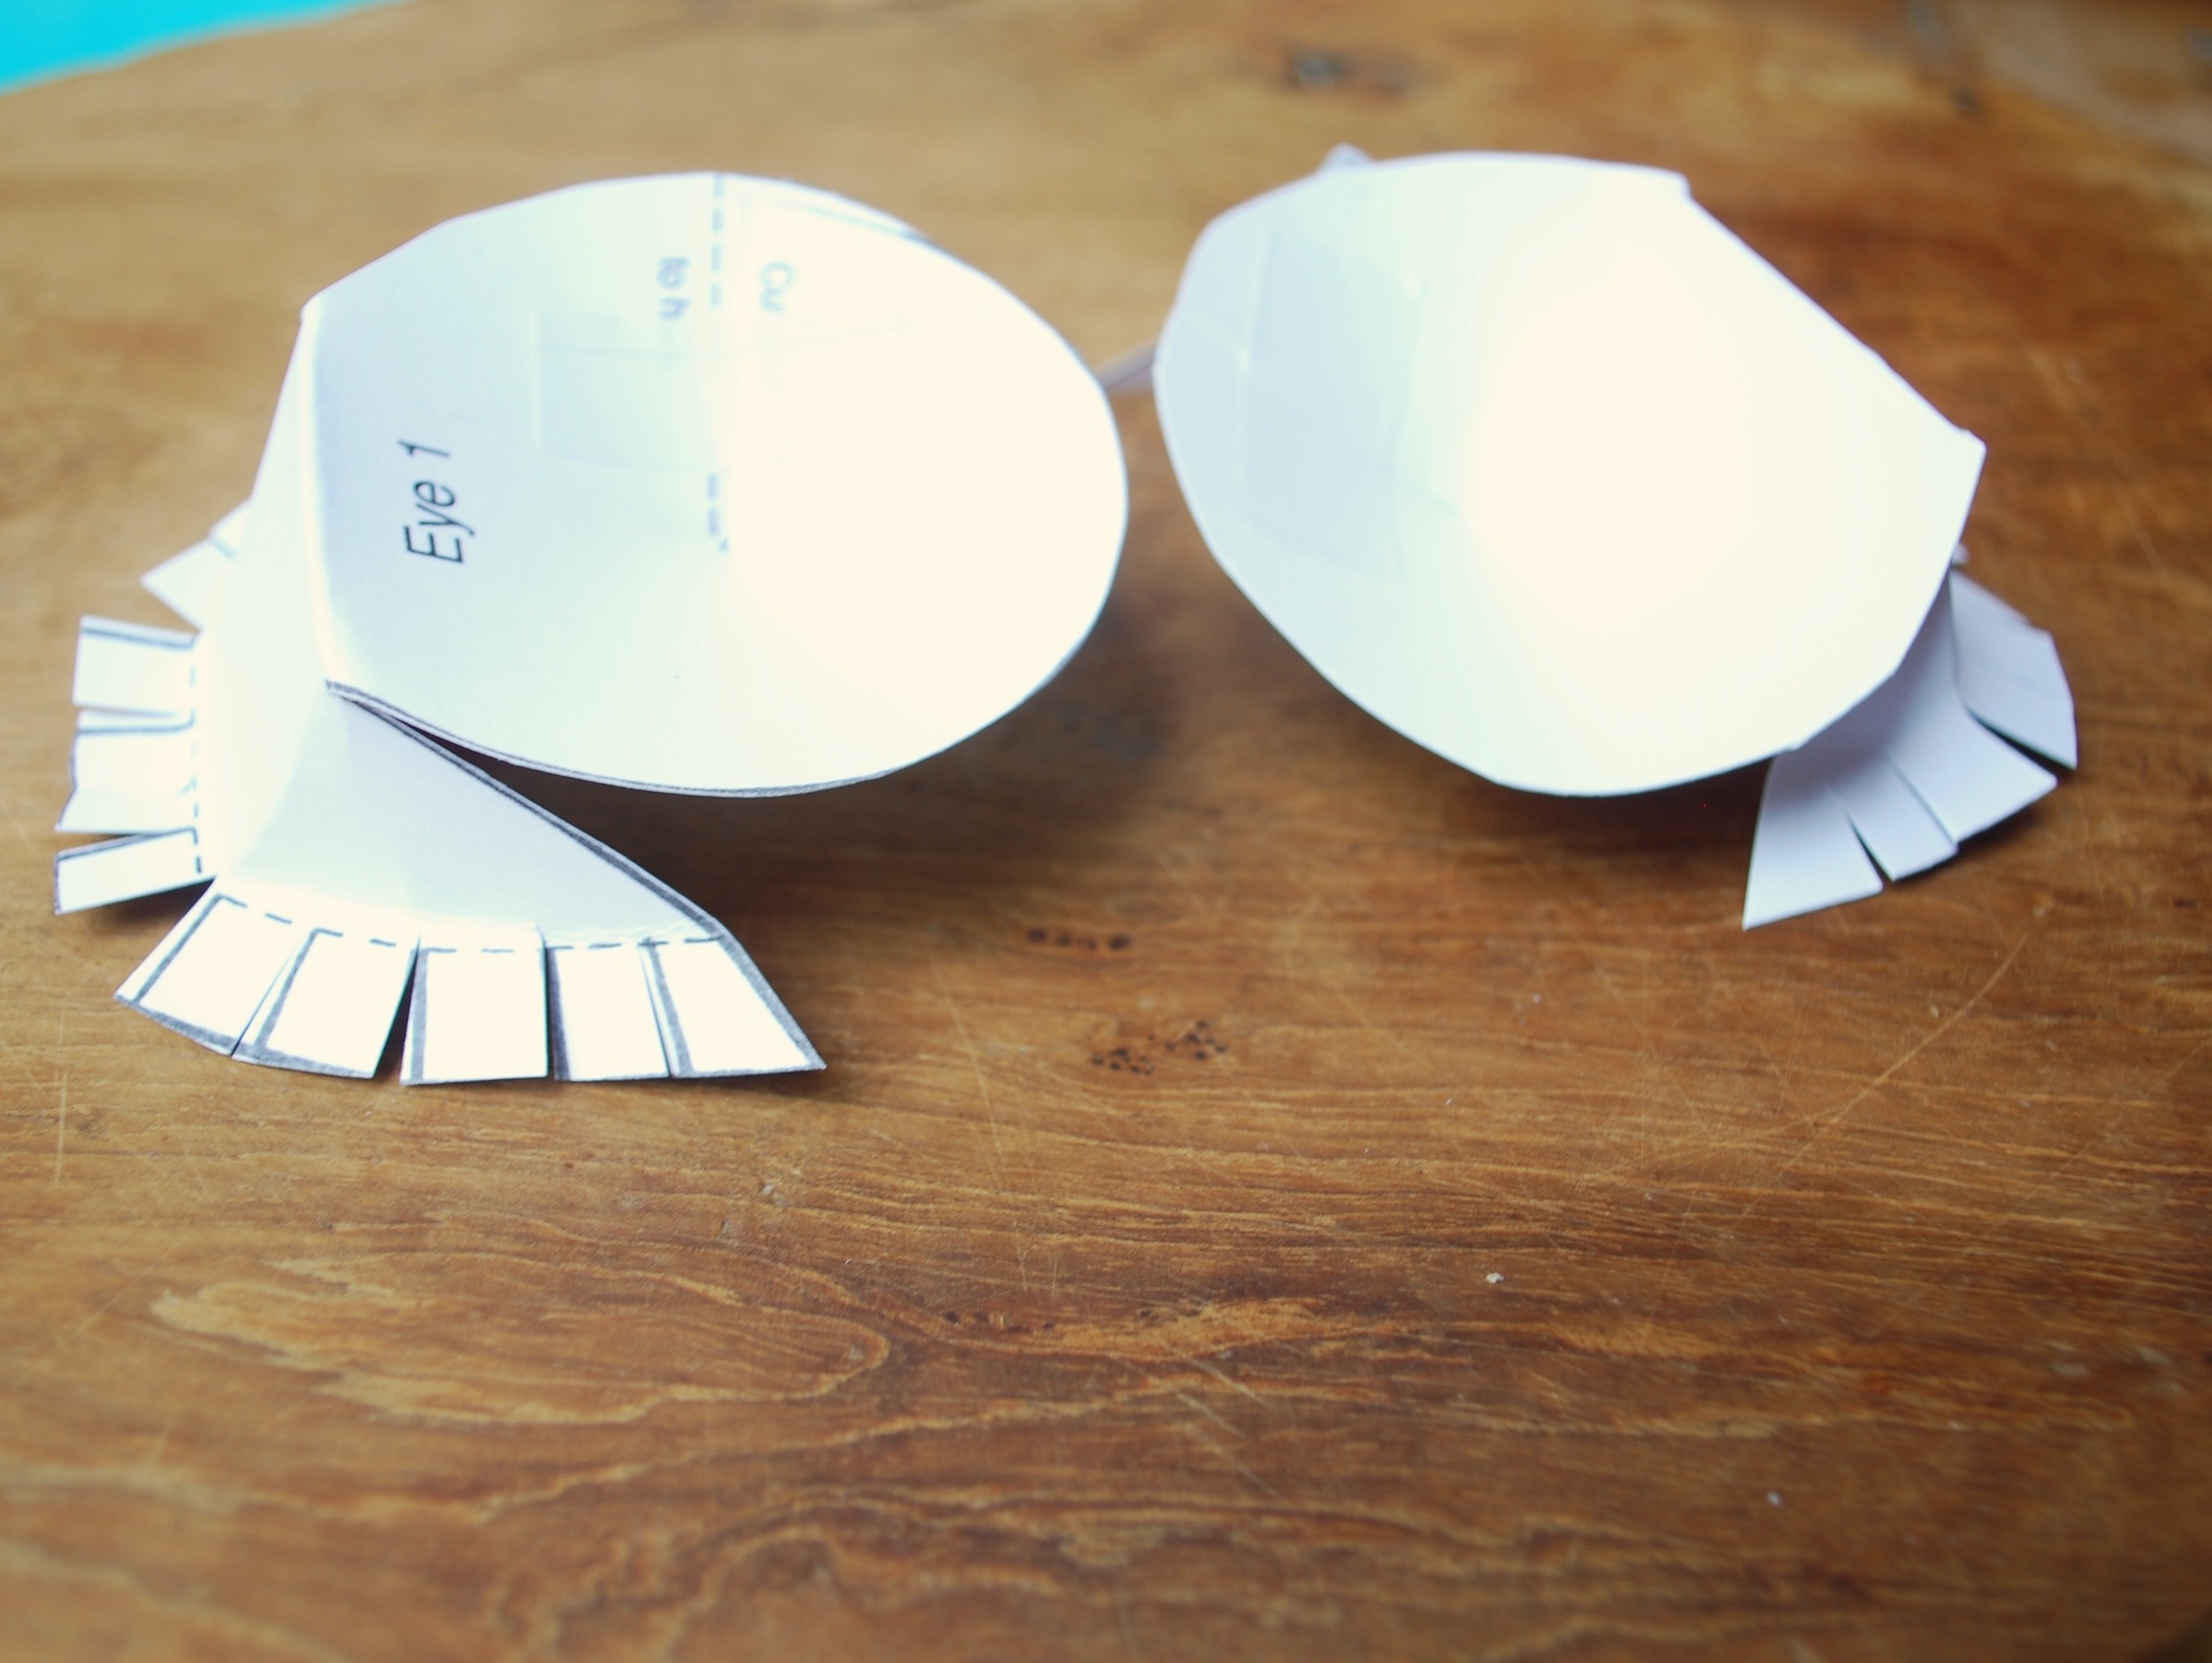
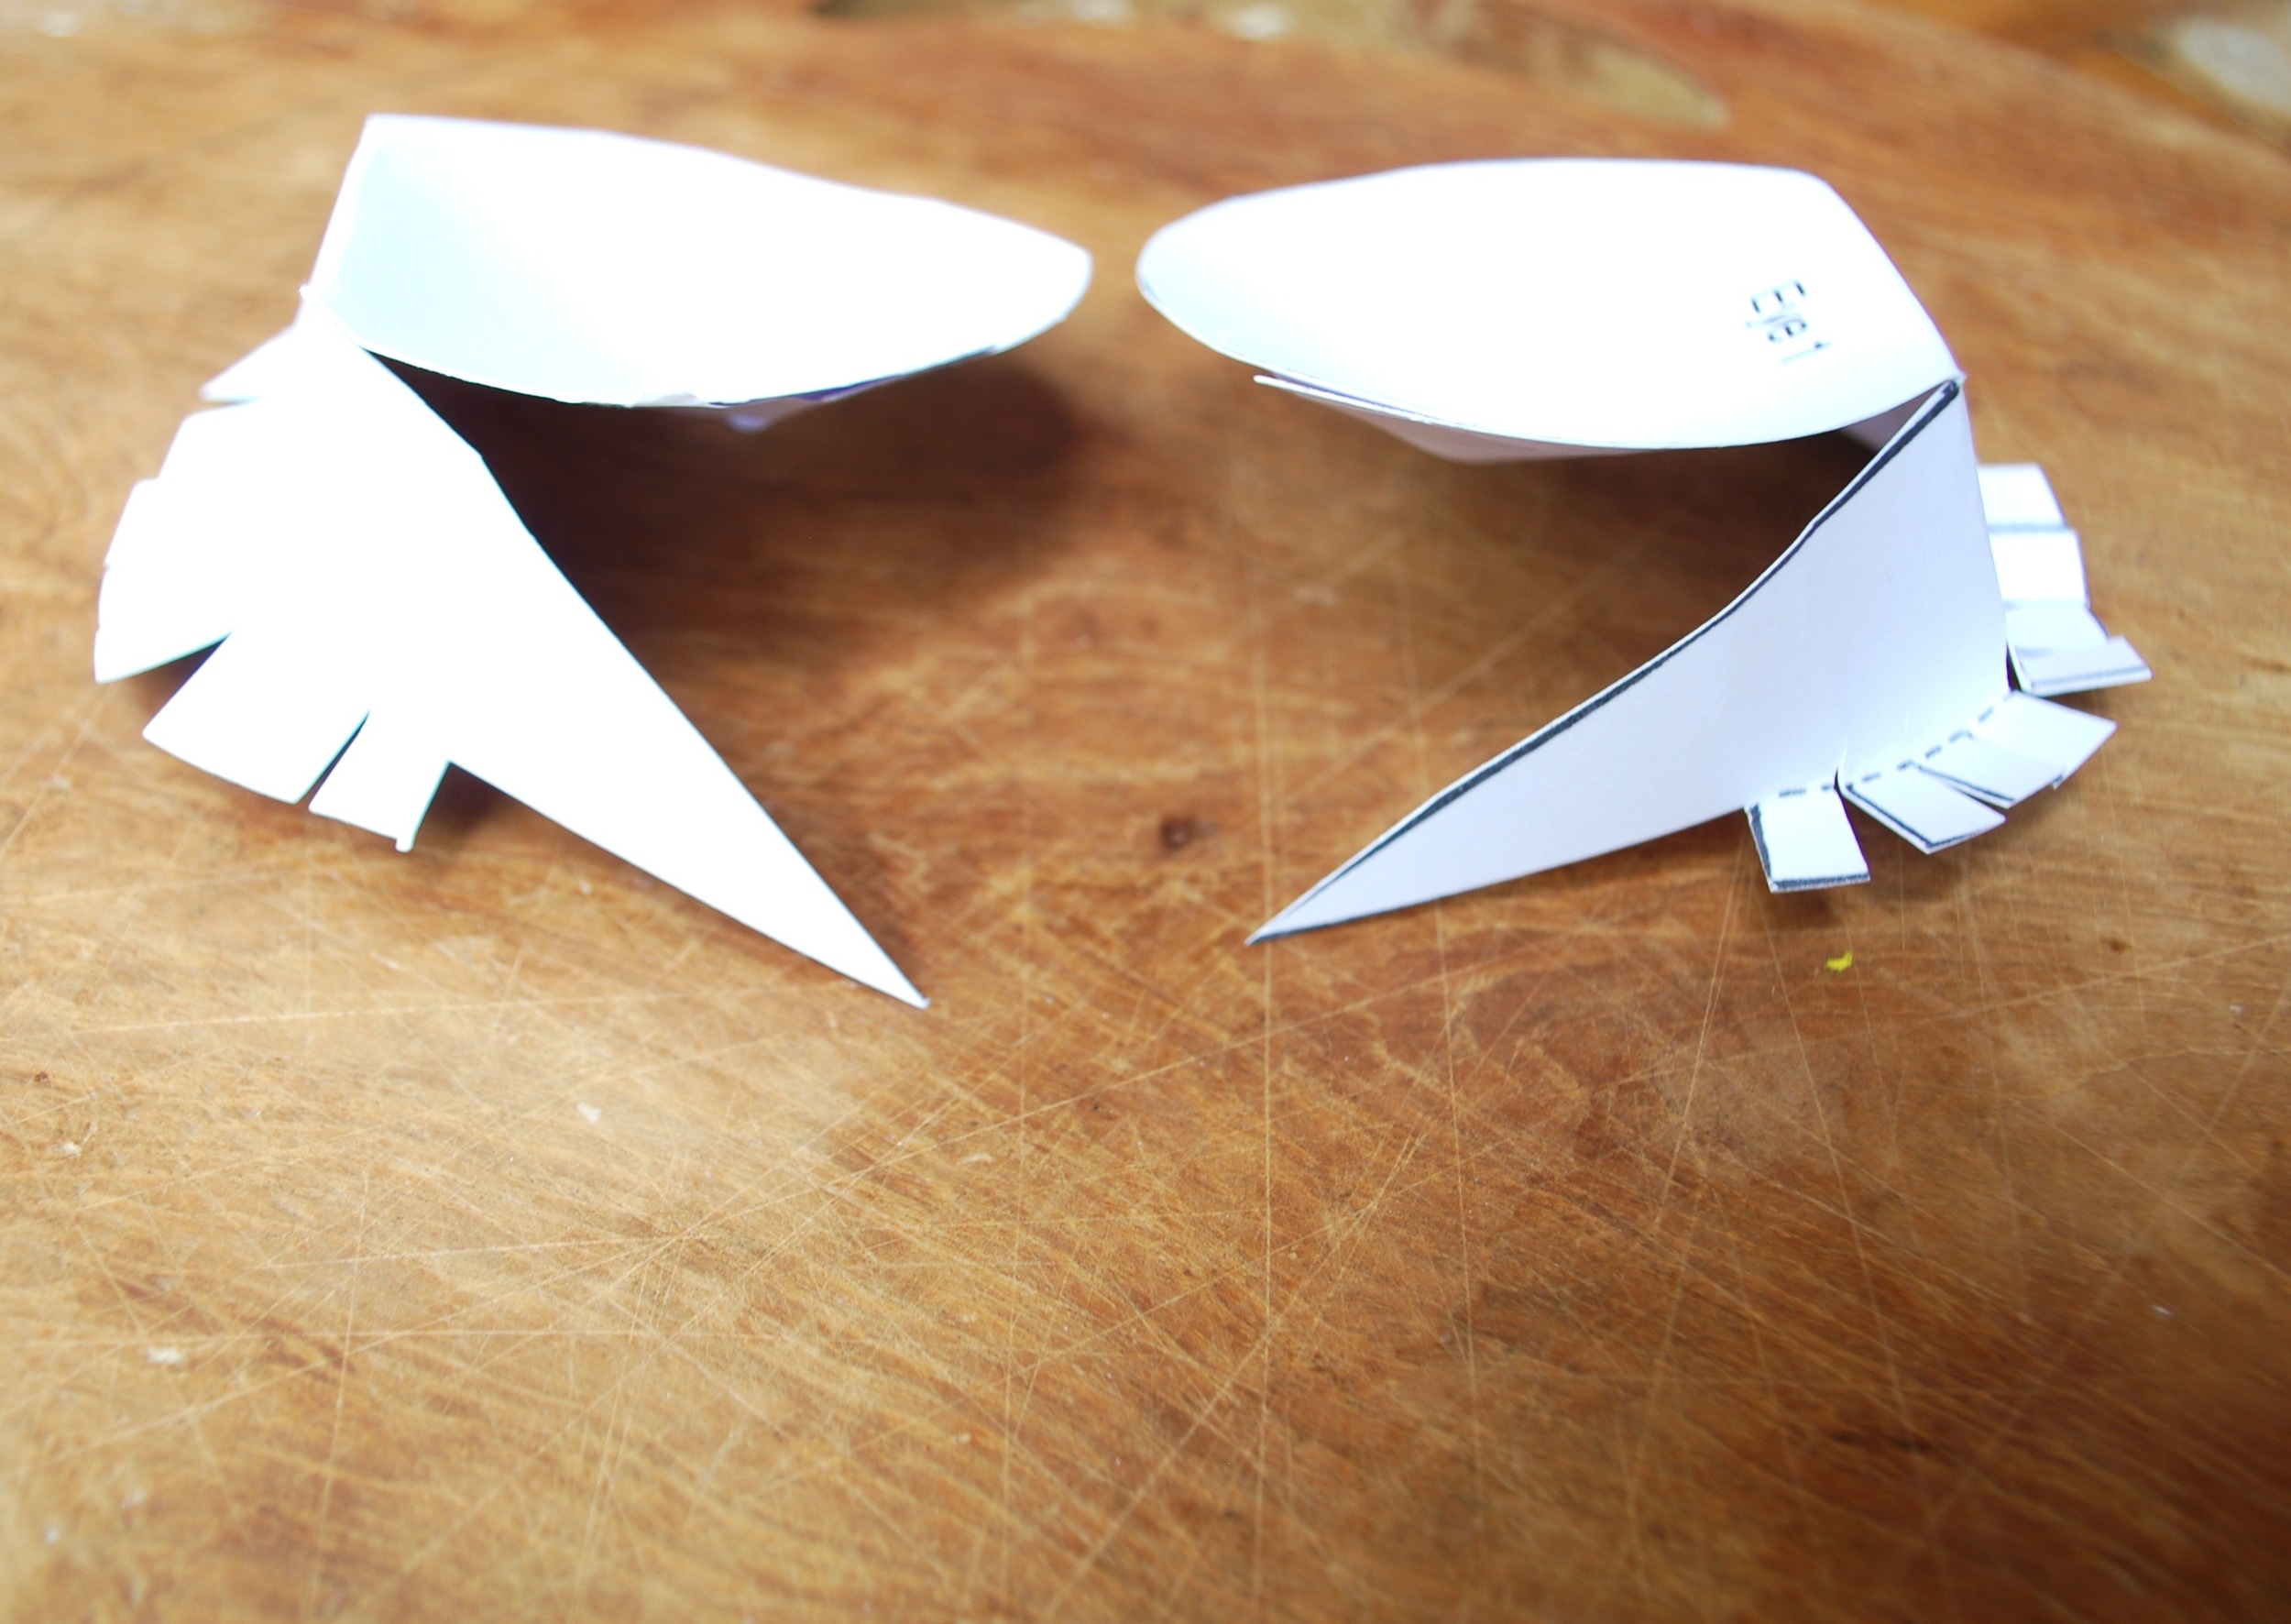
Make the eye socket concave by cutting and joining to the fold line as indicated on the templates. Gently bend and mould the templates as shown above.

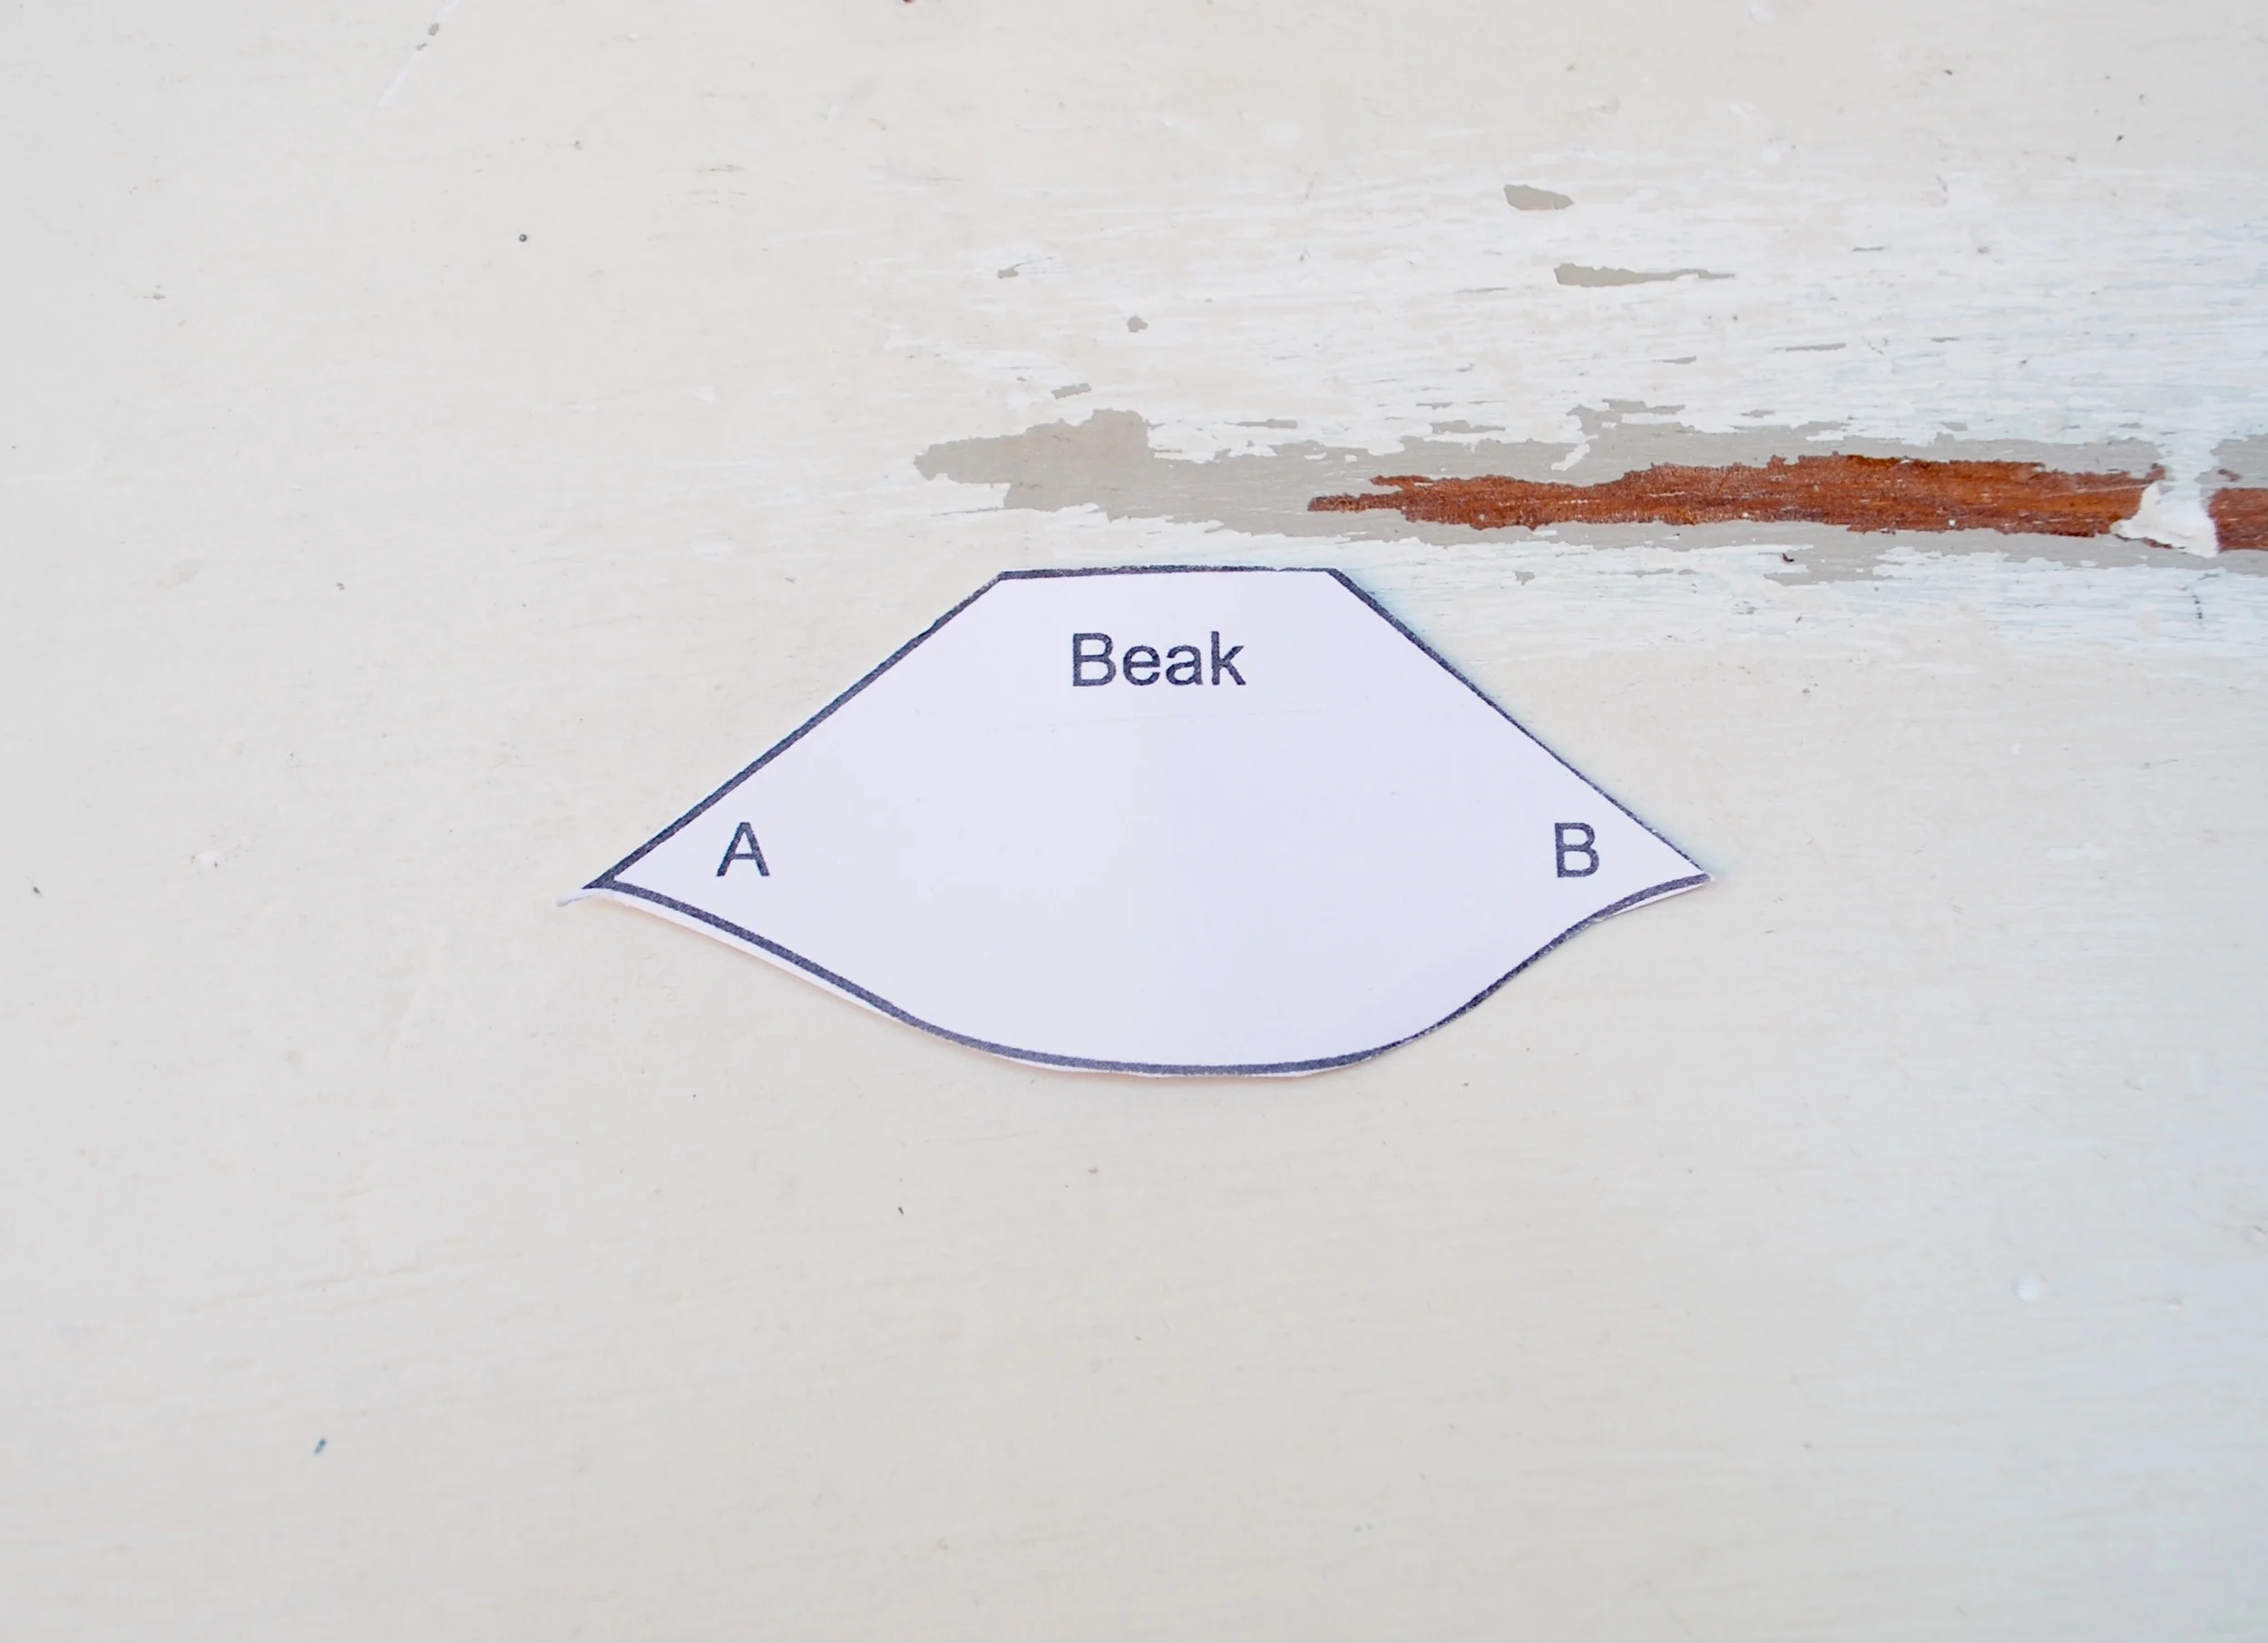
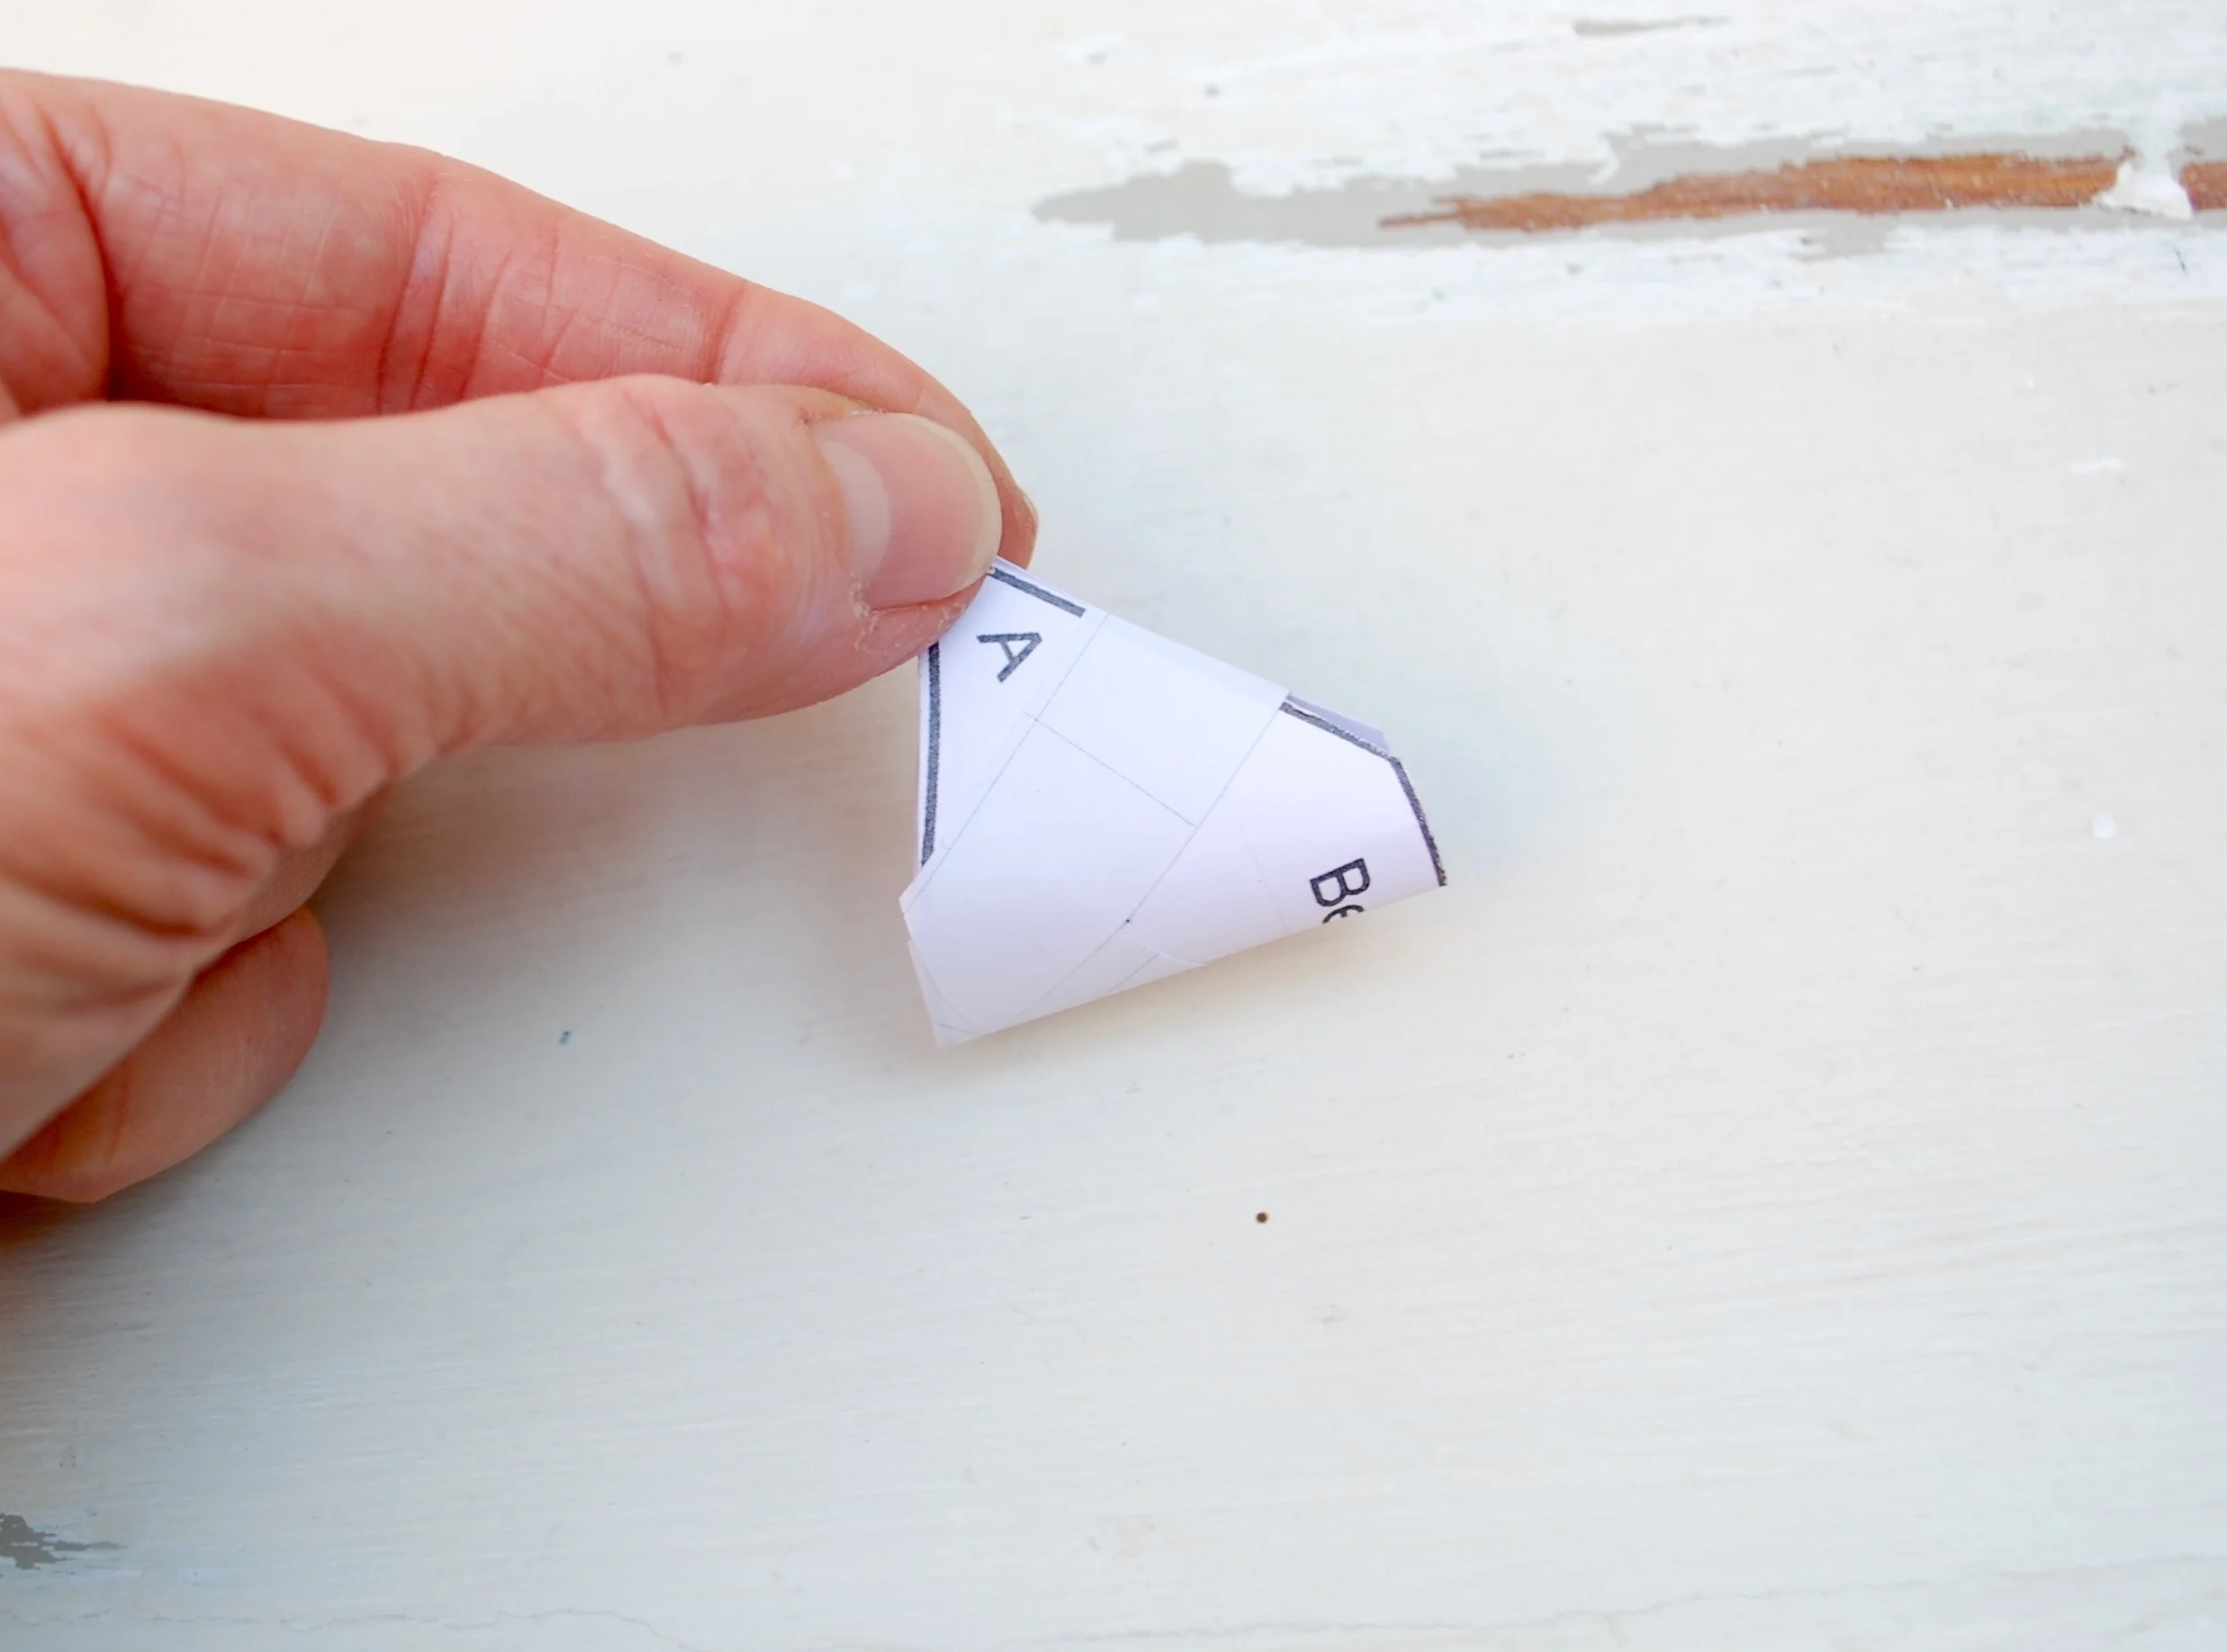
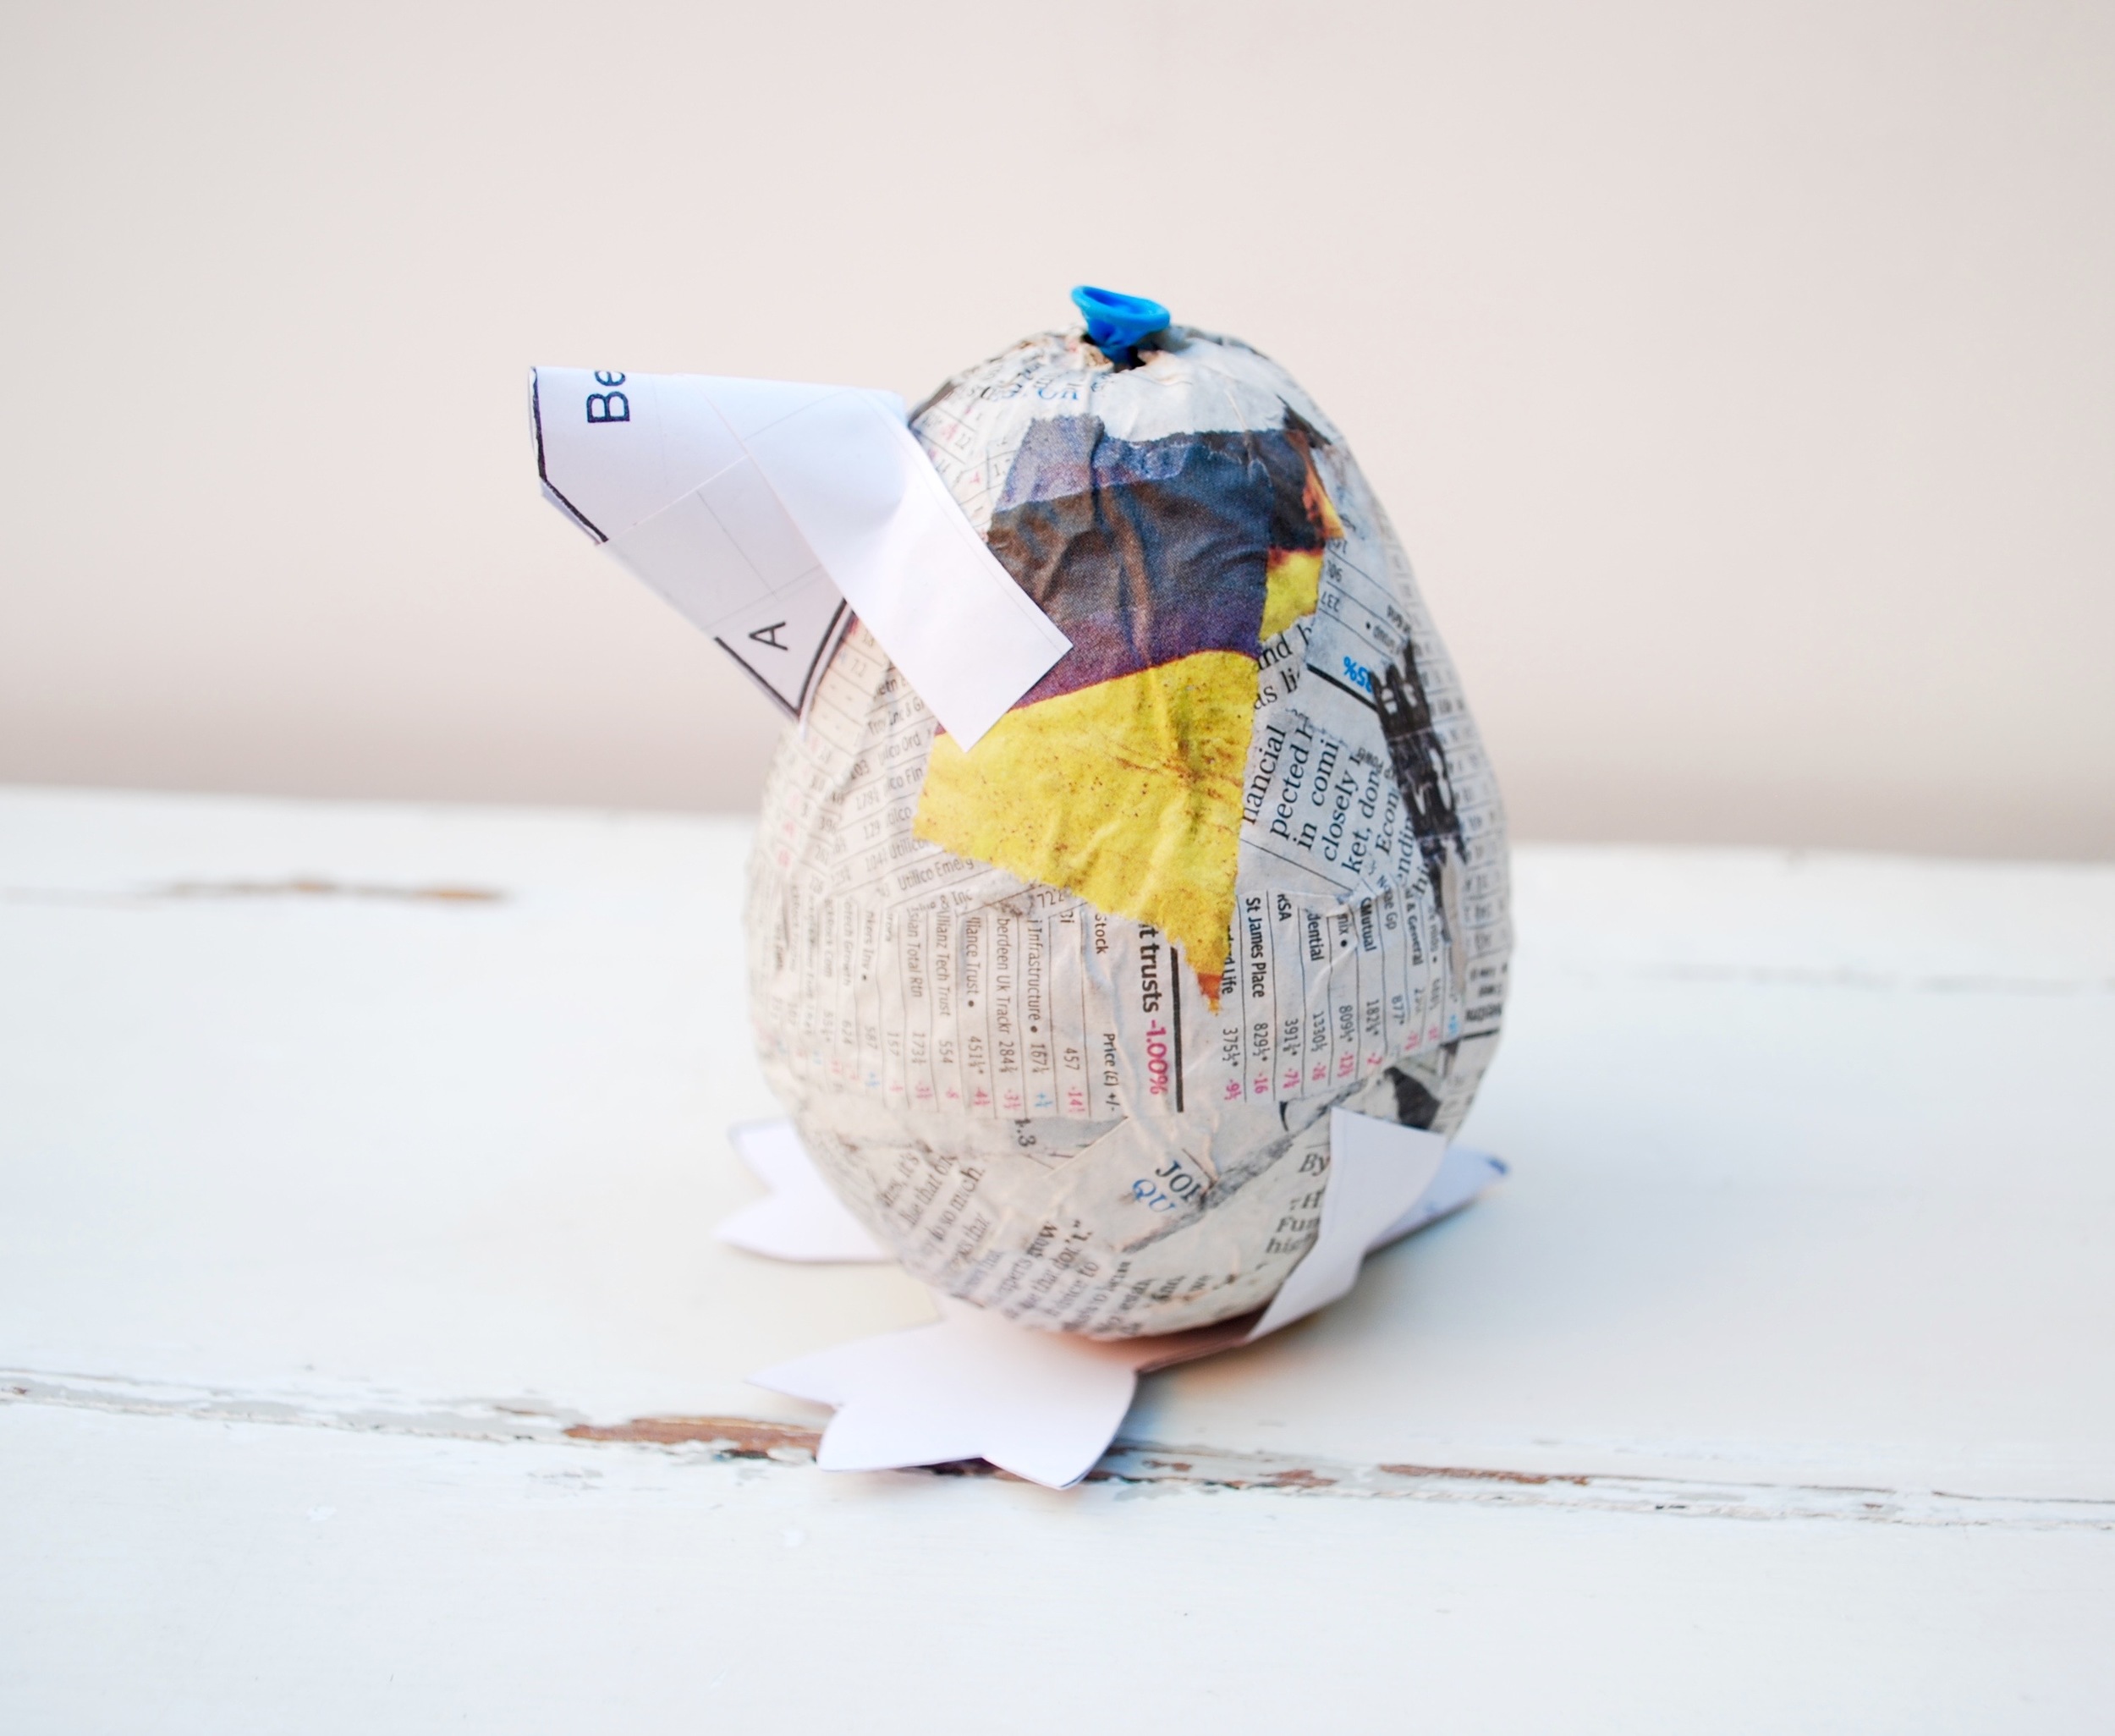
Cut out the beak and fold where indicated by a dotted line.

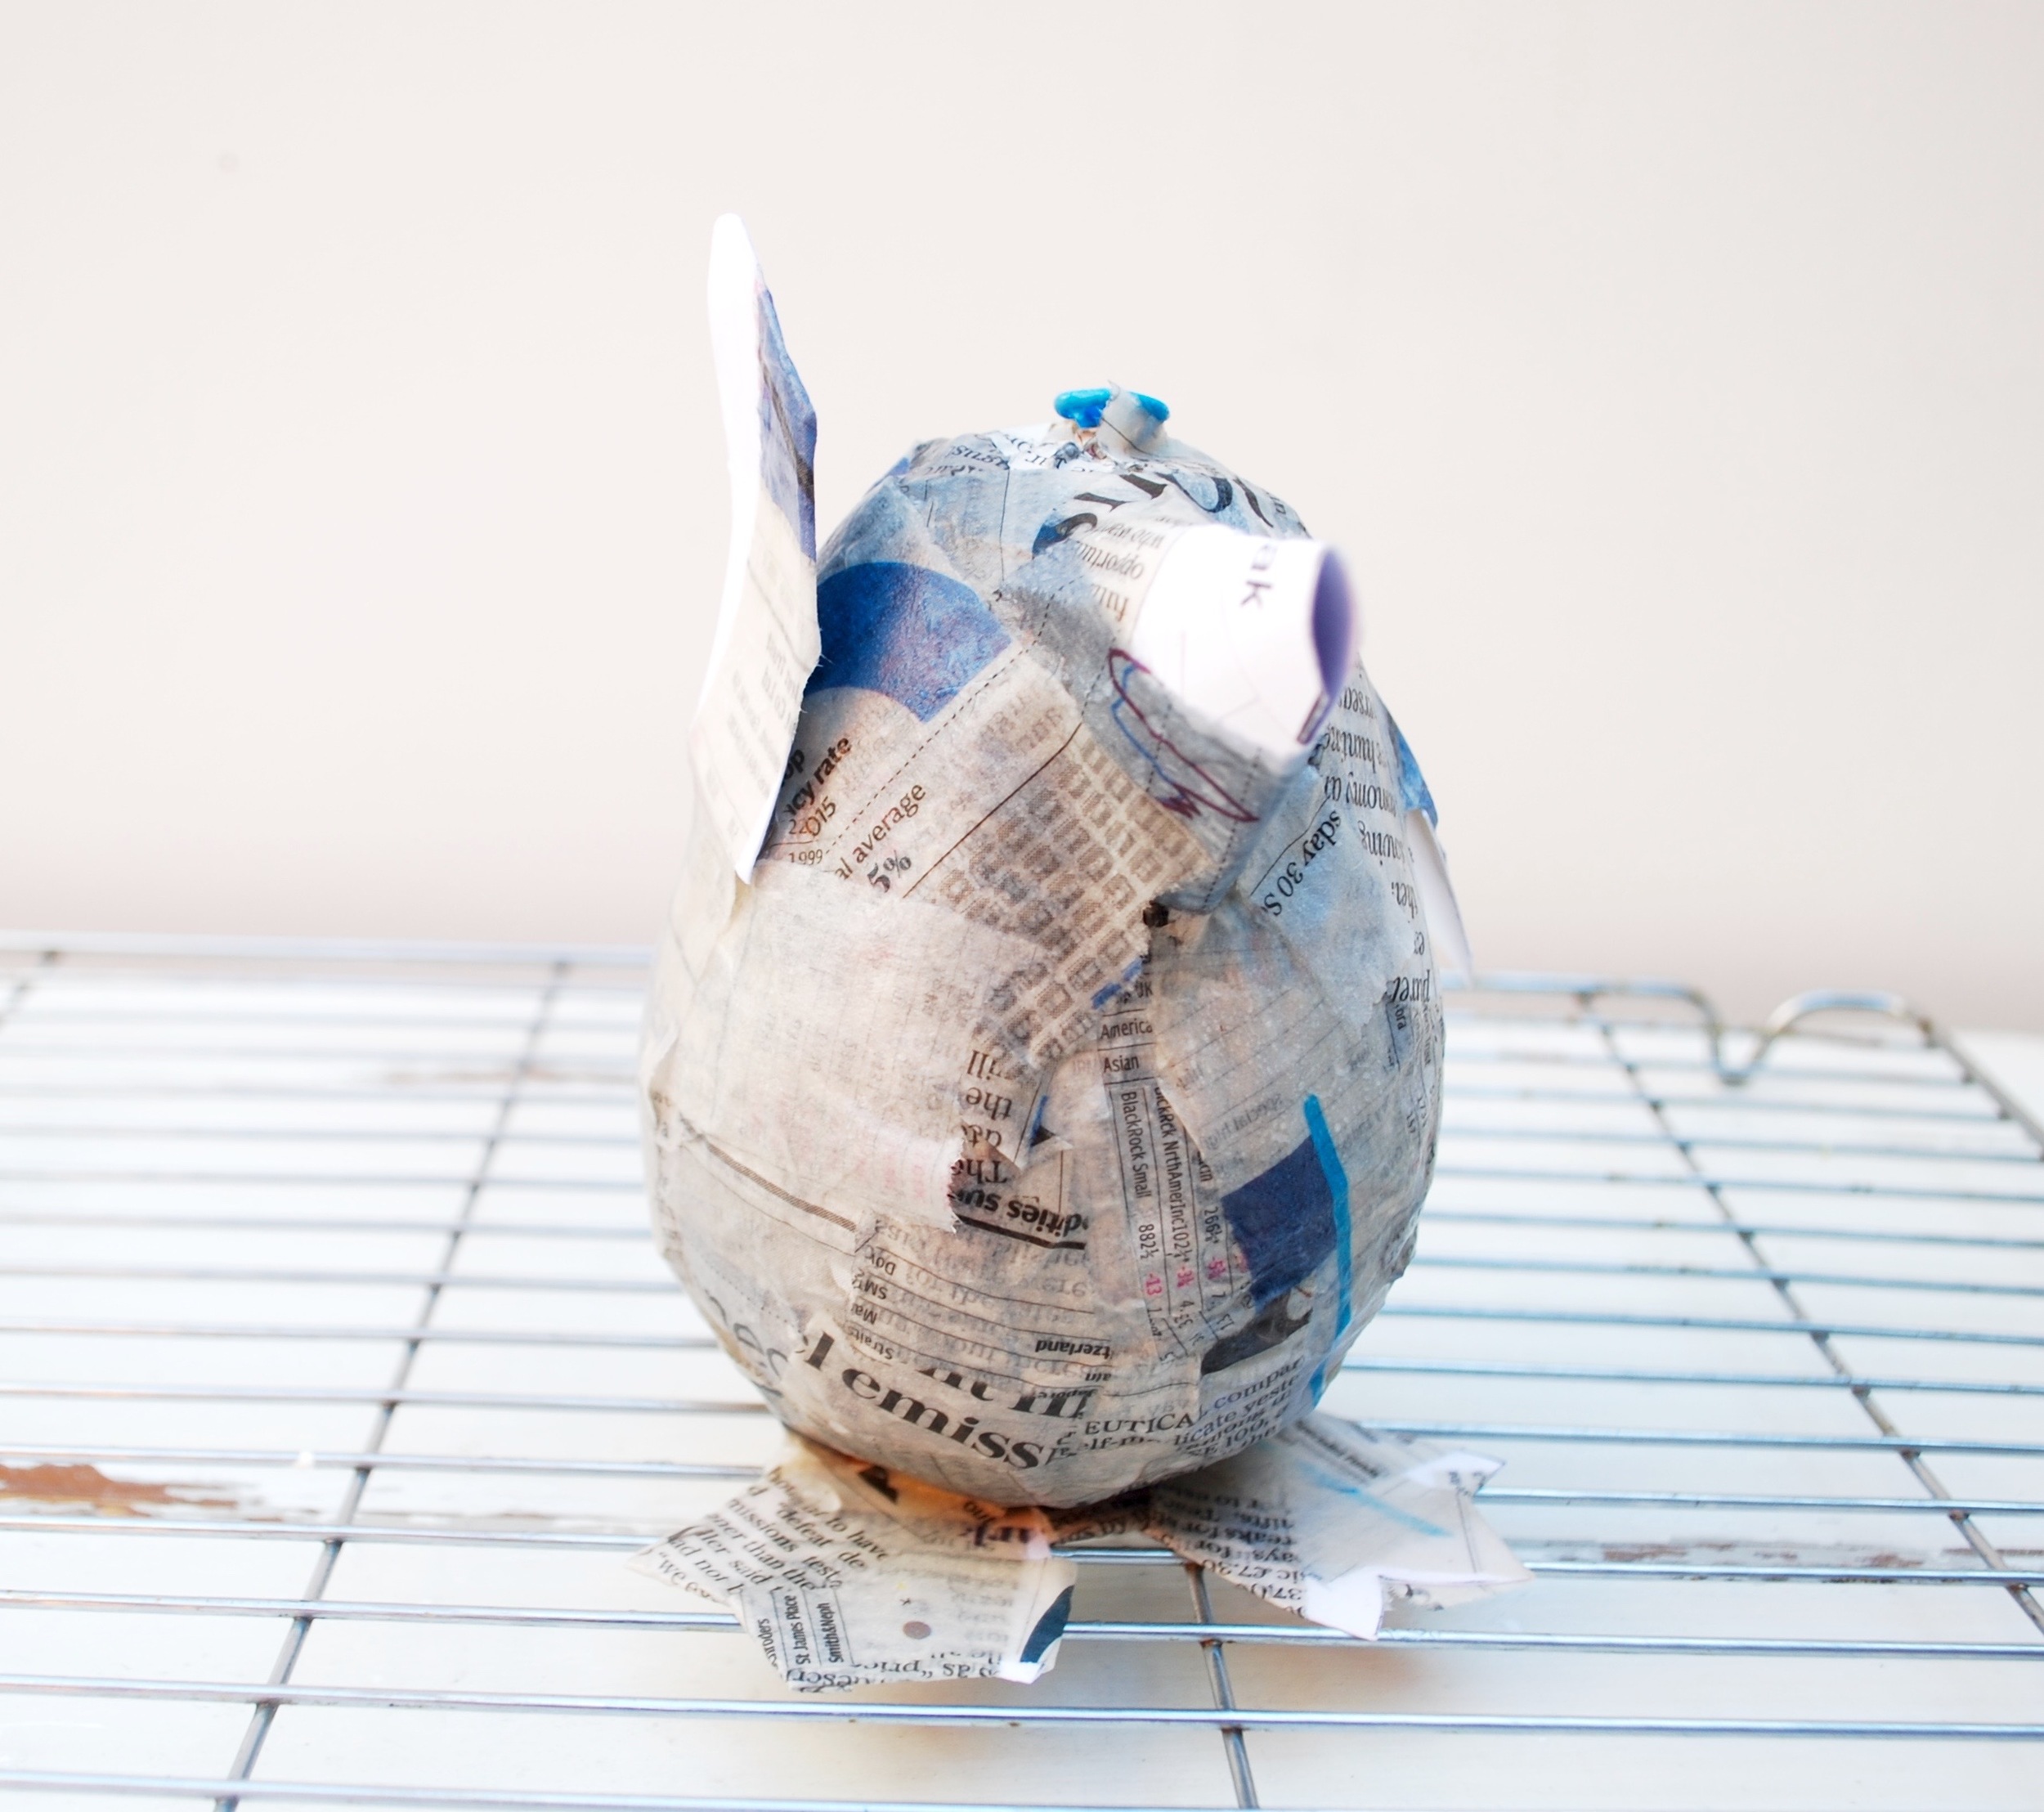
This is how you are going to position the eyes and beak onto the body. Notice how the beak rests OVER the eye sockets.

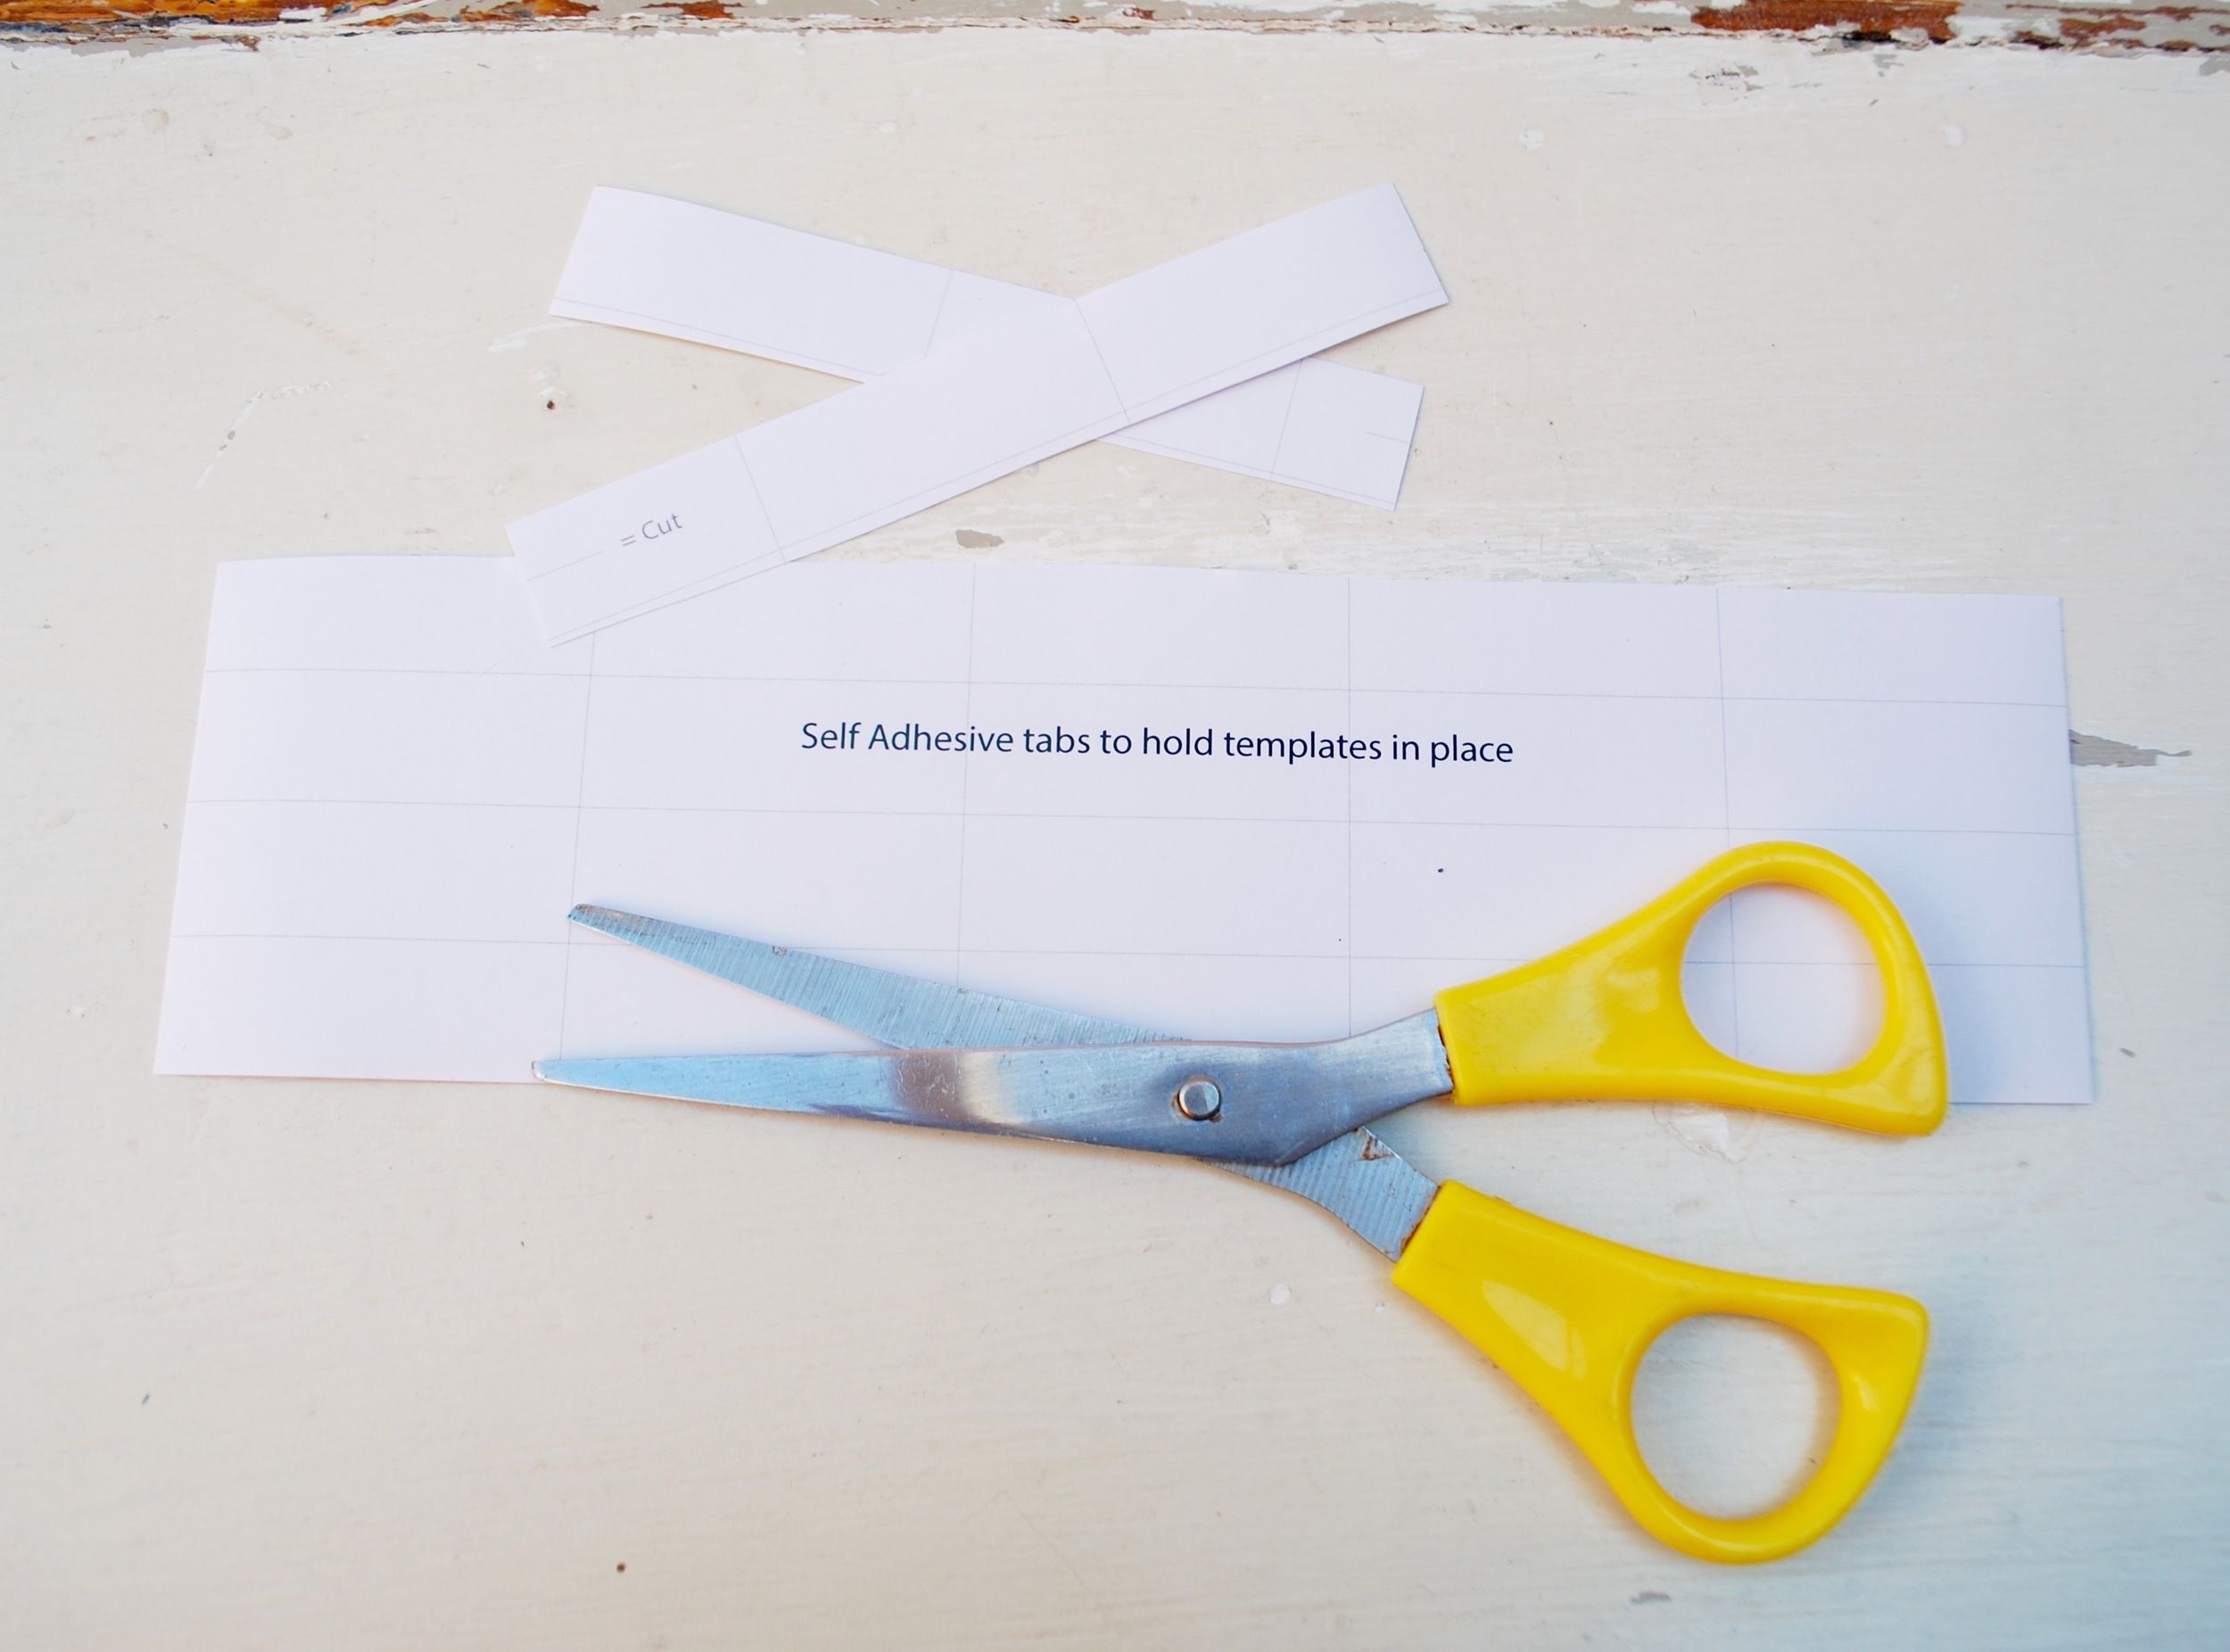
Cut out and apply the sticky tabs onto the template before positioning onto the body (unless you have an extra set of helping hands!)
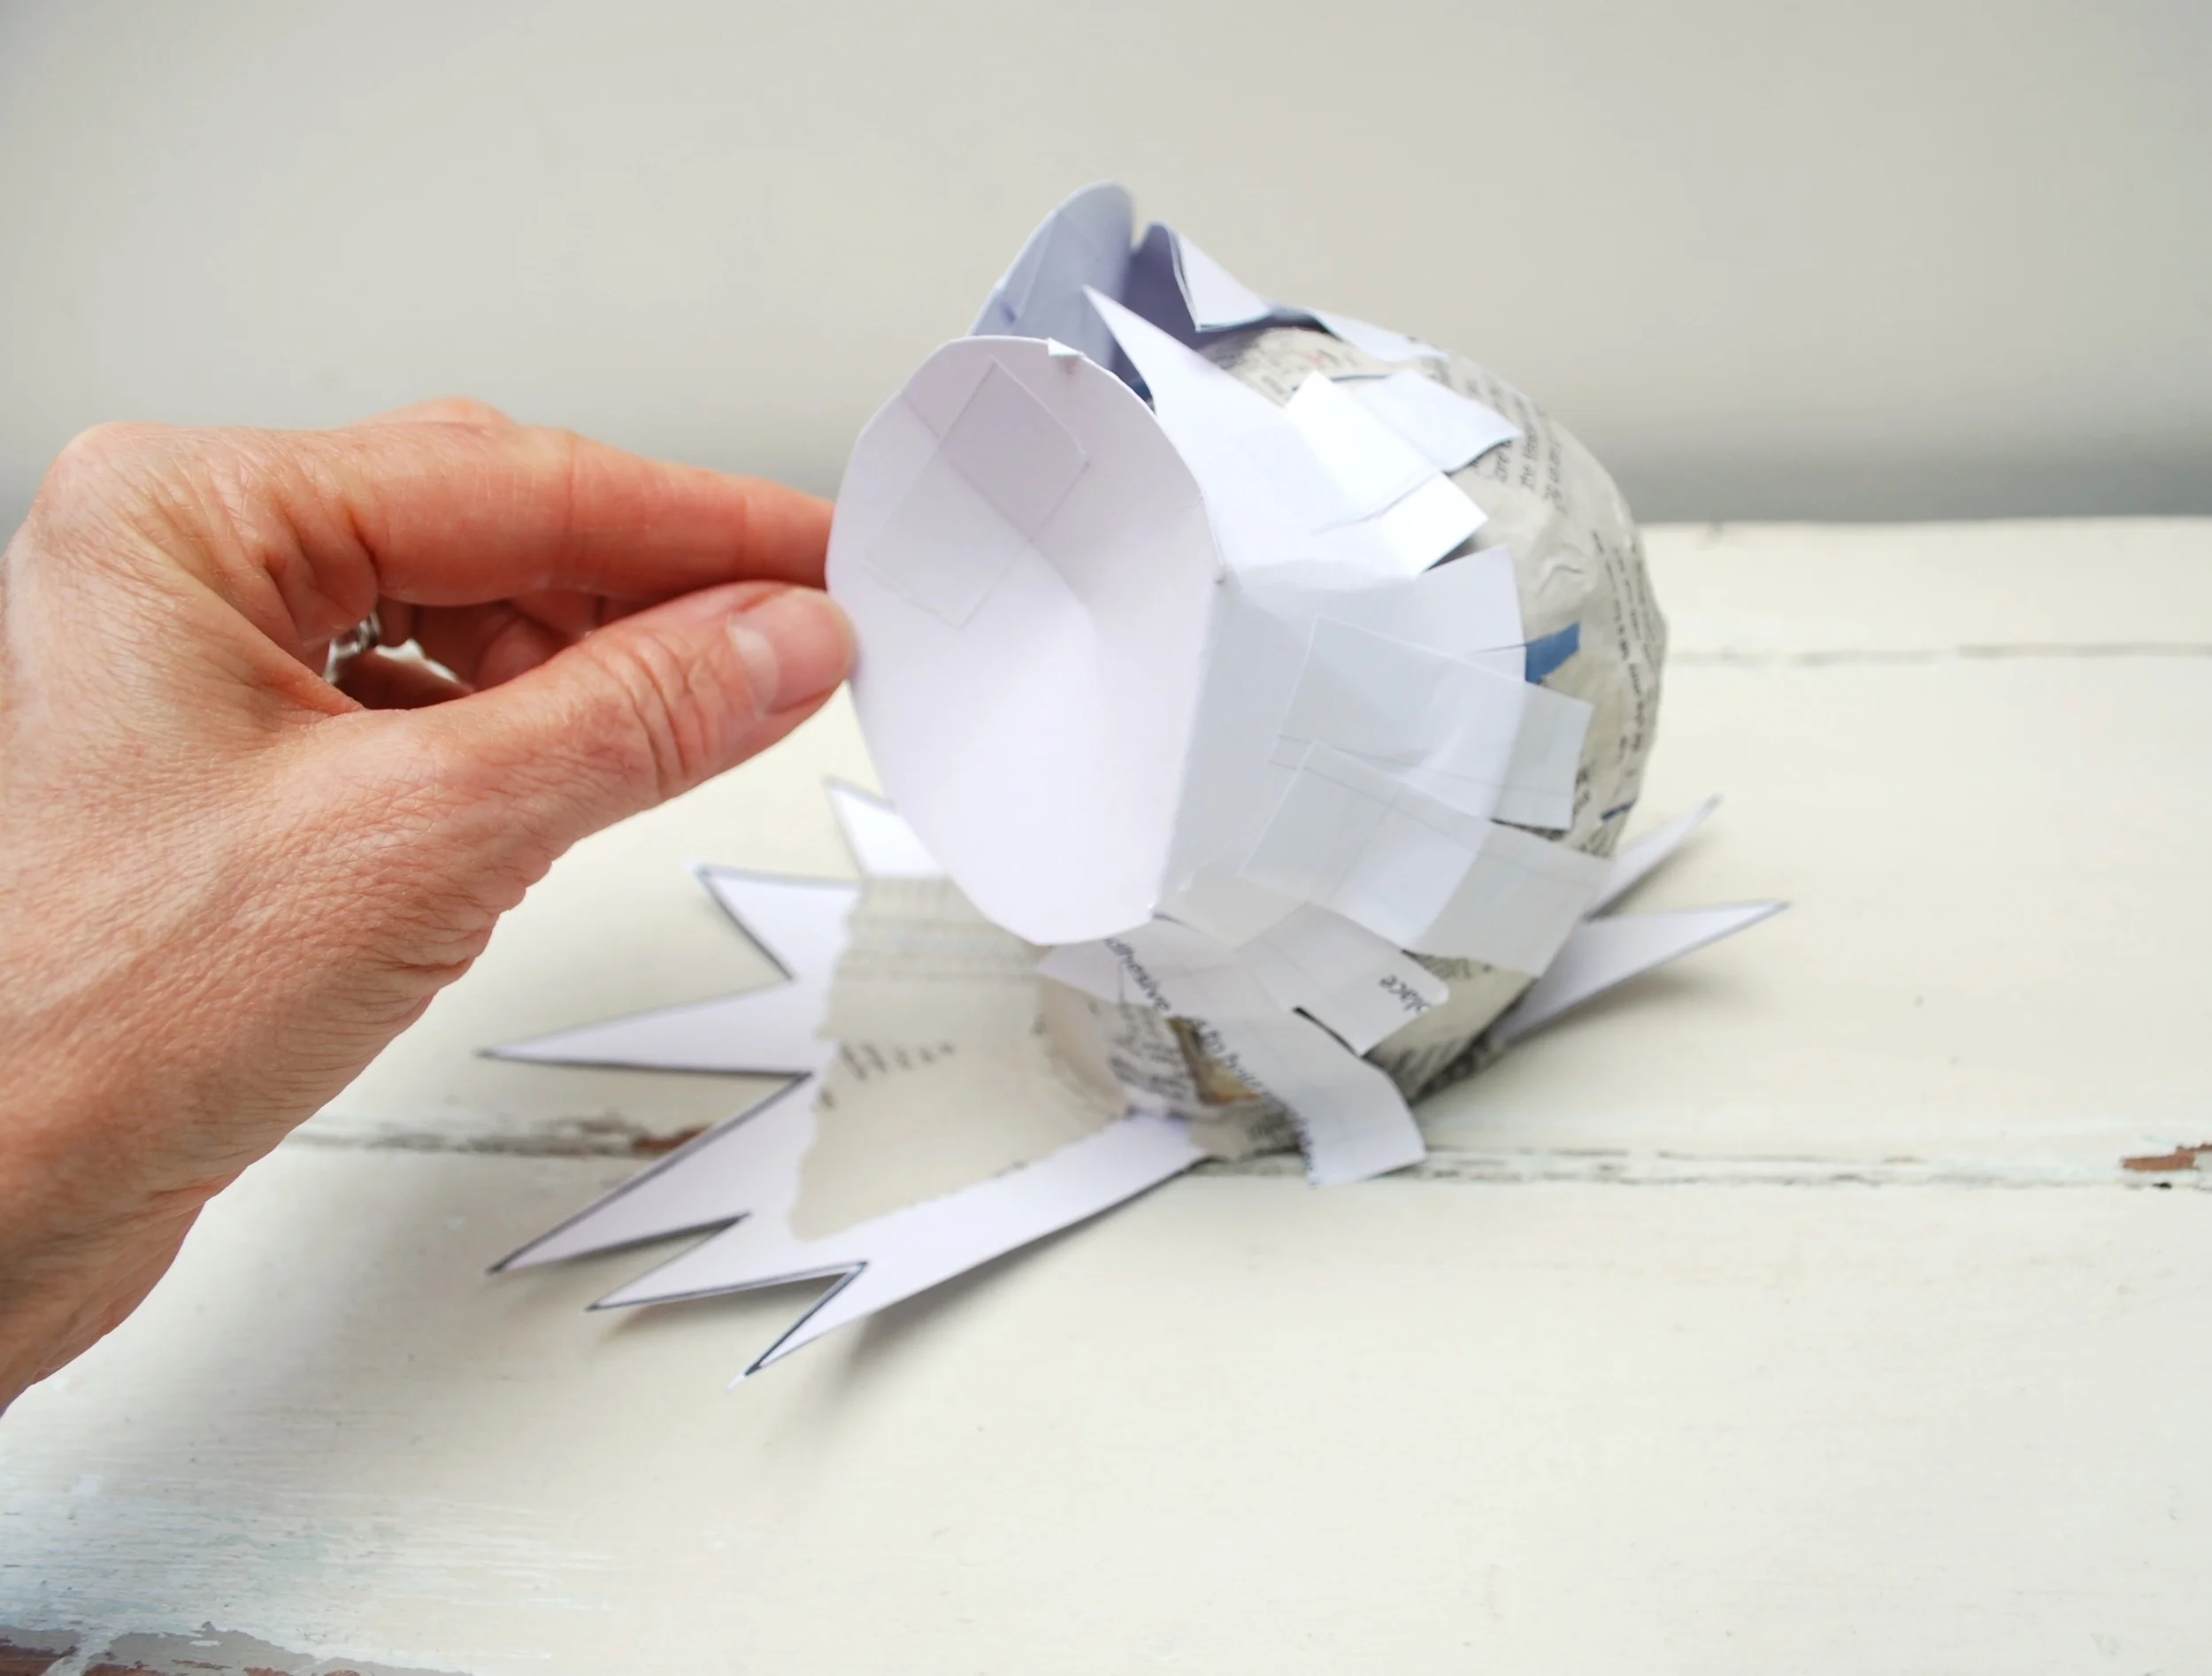
Positioning the templates. It really doesn't need to look neat and tidy. It simply needs to holds the templates in place until you paper mache over them.
The view from above demonstrates how loose and messy it can be! If I take my fingers away the eyes ping apart a bit.

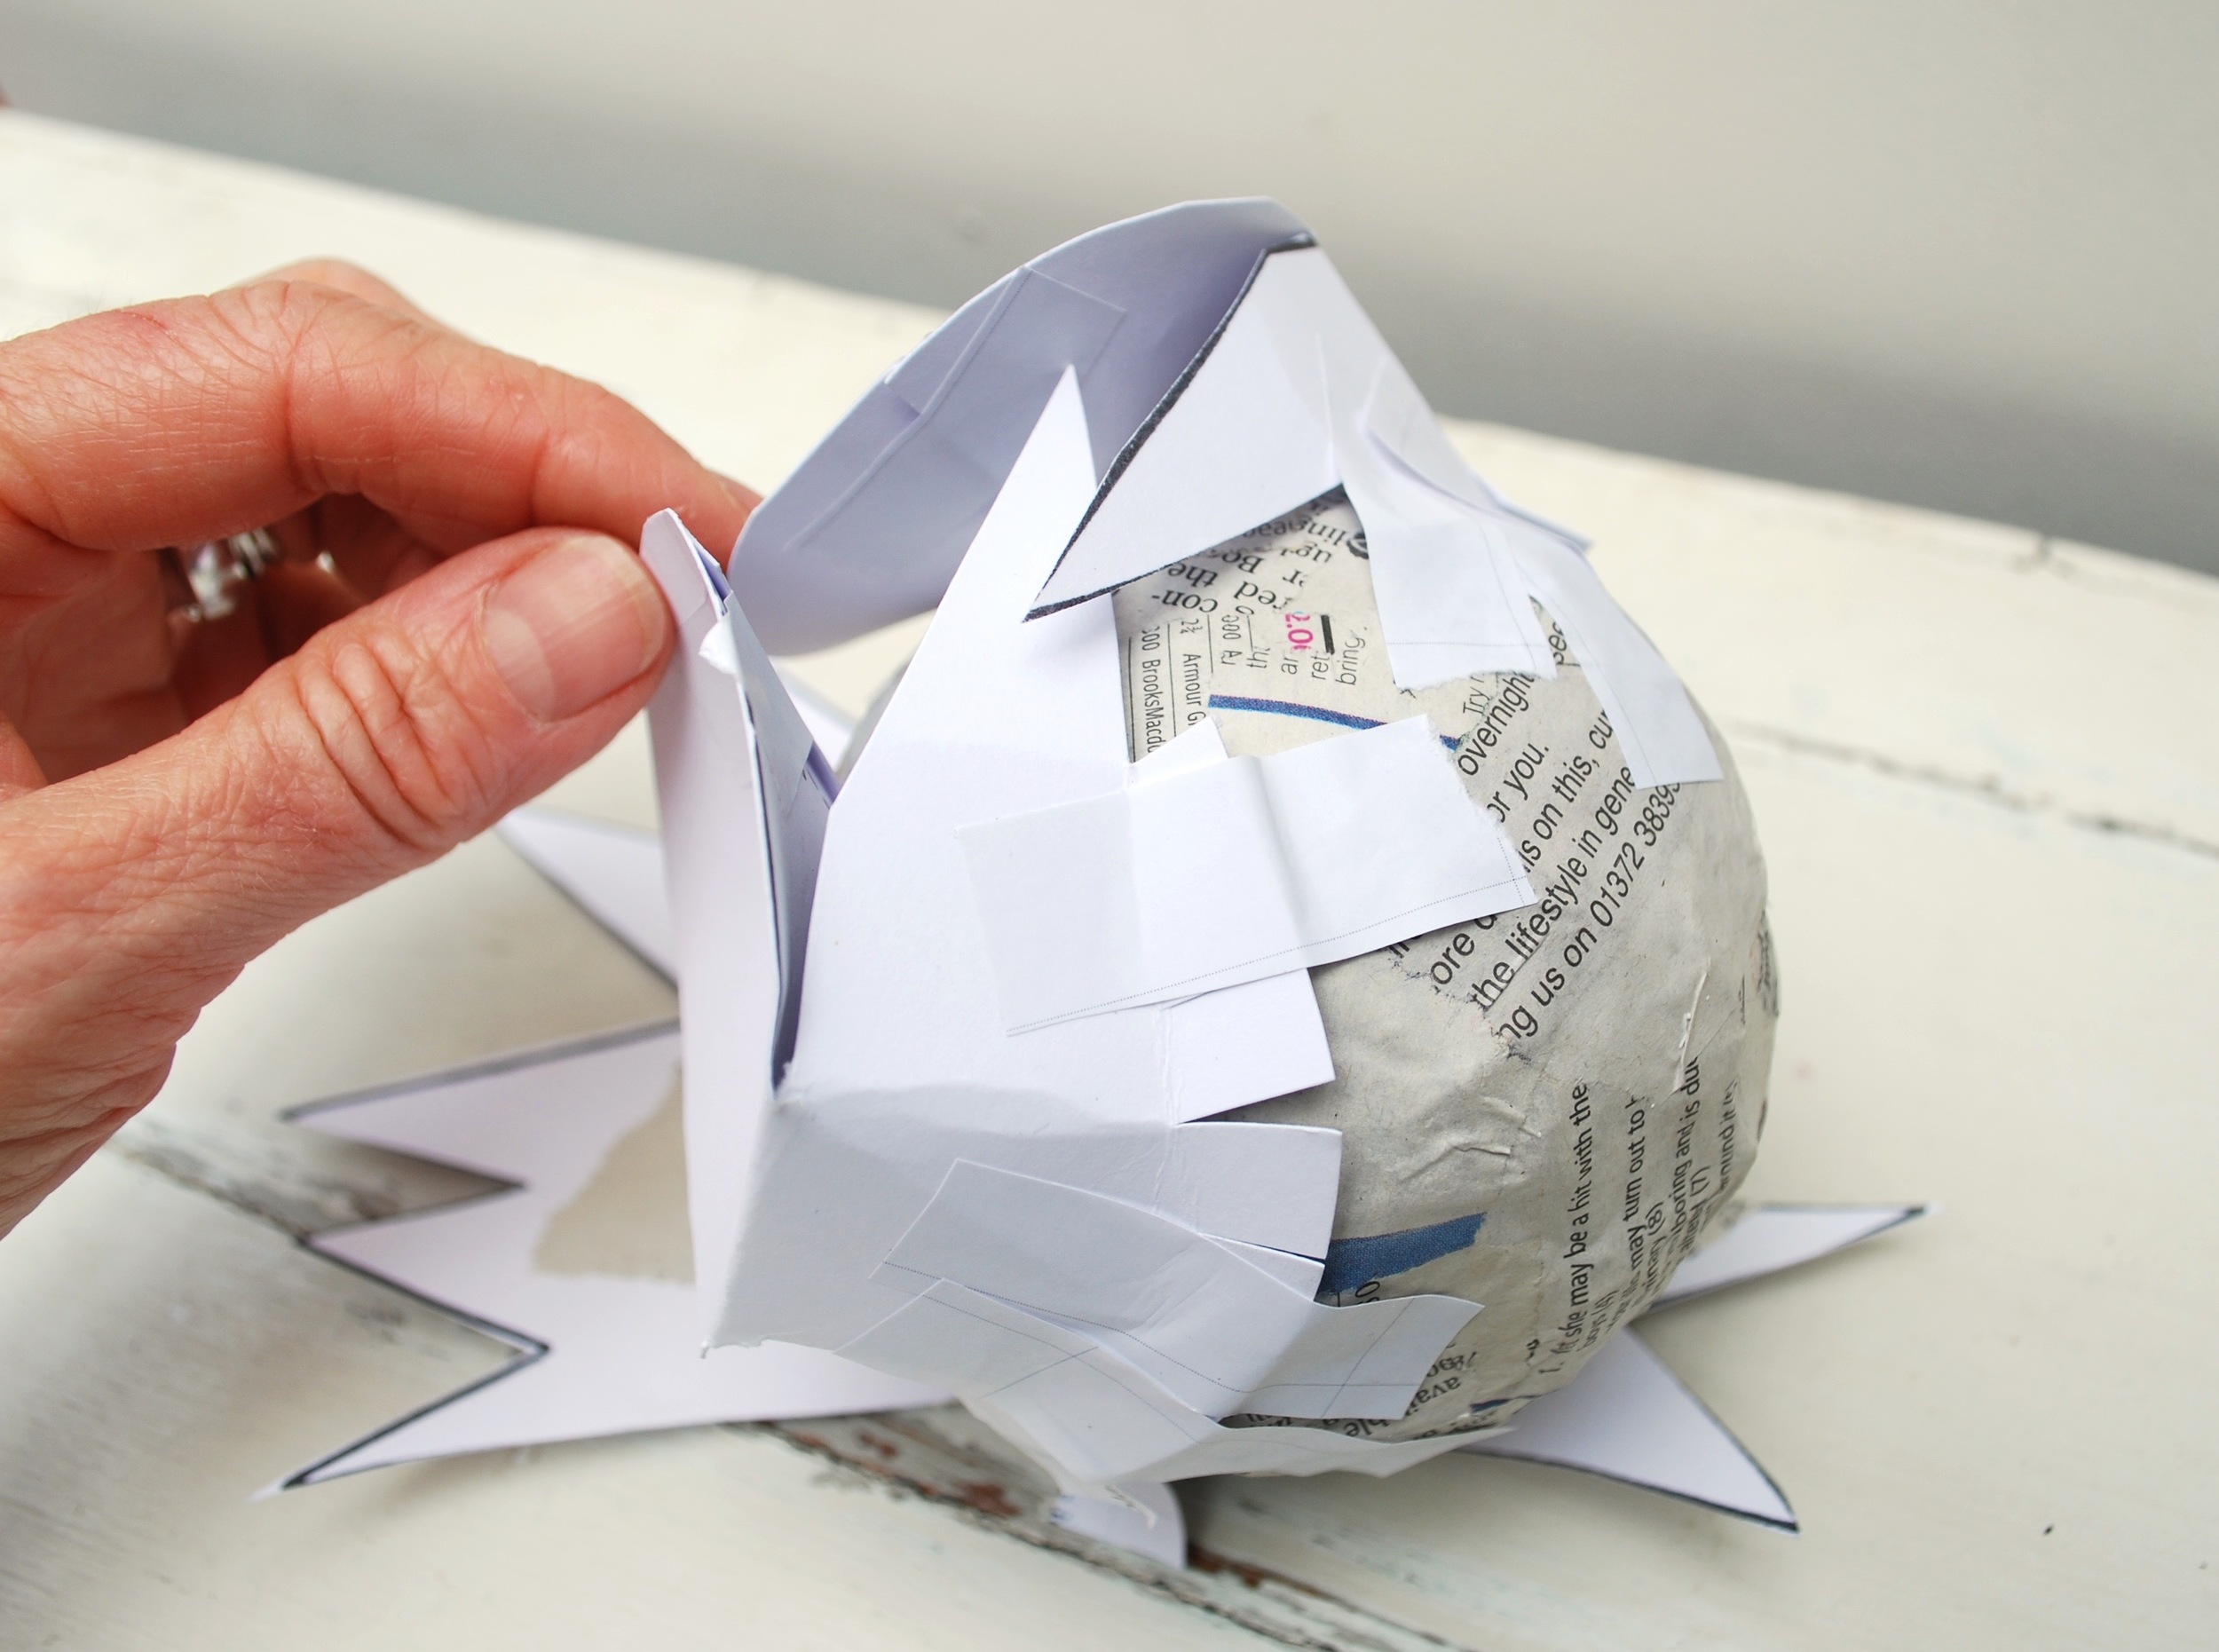
See hoe the eyes move apart when I let go. Don't worry this is fine.

Positioning the beak over the eyes will bring the eyes together
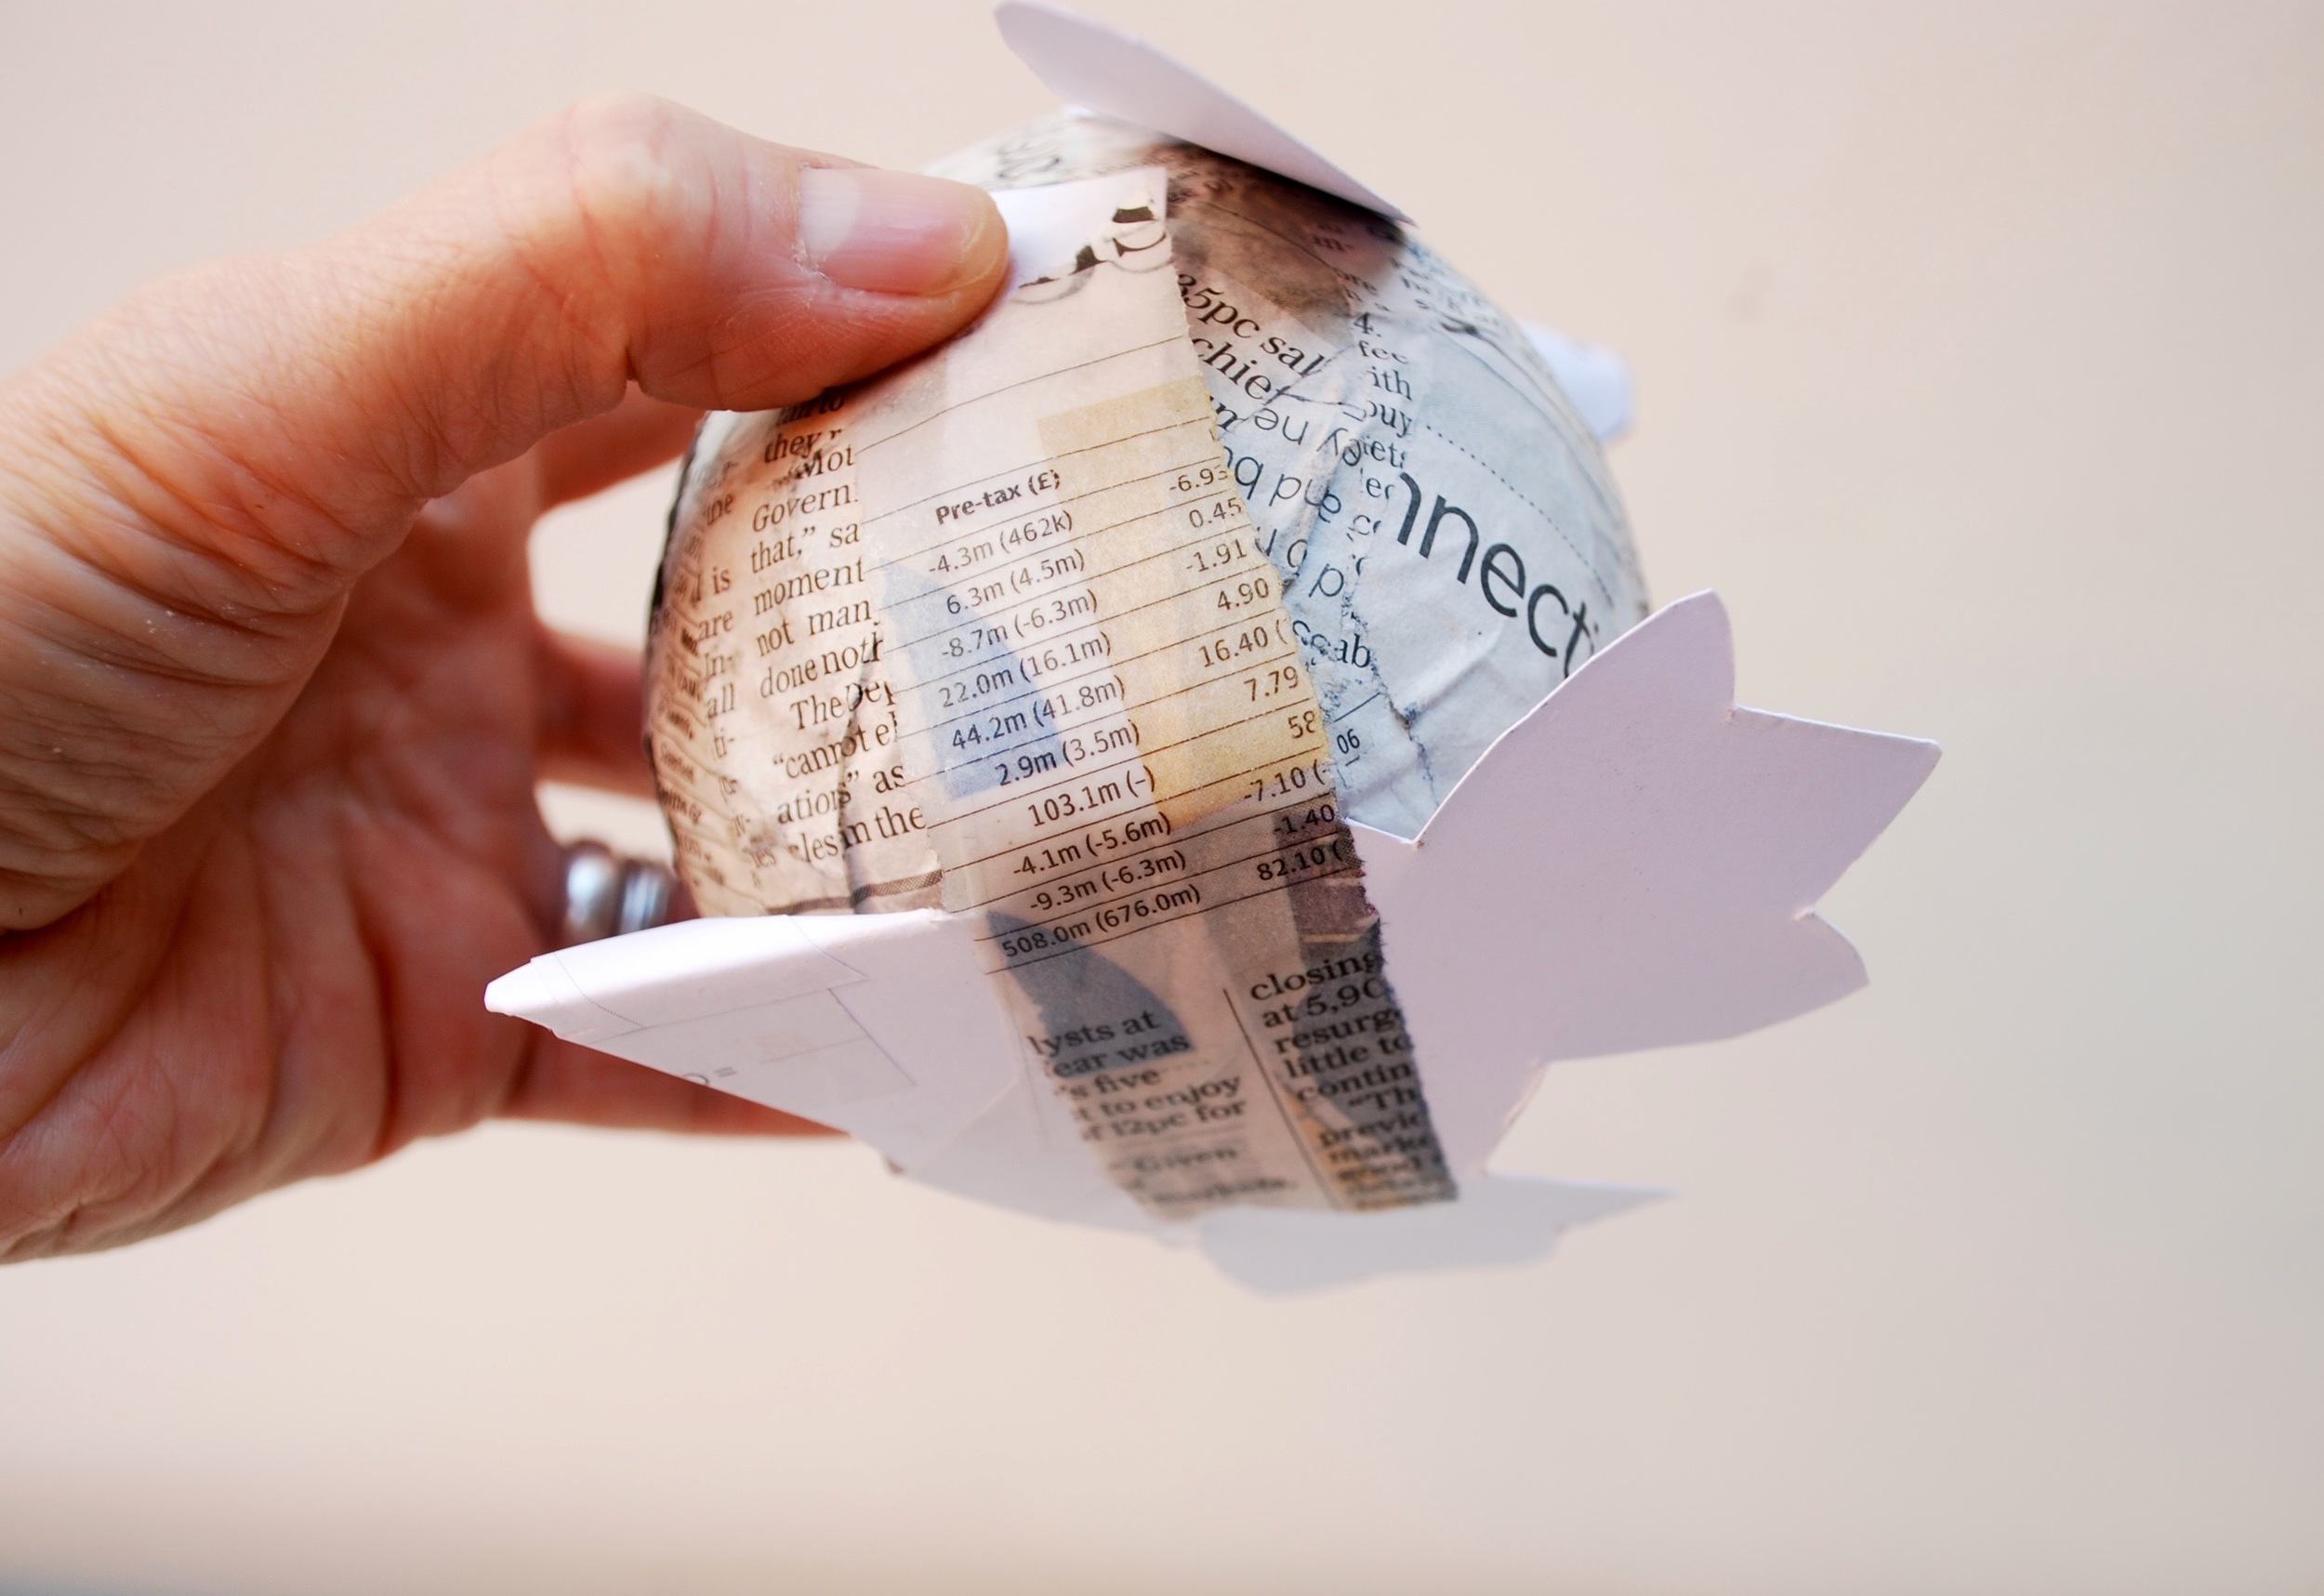
Fix the beak in position using the sticky tabs and do the same on either side. Gently bend the sides back so that they fix onto the body.

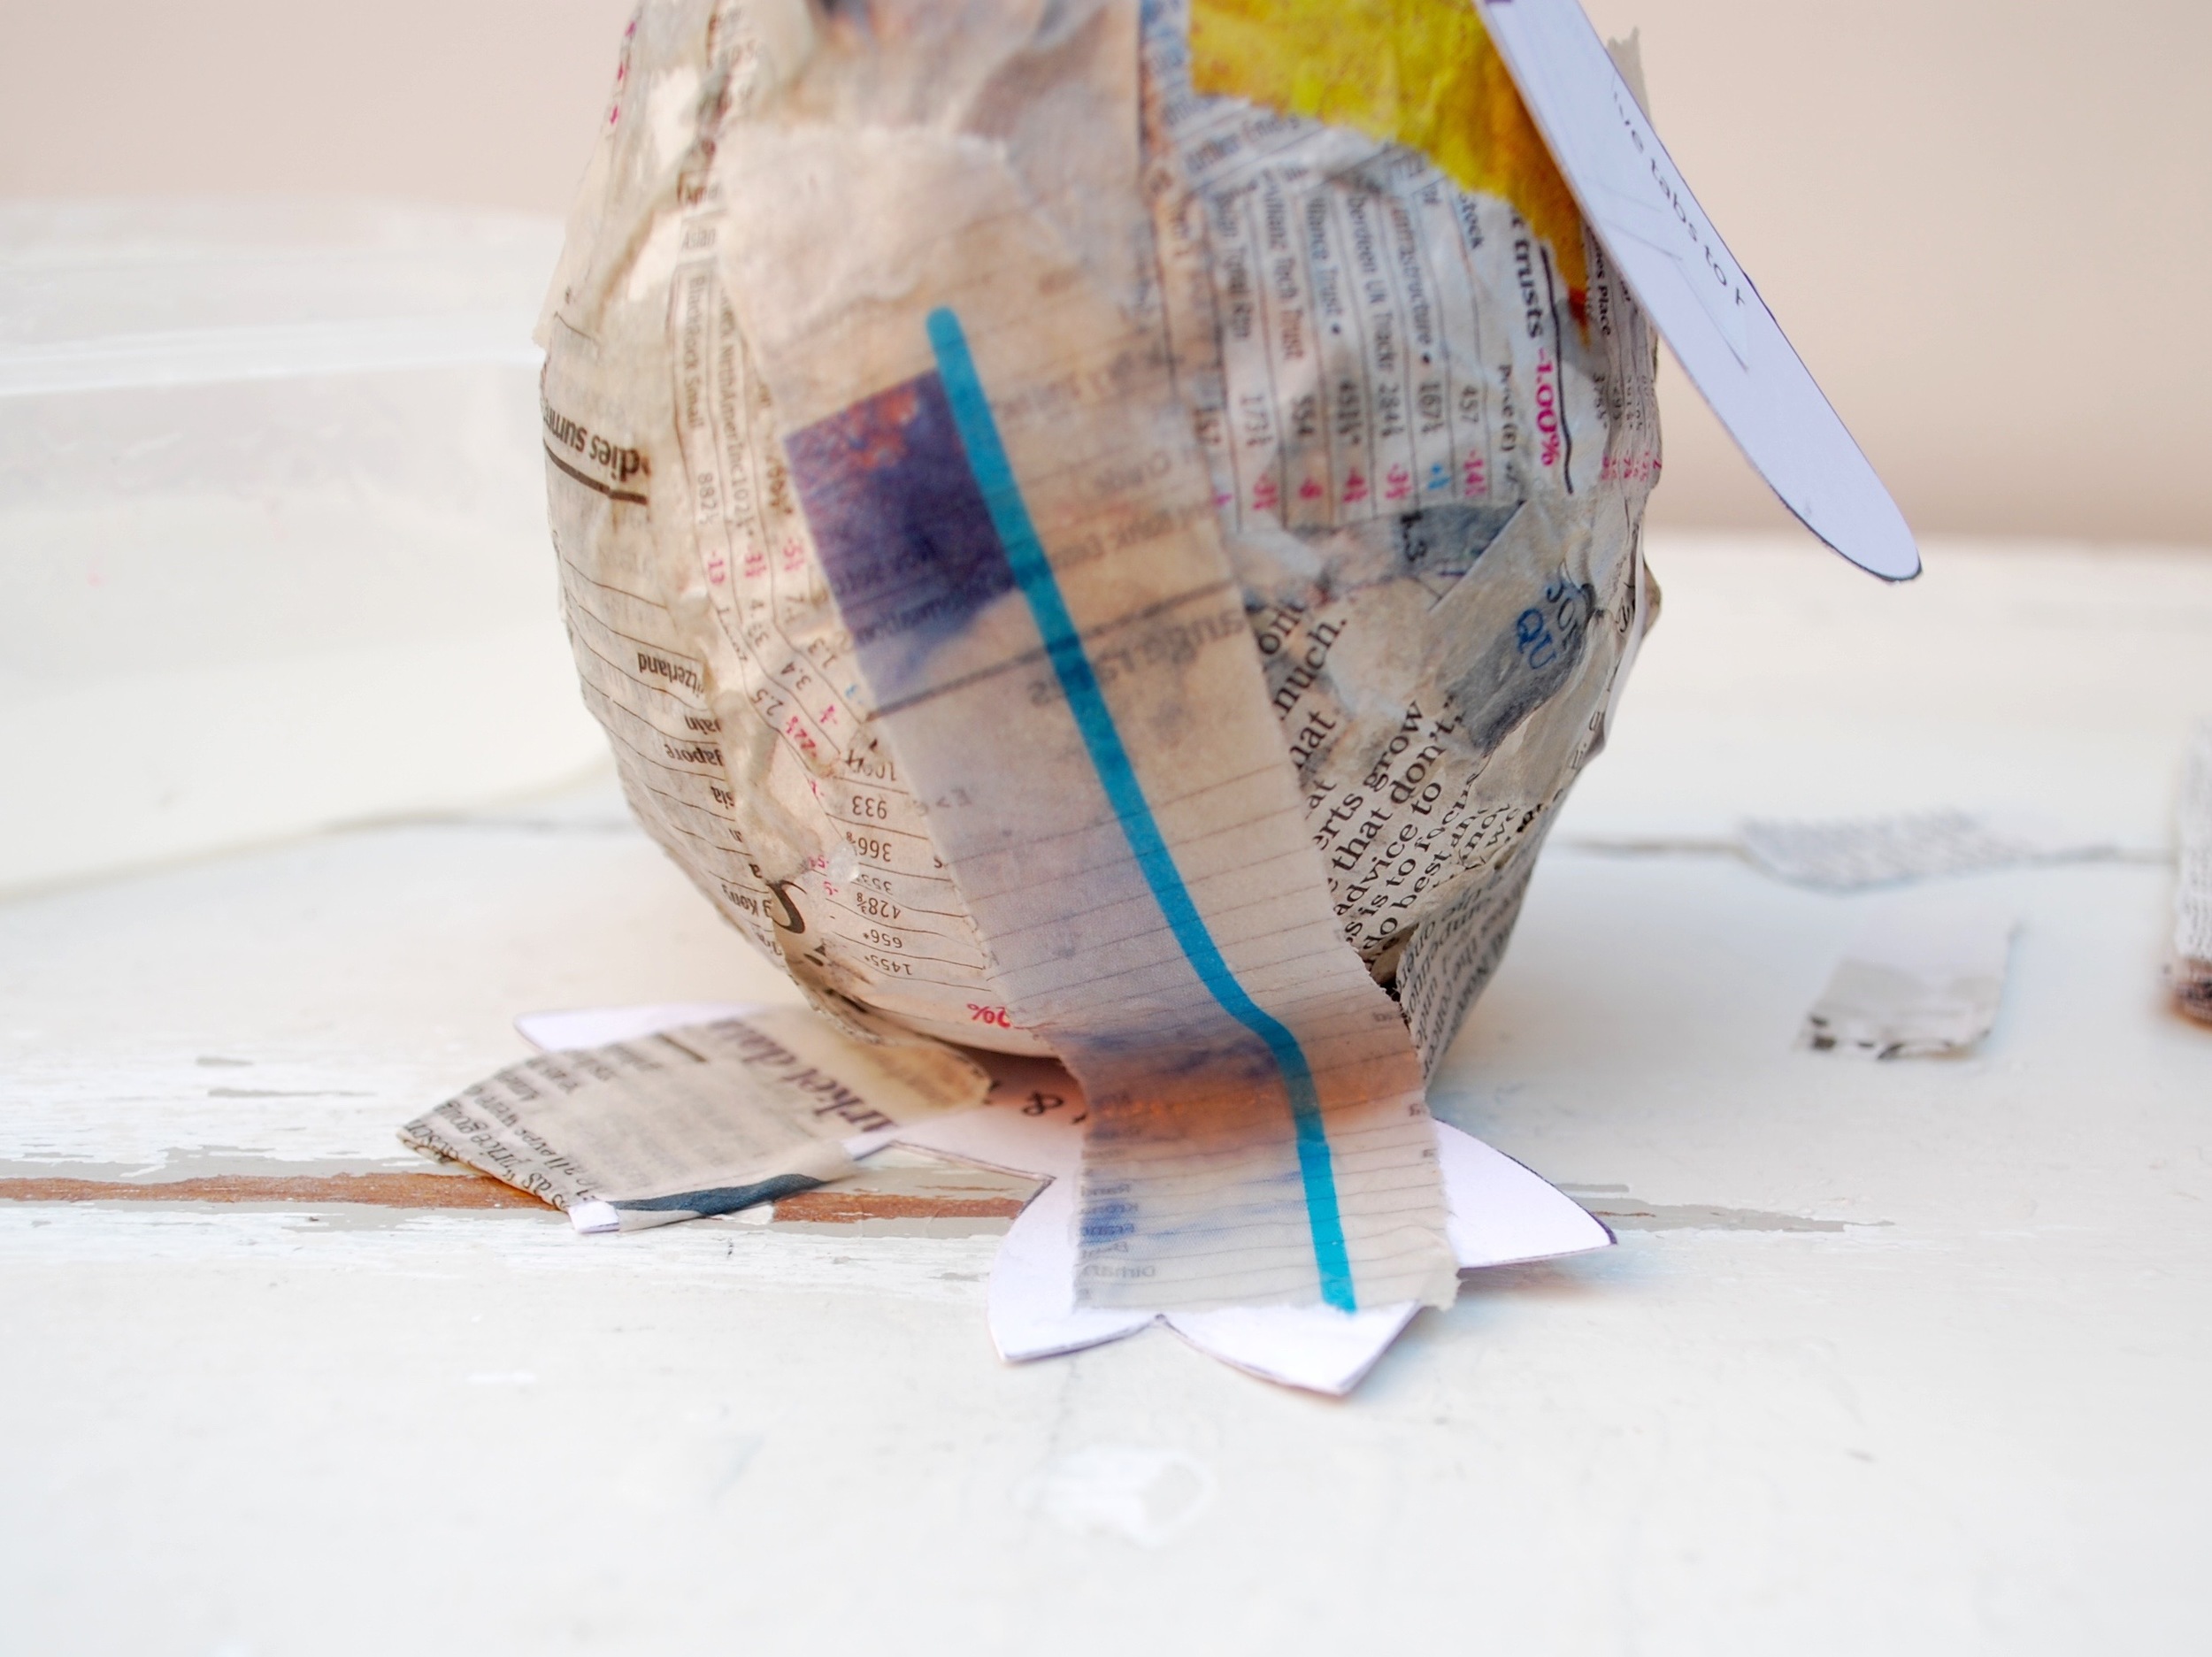
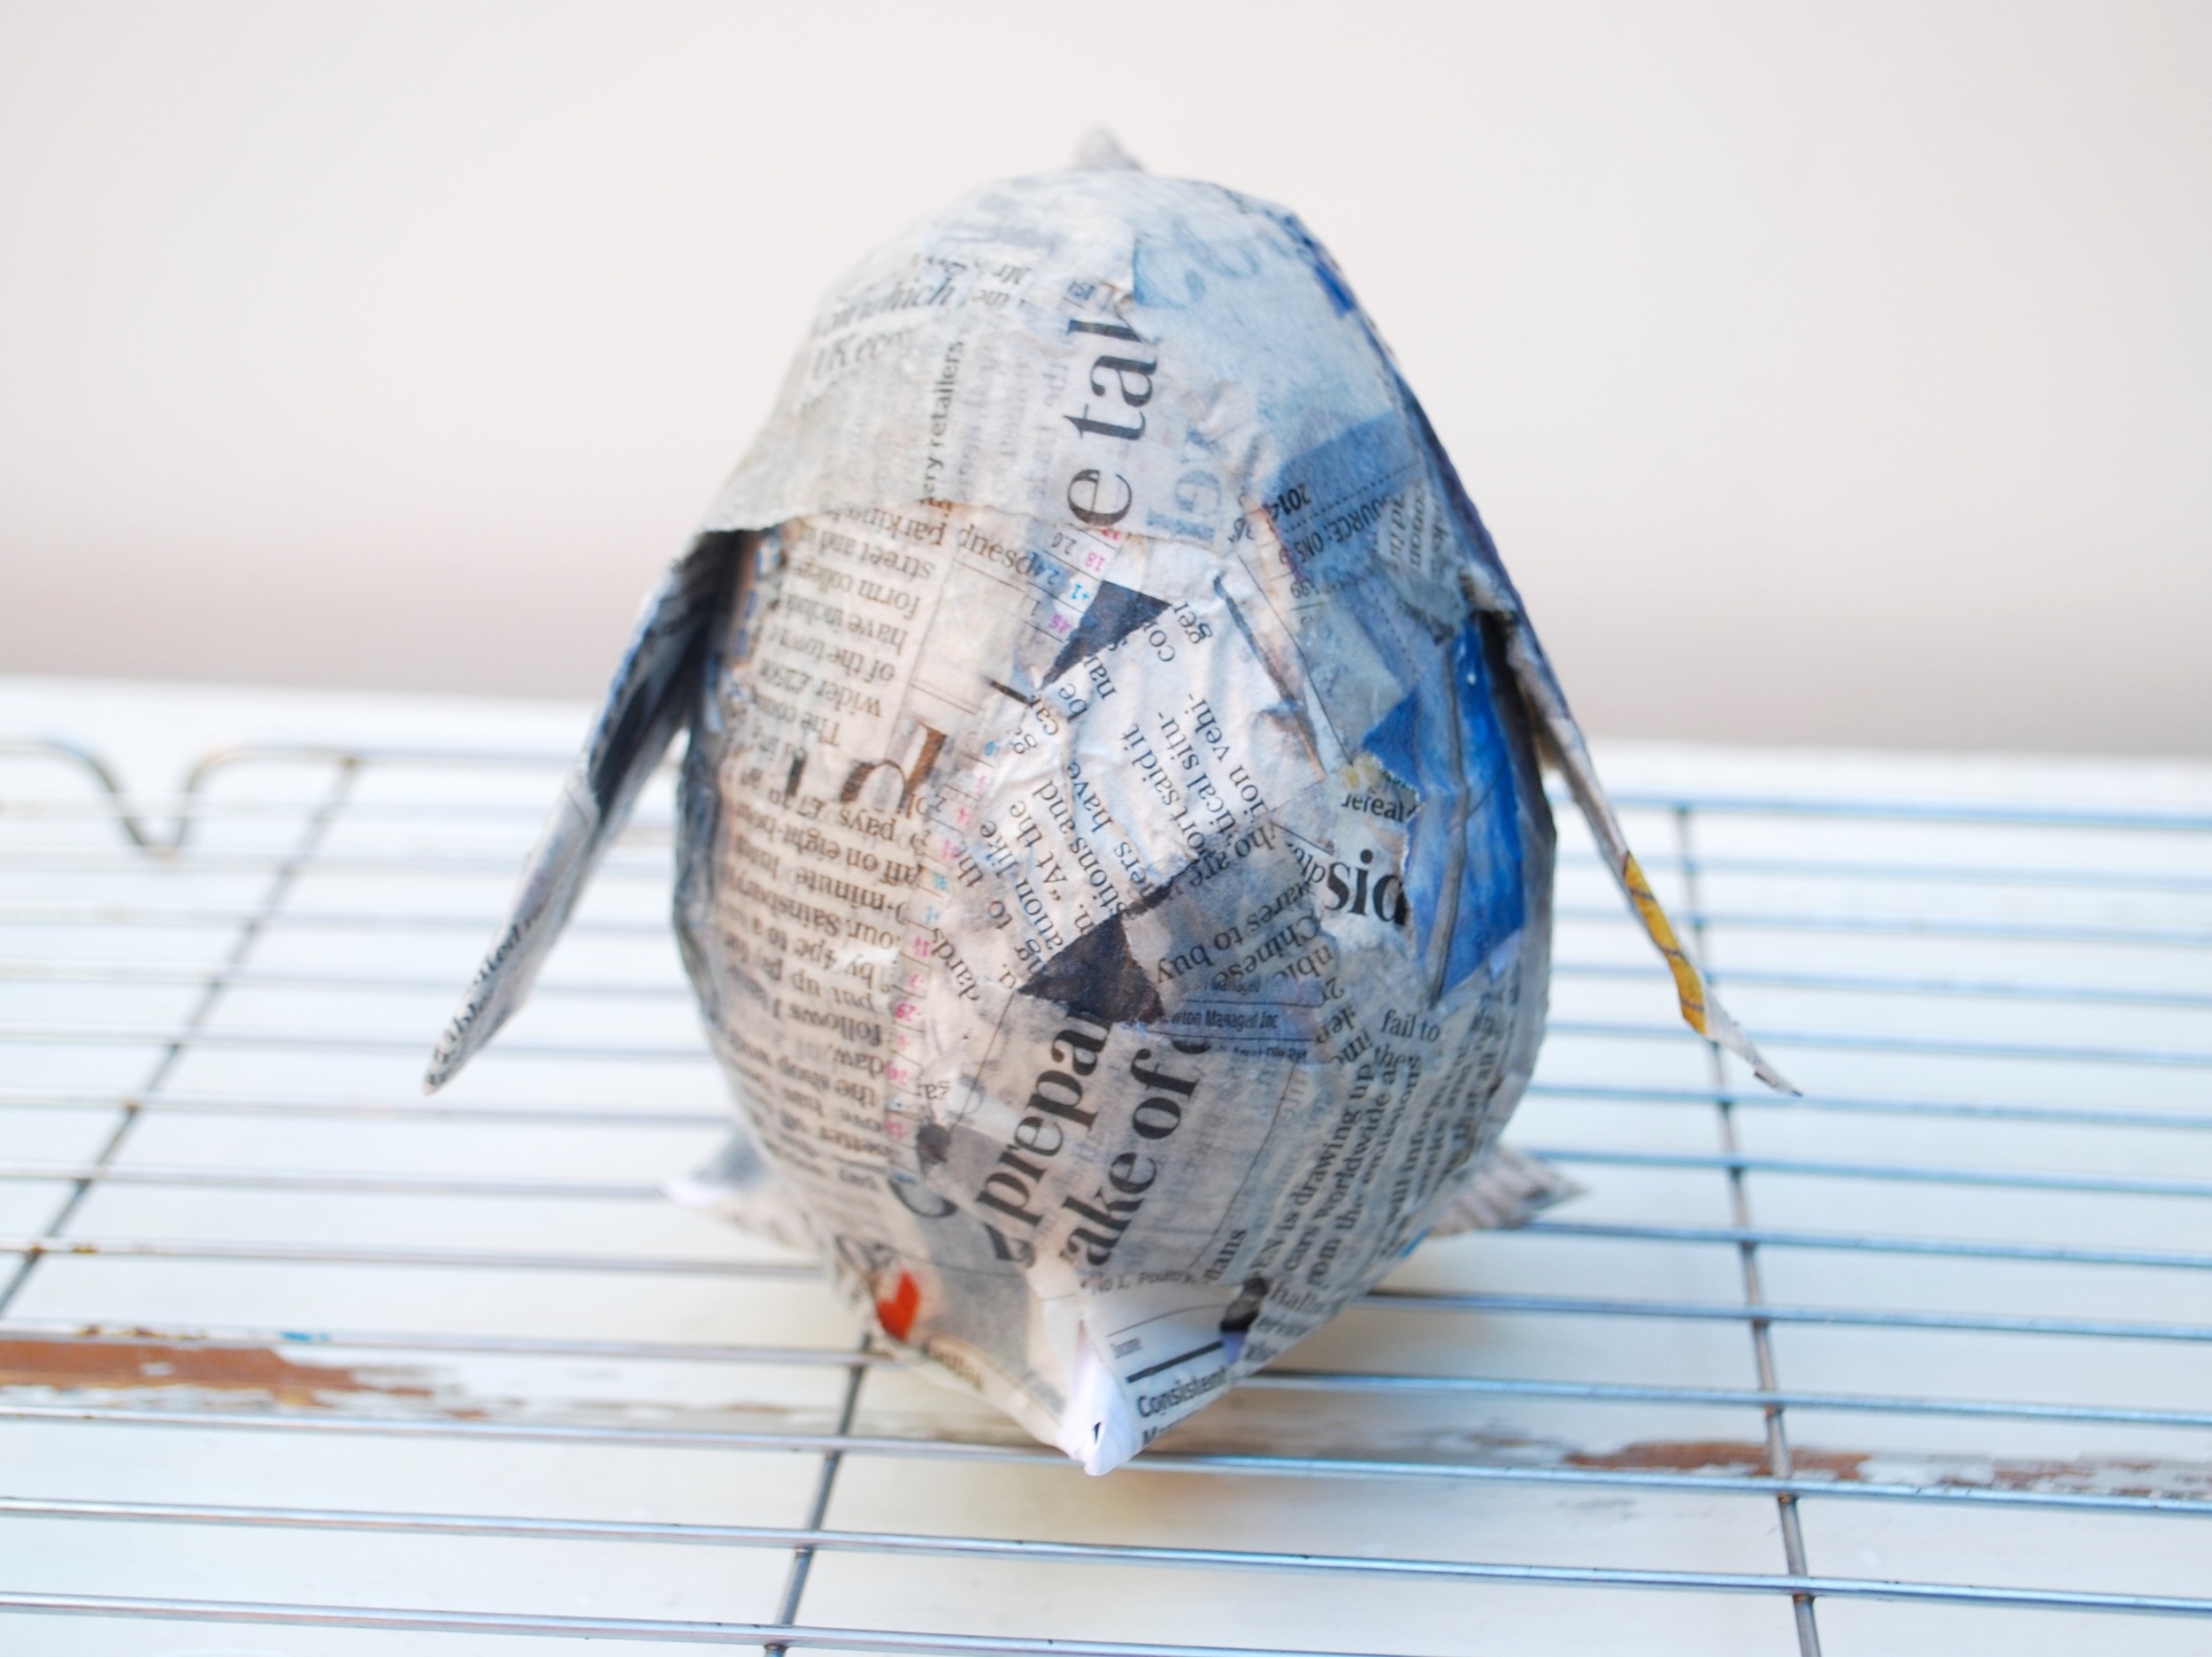
See how messy and untidy mine looks.....it's all ok because the moment we apply the paper mache in long strips it will all be hidden!

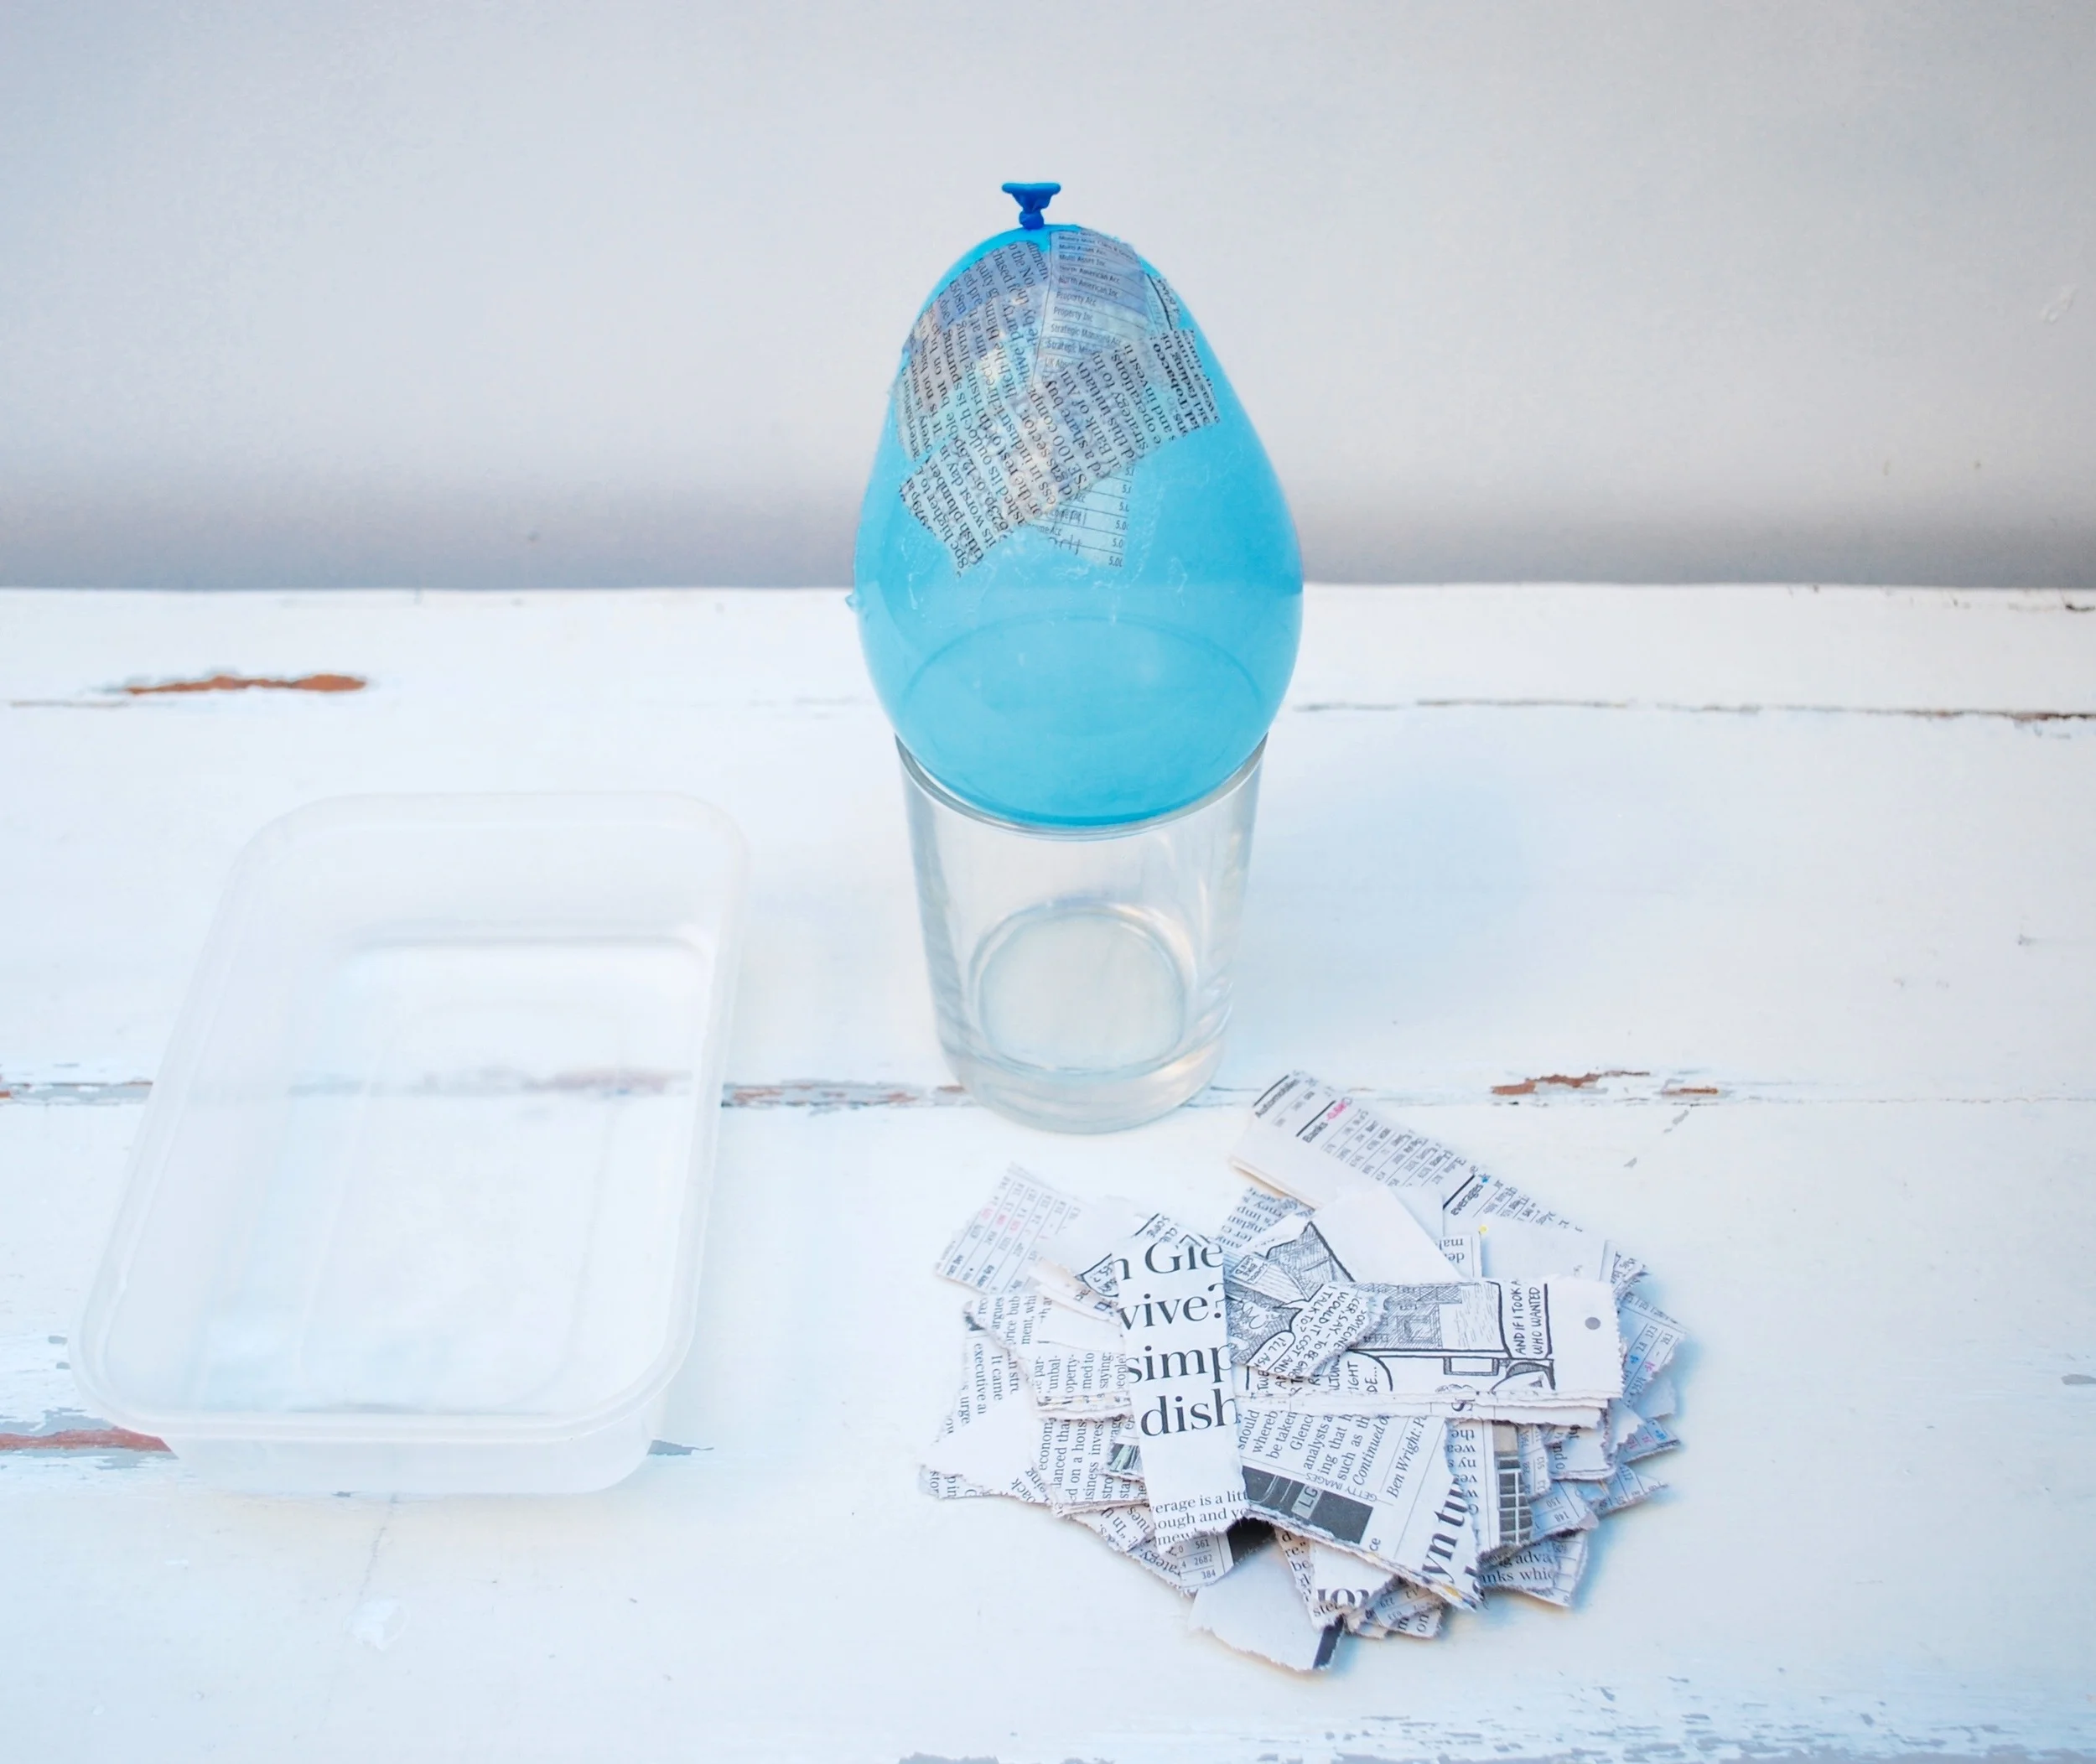
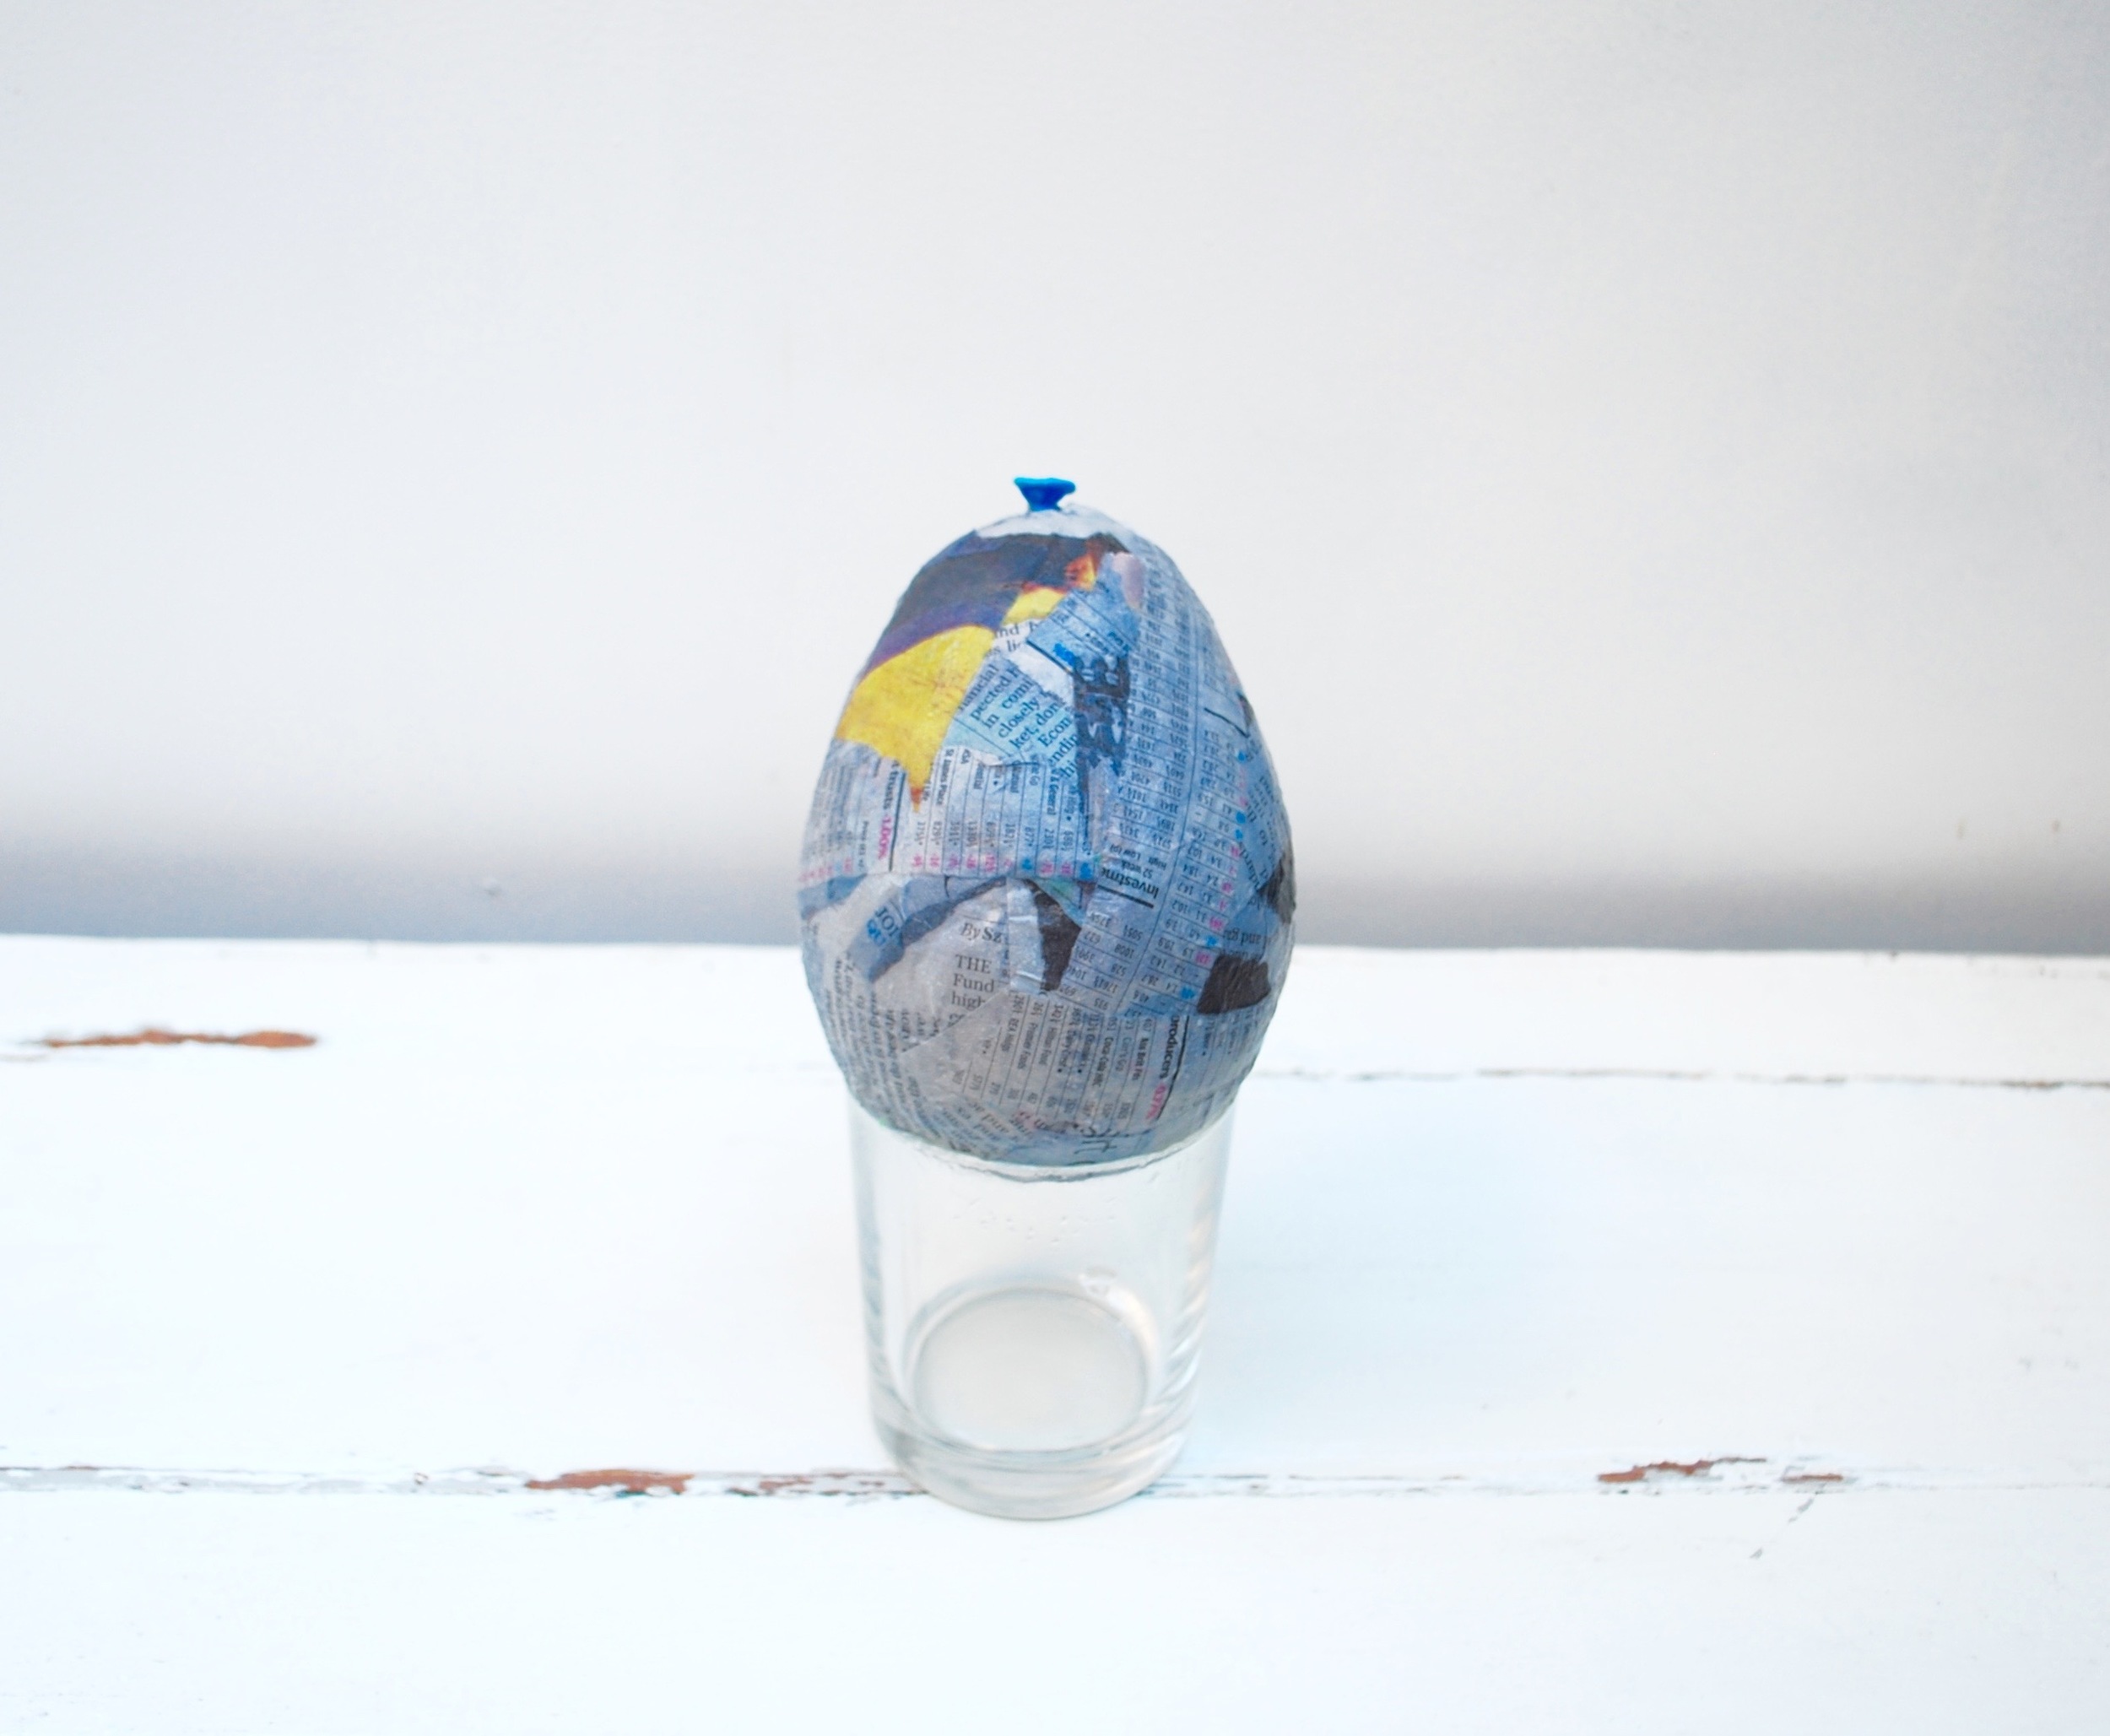
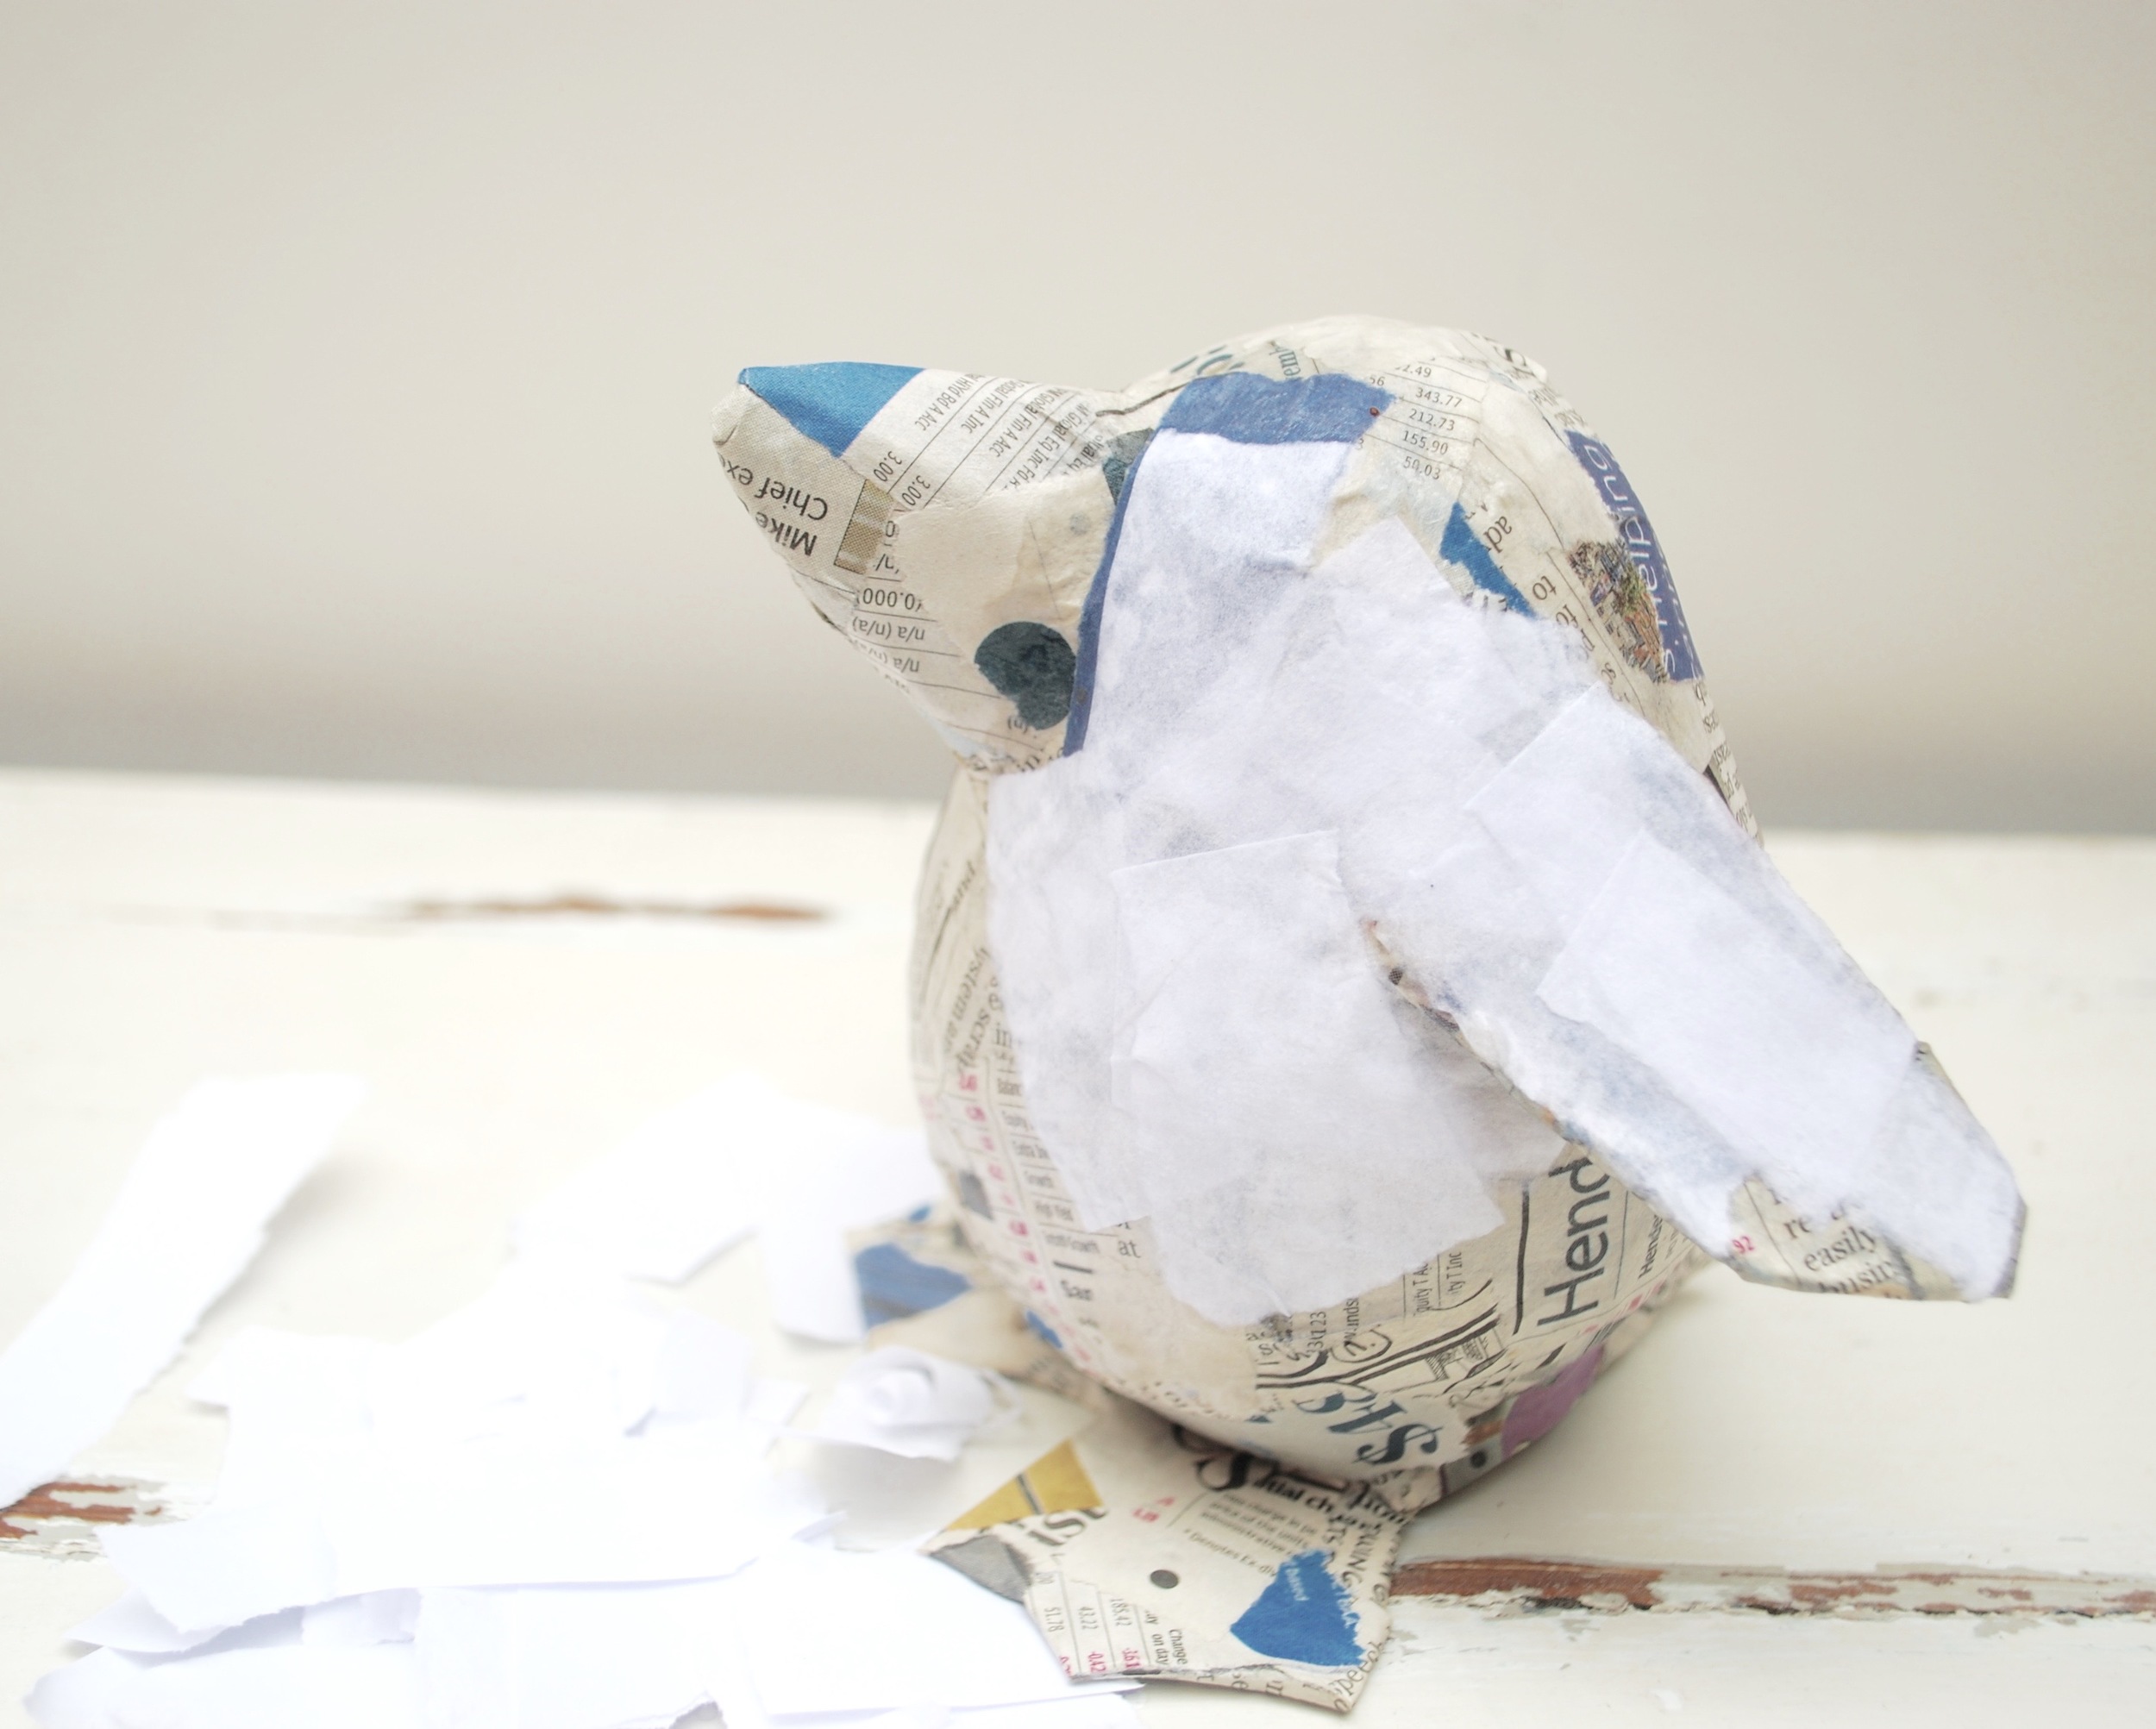
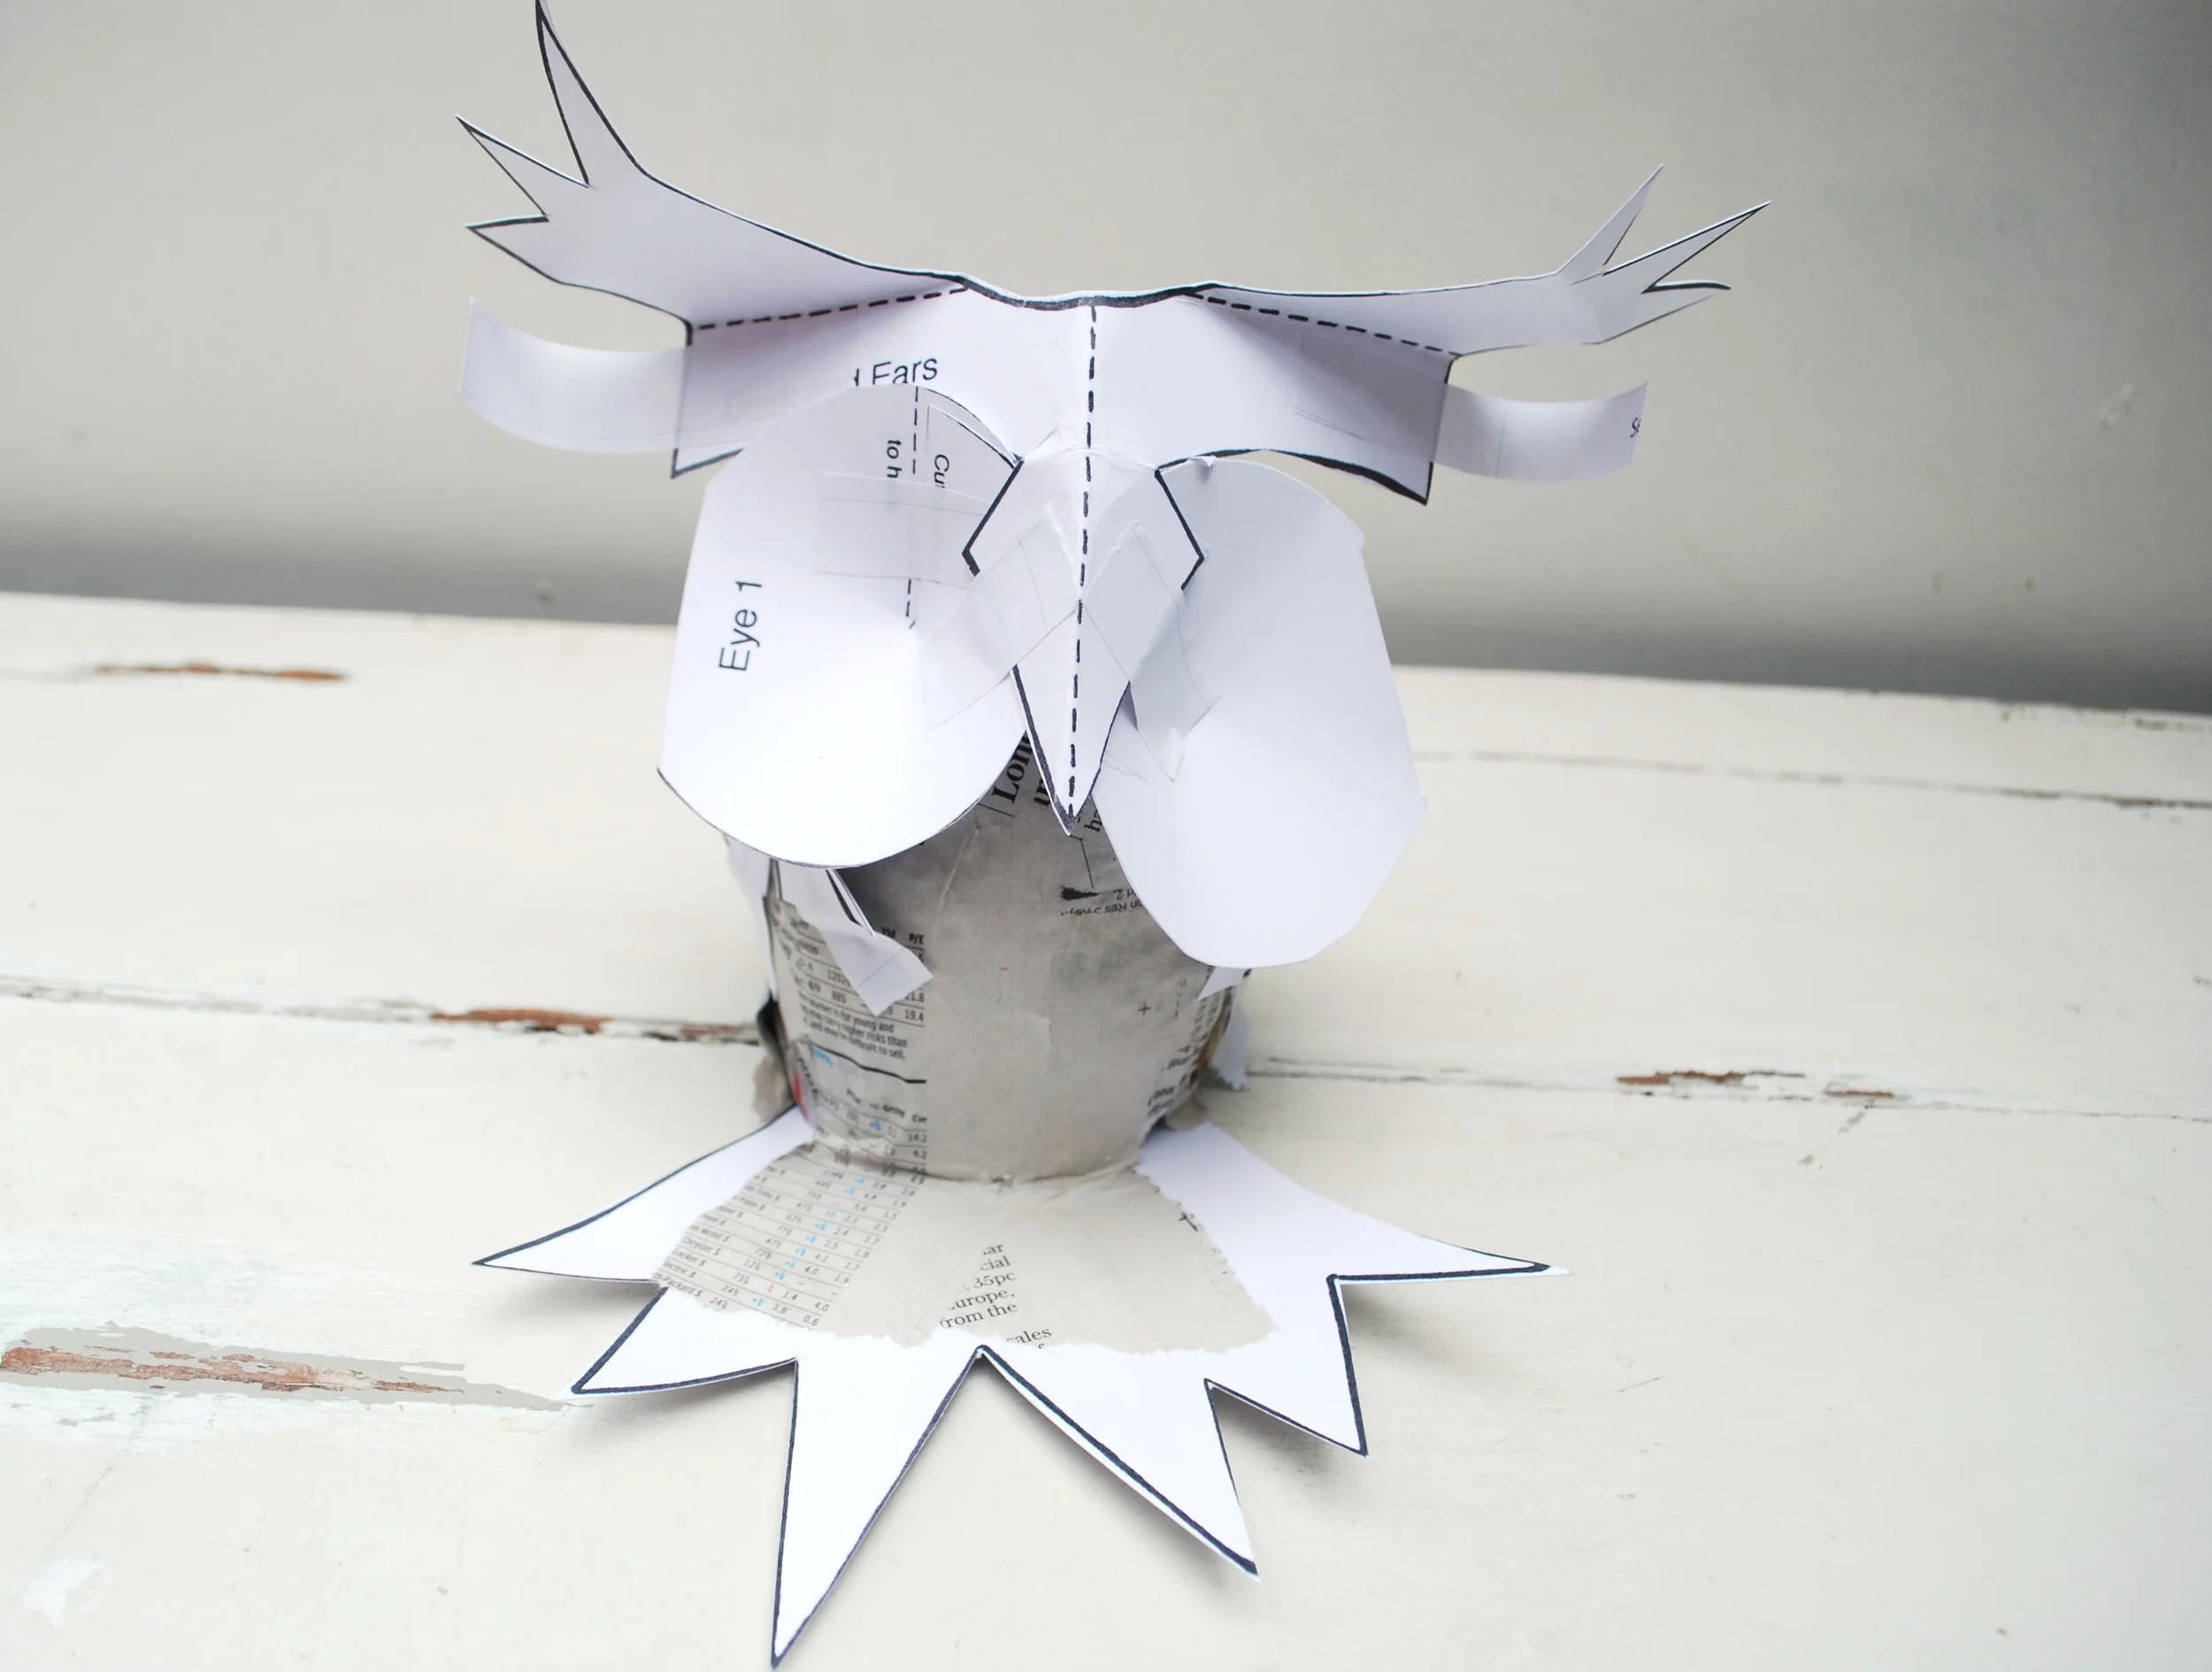
And now we are ready to paper mache!